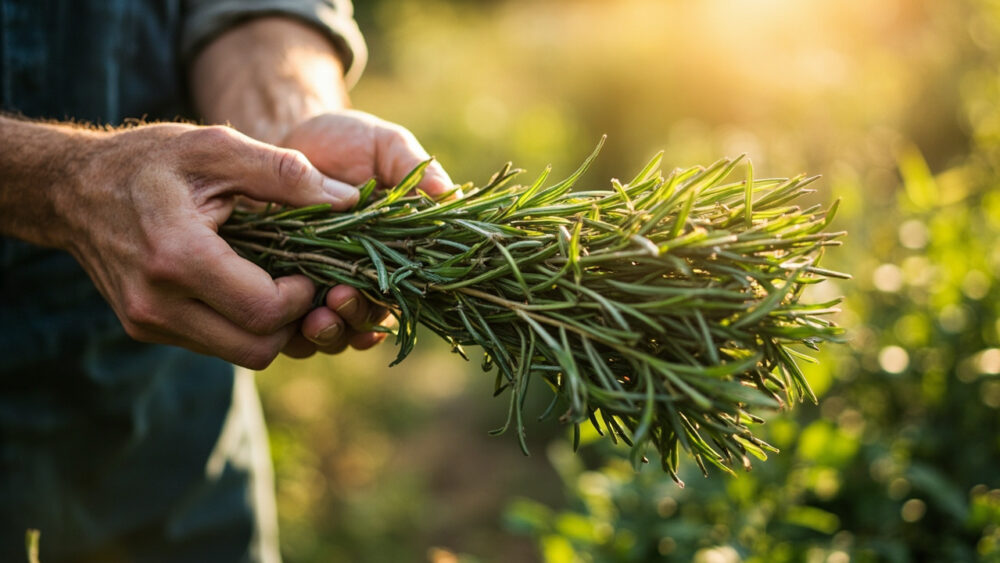
The fastest way to dry rosemary is to cut 6 to 8 inch sprigs in the morning after the dew burns off, bundle four or five stems with a rubber band, and hang them upside down somewhere dark, dry, and airy for two to three weeks until the needles snap cleanly off the stem. That is the whole method. Rosemary is one of the easiest herbs to dry because it is already built like a shrub that wants to survive dry conditions.
But most people rush the part before the hanging and the part after, and that is where a perfectly good harvest turns into dusty, flavorless green confetti. There is also one storage mistake that quietly ruins rosemary weeks after it looked done.
Stick around and you will get the exact ready signs, the harvest window that actually matters, and a save-able Rosemary at a Glance card at the very bottom with every number in one place.
How to Know Your Rosemary Is Ready to Cut
Rosemary does not ripen the way a tomato does, so you are not watching for color change. You are watching for size and growth stage.
The stem length test
Look for stems at least 6 to 8 inches long with woody, grayish-brown growth at the base and soft green growth up top. That woody base means the plant can spare the cutting without setting it back.
Cutting from spindly, all-green new growth gives you sprigs with barely any oil to preserve.
The time of day that actually changes flavor
Harvest in mid-morning, after dew has dried but before the heat of the day. Rosemary’s aromatic oils are highest before the sun bakes them off, and wet foliage invites mold during drying.
Get the timing wrong here and you are drying watered-down flavor from the start.
The Best Time of Year (and Why Most People Guess Wrong)
If you assumed you should wait until fall to harvest a big final crop before frost, that guess costs you the best flavor of the year. Rosemary’s oils peak right before flowering, usually in late spring to early summer, not at the end of the season.
Early cuts, taken before flower buds form, give you the most concentrated, resinous flavor. Once the plant flowers, oil production shifts toward the blooms and the leaves taste noticeably milder.
That said, rosemary is a perennial in USDA zones 8 through 11 and often grown as an annual or container plant further north, so you get more than one shot per year in warm climates. You can take a light harvest in late spring, let the plant recover for four to six weeks, then take another cut in late summer before any hard frost.
Late cuts, taken right before winter dormancy in cold zones, are fine for using fresh or for a final drying batch, but do not expect the same punch you got from a spring harvest.
Once you know when to cut, the next question is how to cut without wrecking the plant’s shape for next year.
How to Harvest Without Stunting the Plant
Never take more than a third of the plant’s total growth in a single harvest. Rosemary regrows from remaining green stems, not from the woody base, so overcutting can leave a permanently lopsided or bare shrub.
Use clean, sharp scissors or pruning snips rather than pinching by hand. A clean cut heals faster and resists disease better than a torn one.
Cut just above a leaf node, the small joint where side shoots emerge, angling the cut slightly. This encourages the plant to branch out from that point instead of just growing one long leggy stem.
- Choose stems with at least 4 to 6 inches of usable green growth above the woody base.
- Spread your cuts around the whole plant instead of stripping one side bare.
- Avoid cutting into bare wood with no green leaves left below the cut, since rosemary rarely resprouts from leafless old wood.
Once the sprigs are off the plant, what you do in the next hour matters more than most people think.
What to Do in the First Hour After Cutting
Rinse the sprigs briefly under cool water only if they are visibly dusty or you see any insects, then pat them completely dry with a towel. Any lingering moisture on the leaves is what invites mold during the slow drying process.
Skip the rinse entirely if the plant looks clean, since less handling means less bruising and less lost oil.
Strip the bottom inch or two of leaves off each stem so you have a bare handle to bundle and tie. Group four to six stems per bundle with a rubber band rather than string, since rubber bands tighten automatically as the stems shrink while drying.
A loose bundle that falls apart halfway through is a bundle you have to start over.
Air-Drying: The Method That Actually Works Best
Hang bundles upside down in a dark, dry, well-ventilated spot, a closet, pantry, or covered porch out of direct sun works well. Direct sunlight bleaches color and cooks off the essential oils you are trying to preserve.
Expect drying to take two to three weeks depending on humidity. In a dry climate or with a dehumidifier running nearby, it can finish closer to ten days.
You will know it is done when a needle snaps cleanly instead of bending, and the stem itself is stiff and brittle rather than flexible.
Faster options if you are impatient
A food dehydrator set to 95 to 115°F dries rosemary in 2 to 4 hours and preserves more color and oil than higher heat. An oven works in a pinch on its lowest setting with the door slightly propped, but ovens run hotter than they read and can scorch rosemary in under an hour if you walk away.
A microwave can dry a single layer of sprigs between paper towels in 30 to 90 second bursts, but it is easy to overshoot and end up with brown, brittle, flavorless leaves.
However you dry it, the real test of success happens after it is off the stem.
The Storage Mistake That Ruins Dried Rosemary Weeks Later
Here is the mistake almost nobody expects: rosemary that looks perfectly dry on the outside can still hold moisture in the thicker stem core. Jar it too soon and that trapped moisture sweats out, fogs the glass, and molds your whole batch within a week or two.
Strip the needles off the stems once they snap cleanly, then let the loose leaves sit uncovered in a bowl for another 2 to 3 days before sealing anything. This extra air time is the step almost every guide skips.
Store the fully dried leaves whole rather than crushed, in an airtight glass jar out of direct light. Crushing releases oils into the air instead of into your food, and whole dried rosemary holds its flavor for 1 to 3 years compared to under a year once crushed.
Get the moisture wrong at this stage and every week of careful drying before it was wasted.
Keeping the Harvest Coming
Rosemary tolerates repeated light harvesting well as long as you respect the one-third rule and give the plant a few weeks to recover between cuts. In warm zones you can realistically harvest every 4 to 6 weeks through the growing season.
Feed lightly with a balanced fertilizer once in spring, and avoid heavy nitrogen, which pushes soft, watery growth with weaker flavor. Well-drained soil and full sun, at least 6 hours a day, keep the oil content high harvest after harvest.
Everything you need to remember is right here, saved in one place.
Rosemary at a Glance
- Best time to harvest: late spring to early summer before flowering, or any time stems reach 6 to 8 inches with woody bases.
- Time of day: mid-morning, after dew dries and before peak heat.
- How much to cut: no more than one third of the plant per harvest, cutting just above a leaf node.
- Drying method: hang bundles of 4 to 6 stems upside down in a dark, dry, ventilated spot for 2 to 3 weeks.
- Faster options: dehydrator at 95 to 115°F for 2 to 4 hours, or low oven with door propped, watched closely.
- Ready test: needles snap cleanly instead of bending.
- Storage: strip leaves, air-rest 2 to 3 days, store whole in an airtight jar out of light for 1 to 3 years of good flavor.
Dry too fast in full sun or jar too soon and you lose flavor either way.
Slow, dark, patient drying is what turns a garden cutting into rosemary worth keeping.