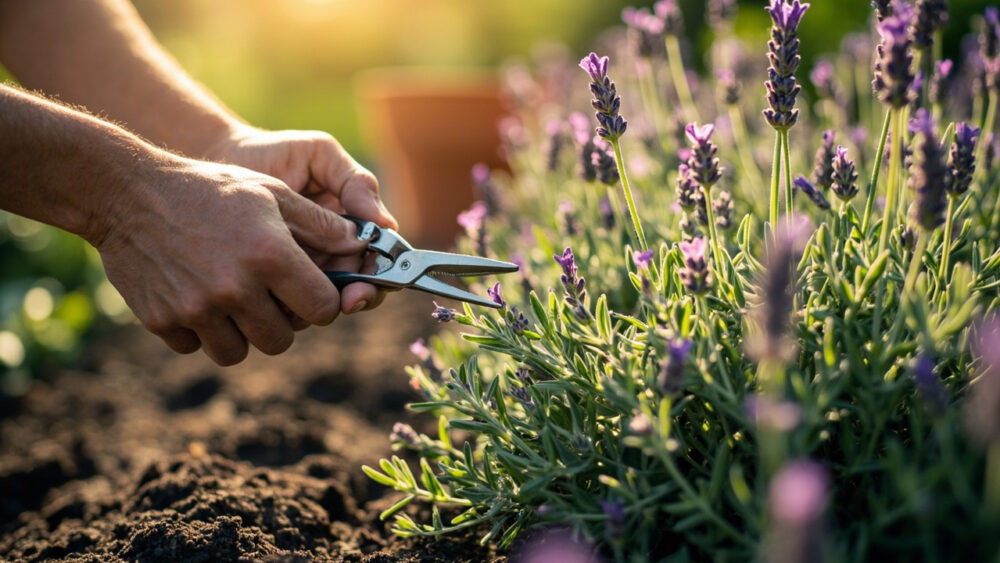
The fastest, most reliable way to grow lavender from cuttings is to snip 3 to 4 inch pieces of non-flowering new growth in late spring or early summer, strip the lower leaves, stick them in a fast-draining mix of perlite and sand, and keep that mix barely moist but never wet. Root in bright, indirect light at 65 to 75°F, and you will see new growth in 3 to 6 weeks. That single sentence is the whole method, but knowing it and pulling it off are two different things.
Most people who try this fail for one specific, avoidable reason, and it is not the one you are probably picturing. It has to do with water, but not in the way you think.
There is also a step almost everyone skips or gets backwards involving the very bottom of the cutting, and a follow-up question about hardening off that trips people up right when they think they have already won. Stick around for the timeline of what a rooting cutting actually looks like week by week, and save the “Lavender at a Glance” card at the very bottom of this page to your phone before you head out to the garden.
Why Cuttings Beat Seeds for Lavender
Lavender grown from seed is slow, genetically unpredictable, and can take 12 to 18 months just to reach a plantable size. Cuttings skip all of that.
A cutting is a clone of the parent plant, so you know exactly what you are getting: same scent, same flower color, same cold tolerance. It also roots and reaches a plantable size in a matter of weeks, not seasons.
This matters most if you already have one good lavender plant, whether English (Lavandula angustifolia), French, or a lavandin hybrid, and want six more just like it for free. Division does not work well for lavender since it does not spread by runners or clump apart cleanly like mint or chives.
The plant itself dictates the method here, and that method starts with picking the right stem.
Step by Step: Taking and Rooting the Cutting
1. Take the cutting at the right time and from the right growth
Take cuttings in late spring through mid summer, when the plant is putting out soft new growth but before it flowers heavily. Look for a non-flowering side shoot, 4 to 6 inches long, that is semi-hardwood: it bends without snapping cleanly, and it is firmer than the very tender tips but not yet woody and gray.
Cut just below a leaf node with clean shears. Trim the cutting down to 3 to 4 inches.
Strip the leaves off the bottom two-thirds, leaving just a few pairs at the top. This is the step people rush, and it is where a lot of cuttings rot before they ever root.
The cutting is only half the job, the medium it goes into decides whether it lives.
2. Get the rooting medium right
Lavender cuttings rot far more often than they dry out, which is the opposite of what most gardeners assume. Skip potting soil entirely.
Use a mix that is mostly mineral and drains almost instantly: equal parts perlite and coarse sand, or perlite and vermiculite. Some growers add a little peat or coir, but keep it under a third of the mix.
Dip the stripped end in rooting hormone powder or gel if you have it. It is not required, but it speeds things up and improves your success rate, especially on woodier stems.
Stick the cutting an inch or two deep, firm the medium around it, and water once to settle it in.
Now the conditions you give that cutting matter more than anything you have done so far.
3. Set up the right conditions
Place pots in bright, indirect light, not direct blazing sun, at a temperature between 65 and 75°F. A covered outdoor spot, cold frame, or bright windowsill out of direct afternoon rays all work.
Here is the mistake that kills most attempts: covering the cutting in plastic to hold in humidity, the way you would for tomatoes or peppers. Lavender is a Mediterranean plant that hates stagnant, wet air around its stem. High humidity invites the exact stem and root rot that kills more cuttings than dry air ever does.
Instead, keep air moving, keep the medium just barely damp, and let the top of the mix dry slightly between waterings.
With the setup right, the only thing left to do is wait, and know what you are looking at along the way.
The Timeline: What to Expect Week by Week
Weeks 1 to 2: Nothing visible happens above ground, and that is normal. Below the surface, the cut end is callusing over and beginning to form root initials. Do not tug on the cutting to check, you will just break off the roots that are trying to form.
Weeks 2 to 4: A gentle tug should meet slight resistance, that is your sign roots have started. Some cuttings show tiny new leaf growth at the tip around this time too.
Weeks 4 to 6: Real resistance when tugged, and visible new growth at the top. This is a rooted cutting.
If a cutting is still limp and offers zero resistance by week 6, it has likely failed and will not recover.
Once you have real roots and real resistance, the next decision is timing the move to a bigger pot or the ground.
When and How to Pot Up or Plant Out
Pot up once you feel that firm root resistance and see new top growth, usually around 4 to 6 weeks in. Move the cutting into a 4 inch pot with regular, well-draining potting mix, ideally one amended with extra perlite or grit since lavender still hates wet feet even as an established plant.
This is where the second guess most people make backfires: assuming a rooted cutting is ready for full sun and garden soil immediately. It is not.
Harden it off first, over 7 to 10 days, increasing sun exposure a little each day. Only plant into the garden after your last frost has passed and once the plant has spent at least a few weeks growing on in its pot.
Space plants 18 to 24 inches apart in full sun, in soil on the lean and gritty side; rich, heavily amended soil actually produces weaker, floppier lavender.
Get the hardening off right and you avoid the single most common way a rooted cutting dies right after you thought you had already won.
Why Most Attempts Fail, and How to Dodge It
The biggest killer, by a wide margin, is rot from overwatering or poor drainage, not underwatering. Lavender cuttings want the medium on the dry side of moist at all times.
The second biggest killer is taking cuttings from the wrong growth: soft, floppy new tips root poorly, and old woody stems from last year barely root at all. Semi-hardwood, new-season growth is the sweet spot.
Third is skipping the leaf strip. Leaves left on the buried portion rot underground and take the whole cutting with them.
Fourth is that plastic humidity dome habit borrowed from other plants, which suffocates lavender instead of helping it.
Avoid those four things and your success rate jumps from a coin flip to something closer to a sure bet.
Lavender at a Glance
- Best time to take cuttings: late spring through mid summer, from soft new, non-flowering growth.
- Cutting size: 3 to 4 inches long, cut just below a leaf node, lower two-thirds of leaves stripped.
- Rooting medium: equal parts perlite and coarse sand or perlite and vermiculite, kept barely damp, never soggy.
- Rooting conditions: bright indirect light, 65 to 75°F, open air, no plastic humidity dome.
- Time to root: 3 to 6 weeks, check by gentle tug resistance rather than pulling the cutting out.
- When to plant out: after hardening off for 7 to 10 days and after your last frost date, into lean, gritty, well-draining soil.
- Spacing in the garden: 18 to 24 inches apart, full sun.
Get the medium dry-draining and the air uncovered, and lavender roots almost as easily as mint.
Everything else on this list is just details in service of that one fact.