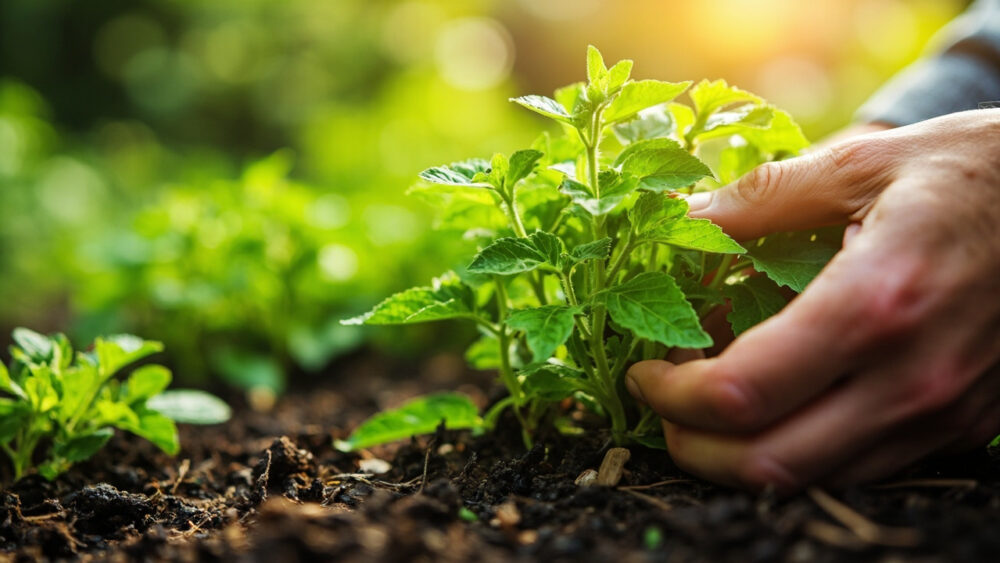
Growing stevia comes down to this: give it warm soil, full sun, sharp drainage, and pinch it hard all season so it stays bushy instead of woody. Plant seedlings after your last frost once soil has warmed to at least 60°F, space them 12 to 18 inches apart, and harvest by cutting whole stems just before the plant tries to flower, since that’s when the leaves are sweetest. It’s a genuinely easy herb to keep alive and a surprisingly easy one to grow badly, which is why so many people end up with a leggy, bitter, disappointing plant.
The mistake that ruins most attempts happens in the first two weeks, and it has nothing to do with sun or fertilizer. There’s also a sign in the leaves that tells you exactly when your stevia is at peak sweetness, and it’s not the sign most people watch for.
Stick around for the Stevia at a Glance card at the bottom. It’s the save-to-your-phone version of everything below, the numbers and cues you’ll actually want standing in front of the plant.
When to Plant Stevia
Stevia is a tropical perennial that most gardeners grow as an annual, and it has zero tolerance for cold. Wait until nighttime temperatures reliably stay above 50°F and soil temperature has hit 60°F or warmer, which is usually two to three weeks after your last spring frost date.
Plant too early into cold, wet soil and the roots sulk, the plant stalls, and it never really catches up even once it warms up. That’s a bigger yield killer than anything that happens later in the season.
In zones 8 and warmer, stevia can survive winter outdoors as a true perennial with mulch protection. Everywhere else, treat it as a one-season annual or bring a potted plant indoors before frost.
Timing solves half the battle, but where you put the plant solves the rest.
Choosing the Spot and Prepping the Soil
Stevia wants at least 6 hours of direct sun, sandy or loamy soil, and drainage that doesn’t leave water standing after a hard rain. Soggy roots are the number one killer of stevia after cold, and the two problems often get blamed on each other.
If your soil is heavy clay, work in compost or plant in a raised bed or large container instead of fighting the ground you have. Aim for a slightly acidic to neutral pH, roughly 6.0 to 7.5.
This is also where that first-two-weeks mistake usually starts. Gardeners assume stevia wants rich, moisture-holding soil like basil does, so they plant it in a low, damp corner of the bed and it rots from the roots up before it ever gets going.
Get the bed right and planting itself is almost boring, which is exactly what you want.
Planting Stevia Step by Step
Stevia grows painfully slowly from seed and germination rates are unreliable, so nearly every experienced grower starts from a nursery seedling or a rooted cutting instead. If you do start seed, do it indoors 8 to 10 weeks before your last frost under strong light.
Steps for transplanting seedlings
- Harden off seedlings for 5 to 7 days, giving them a few hours of outdoor sun the first day and building up gradually.
- Dig a hole the same depth as the seedling’s current pot, never deeper. Stevia planted too deep is prone to stem rot.
- Space plants 12 to 18 inches apart in rows 18 to 24 inches apart to allow airflow.
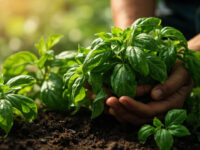
- Set the plant in, backfill, and firm the soil gently without compacting it.
- Water in slowly and deeply right after planting to settle the roots.
If you’re growing in containers, use one at least 8 to 10 inches deep with drainage holes, since stevia’s roots resent sitting wet even briefly.
Once it’s in the ground, the real work shifts from planting to keeping the plant productive all summer.
Watering and Feeding Through the Season
Stevia wants consistent moisture but hates being waterlogged, which is a narrower window than most herbs. Check the soil an inch down: if it’s dry, water; if it’s still damp, wait a day.
In hot weather this often means watering every 2 to 3 days, less in cooler or rainy stretches. A 2-inch layer of mulch helps even this out and keeps roots cooler through summer heat.
Feed lightly. A balanced organic fertilizer or compost top-dress once a month is plenty. Heavy nitrogen pushes fast, leafy growth at the expense of the sweetness compounds you’re actually growing this plant for, so more fertilizer is not better here.
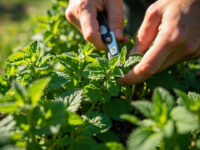
Pinch the growing tips every couple of weeks once the plant reaches about 6 inches tall. This is the single biggest thing separating a bushy, productive stevia plant from a tall, floppy, sparse one, and it’s the step most first-time growers skip entirely because it feels like you’re setting the plant back.
A well-fed, well-pinched stevia plant still has to survive the pests and stress that come for every herb in the garden.
Problems to Watch For
Stevia is fairly trouble-free, but a few issues show up often enough to plan for.
- Root rot: yellowing lower leaves and a mushy stem base, caused almost always by wet feet. Pull back on watering and improve drainage; badly rotted plants usually don’t recover.
- Aphids and whitefly: clustered on new growth and leaf undersides. A strong water spray knocks most infestations down, and insecticidal soap handles the rest, applied per the label.
- Powdery mildew: a white, dusty coating on leaves, common in humid conditions with poor airflow. Space plants generously and water at the soil, not overhead.
- Bolting to flower too early: triggered by stress, heat, or long uninterrupted daylight. Regular pinching delays this and keeps leaves sweet longer.
None of these are usually fatal if you catch them early, which is the honest, non-alarming version of this section.
Once the plant is healthy and full, the only real question left is when to actually cut it.
When and How to Harvest Stevia
Here’s the sign most people misread: they wait for the plant to flower, assuming that’s the peak, the way you’d wait for a tomato to ripen. It’s the opposite. Stevia leaves are sweetest right before flowering, and once white blooms open, the leaves lose sweetness and turn slightly bitter.
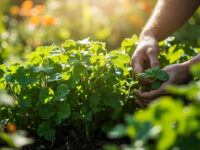
Start checking once the plant is 12 to 18 inches tall and has been growing for roughly 2 to 3 months. You can snip individual leaves anytime for immediate use, but for a real harvest, cut whole stems back by a third to a half once you see flower buds forming but before they open.
This cutting also triggers a second flush of growth, so a healthy plant can give you two or three harvests in a single season.
To dry, hang stems upside down in a warm, dark, well-ventilated spot for 1 to 2 weeks until leaves crumble easily, then strip and store them in an airtight jar out of light.
That’s the whole cycle season to season, and here’s the short version worth keeping on your phone.
Stevia at a Glance
- When to plant: after last frost, once soil is 60°F or warmer and nights stay above 50°F.
- Spacing and depth: 12 to 18 inches apart, planted at the same depth as the nursery pot.
- Site and soil: full sun, at least 6 hours daily, well-drained sandy or loamy soil, pH 6.0 to 7.5.
- Watering: check an inch down, water when dry, never let it sit soggy.
- Feeding: light monthly feed with balanced organic fertilizer or compost, no heavy nitrogen.
- Maintenance: pinch growing tips every 2 weeks starting at about 6 inches tall.
- Harvest window: cut whole stems just before flower buds open, roughly 2 to 3 months after planting.
Keep the roots dry-ish and the tips pinched, and stevia mostly grows itself.
Harvest before it flowers, not after, and every leaf you dry will actually taste sweet.