You grow shallots by planting individual cloves (called sets) root-side down, 1 to 2 inches deep and 6 to 8 inches apart, about 3 to 4 weeks before your last spring frost, or in fall in mild-winter regions for an earlier, bigger summer harvest. They need loose, well-drained soil and full sun, and they take 90 to 120 days to size up into full clusters. That is how to grow shallots in one breath, but the details decide whether you get a handful of marble-sized bulbs or a full braid worth keeping.
Most failed shallot patches trace back to one mistake, and it happens at planting, not later. Plant the clove too deep or point-up instead of root-down, and you get a lopsided, split bulb instead of a tight cluster.
There is also a sign most people misread completely: yellowing, flopping leaves in midsummer look like disaster but are actually the plant telling you it is finished and ready to be pulled. Stick around, because the save-able Shallots at a Glance card at the bottom has every number in one place for when you are standing in the garden with dirt on your hands and no signal.
When to Plant Shallots
Spring planting works everywhere: get sets into the ground 3 to 4 weeks before your last expected frost, as soon as soil can be worked and is no longer waterlogged. Shallots tolerate a light frost on emerging leaves without damage.
In zones 6 and warmer, fall planting gives better results. Tuck sets in 4 to 6 weeks before your ground freezes solid, so roots establish before winter dormancy. Fall-planted shallots resume growth early and bulb up bigger by summer.
Soil temperature matters more than the calendar date. Shallots want soil in the 40s to 50s Fahrenheit to start rooting without rotting.
Get the timing right and the next decision, where you actually put them, determines almost everything else.
Picking the Spot and Prepping the Soil
Shallots demand full sun, at least 6 hours a day, and soil that drains fast. Standing water or heavy clay left wet after rain is the number two killer of a shallot bed, right behind bad planting depth.
Work in compost or aged manure to a depth of 8 to 10 inches before planting. Shallots have shallow roots but resent compacted ground and will produce small, misshapen bulbs in it.
Aim for a soil pH between 6.0 and 6.8. If your soil stayed wet and cold all winter, raised beds or mounded rows solve the drainage problem better than any amendment does.
Skip crop rotation and plant shallots where onions or garlic grew last year, and you invite the same soil-borne problems back before you have even planted a clove.
Planting Shallots Step by Step
- Separate the sets: break the shallot bulb into individual cloves right before planting, keeping the papery skin on each one.
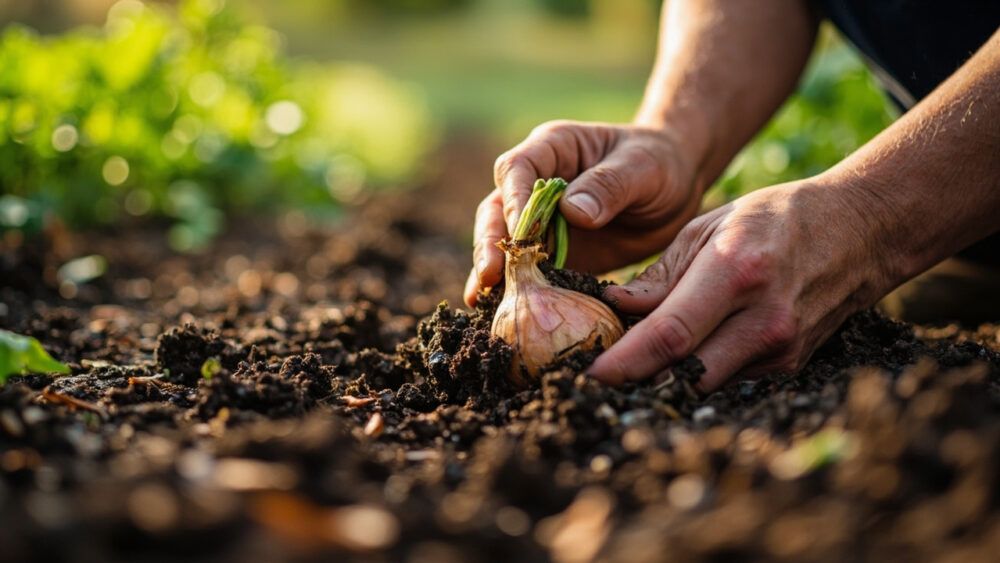
- Set depth: push each clove root-end down so the tip sits just at or barely below the soil surface, about 1 to 2 inches deep.
- Spacing: space cloves 6 to 8 inches apart in rows 12 to 18 inches apart, since each clove multiplies into a cluster of 4 to 8 bulbs.
- Firm and water: press soil gently around each set and water once to settle it, without soaking the bed.
- Mulch: lay 2 to 3 inches of straw or shredded leaves over the row to buffer temperature swings and slow weeds.
Get the sets in right and the bed mostly takes care of itself, but only if you follow through on water.
Watering and Feeding Through the Season
Shallots want steady, moderate moisture, roughly 1 inch of water a week from rain or irrigation, especially during active bulb formation in late spring and early summer. Inconsistent watering, wet then bone-dry then wet again, is what causes split or double bulbs, not usually the clove orientation people blame it on.
Feed lightly with a balanced fertilizer or fish emulsion once shoots are 4 to 6 inches tall, then again about a month later. Stop feeding nitrogen once bulbs start swelling, or you will get lush green tops and small bulbs underneath.
About 3 to 4 weeks before harvest, cut back watering significantly. Drier soil late in the season signals the bulbs to finish sizing and start curing on their own, and wet soil right before harvest invites rot in storage.
Weeds are the other water competitor nobody accounts for, and they matter more with shallots than with most vegetables.
Problems That Actually Show Up
Shallots are genuinely low-trouble compared to most alliums, but a few issues do show up reliably.
- Onion thrips: tiny pale streaks on leaves mean thrips are feeding, worse in hot, dry weather. Keep beds weeded and consider an insecticidal soap per the product label if it spreads.
- White rot or basal rot: yellowing that starts from the base, with soft, discolored bulbs, means fungal rot in the soil. There is no cure once it is in the ground, so pull affected plants, do not compost them, and rotate away from alliums in that bed for several years.
- Bolting: a sudden flower stalk usually follows a cold snap after a warm spell. The bulb still grows but stores poorly, so use it fresh.
- Weeds: shallots have thin, upright leaves and cannot shade out competition, so hand-weed or mulch heavily instead of relying on the plant to fend for itself.
None of these are common enough to worry over in advance, but knowing the early signs saves the harvest if one shows up.
Speaking of harvest, that yellow-leaf moment everyone panics about is actually your green light.
When and How to Harvest Shallots
Shallots are ready when the leaves yellow and start to flop over, usually 90 to 120 days after spring planting or in early to mid summer for fall-planted crops. This is not disease and not a mistake you made. It is the plant shutting down top growth to finish the bulbs.
Stop watering as soon as you see this, then wait a few more days before pulling so the papery skins tighten up.
Loosen the soil gently with a fork rather than yanking by the leaves, which tear the tops off and leave bulbs harder to cure. Lift the whole cluster intact.
Cure shallots somewhere warm, dry, and shaded with good airflow for 2 to 3 weeks, until the outer skins are papery and the necks are fully dry. Cured properly, shallots store for 4 to 6 months in a cool, dry, dark spot.
Once cured, you can braid the tops, trim and bag them, or set aside your best bulbs as next year’s sets, since shallots grown from your own stock tend to perform reliably year after year.
Shallots at a Glance
- When to plant: spring sets go in 3 to 4 weeks before last frost, fall sets go in 4 to 6 weeks before ground freeze in zones 6 and warmer.
- Depth and spacing: plant cloves root-down, 1 to 2 inches deep, 6 to 8 inches apart, in rows 12 to 18 inches apart.
- Soil and sun: full sun, loose well-drained soil, pH 6.0 to 6.8, enriched with compost before planting.
- Water: about 1 inch a week during growth, cut back sharply 3 to 4 weeks before harvest.
- Feeding: light balanced fertilizer twice early in the season, none once bulbs start swelling.
- Harvest signal: leaves yellow and flop over, typically 90 to 120 days after planting.
- Curing and storage: cure 2 to 3 weeks warm and dry, then store cool and dark for 4 to 6 months.
Get the clove orientation and depth right at planting, and let the yellowing leaves tell you when to stop watering.
Everything else about shallots is forgiving, and that combination is what makes them worth the bed space.