You can grow bee balm from seed by starting indoors 6 to 8 weeks before your last frost, pressing seeds lightly into the surface of moist soil since they need light to germinate, and keeping the tray around 65 to 70°F until seedlings show up in 10 to 21 days. It sounds simple, and the plant itself is genuinely forgiving once it’s established. But almost everyone who tries how to grow bee balm from seed makes the same mistake in the first five minutes: they bury the seed like a bean or a pumpkin, and it just sits there in the dark, doing nothing, forever.
There’s also a bigger trap waiting a few weeks later, one that has nothing to do with soil or water. It’s about patience, and about a plant that looks finished when it’s actually just getting started. And there’s a real question hiding underneath all of this that nobody asks out loud: is bee balm even worth growing from seed, given how slow and fussy the first month can be, compared to just buying a plant.
Stick with me through the actual steps and I’ll answer all of that honestly, including where seed-grown bee balm falls short of a nursery start and where it wins outright. Save the Bee Balm at a Glance card at the bottom of this page too, it’s the version you’ll actually want pulled up on your phone next spring when you can’t remember the depth or the spacing.
When to Start Bee Balm Seeds
Start indoors 6 to 8 weeks before your average last frost date. Bee balm (Monarda) is a hardy perennial in USDA zones 3 through 9, but the seed itself germinates slowly and the seedlings are small and slow to bulk up, so an indoor head start matters more here than it does for something like zinnias or beans.
You can direct sow outdoors too, either in early spring as soon as soil is workable, or in fall for natural cold exposure over winter. Direct-sown seed germinates less predictably than indoor seed under controlled light and warmth, and you’ll lose more to slugs, birds, and erratic spring weather.
If your growing season is short, indoors wins. If you’ve got a long season and a patient streak, fall direct sowing actually mimics what the seed wants naturally.
Either way, timing only gets you half the answer, the sowing itself is where most people go wrong.
Sowing Bee Balm Seed Step by Step
This is where that first mistake I mentioned actually happens, and it’s worth slowing down for.
1. Choose a light, moist medium
Use a seed-starting mix, not garden soil or potting soil straight from the bag. It needs to stay evenly moist but never soggy, since bee balm seed will rot in standing water.
2. Sow on the surface, don’t bury it
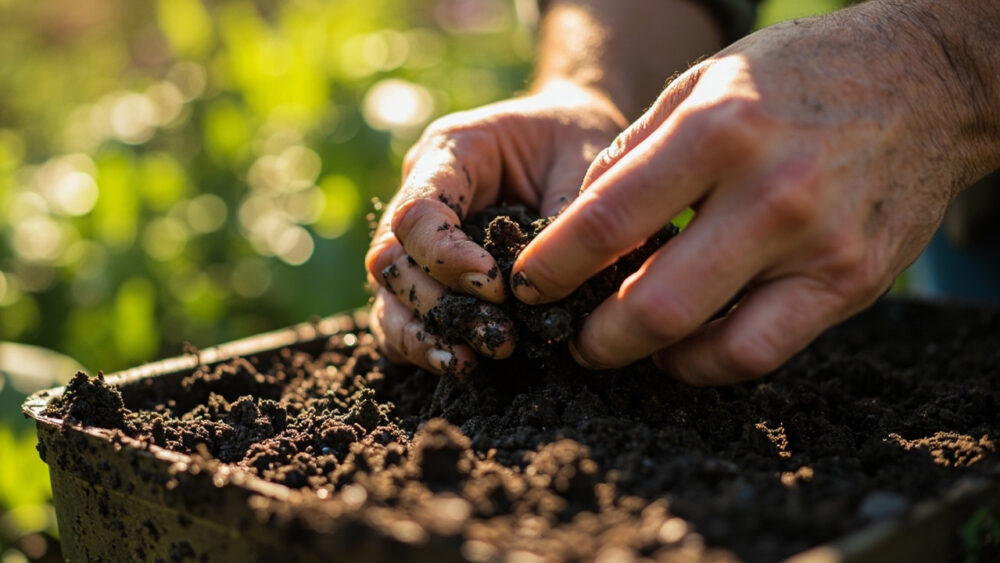
Press seeds gently into the surface and leave them exposed, or cover with only the thinnest dusting of fine vermiculite. Bee balm seed needs light to germinate. Bury it a quarter inch deep like a typical seed and it may never sprout at all, which is exactly the mistake that stalls most first attempts before they even start.
3. Keep it warm and bright
Set the tray somewhere that holds 65 to 70°F, with strong light overhead, either a sunny south window or a grow light 2 to 3 inches above the tray. Bottom heat helps if your house runs cool.
4. Keep the surface damp, not wet
Mist rather than pour. A humidity dome or loose plastic wrap over the tray holds moisture so the seed never dries out during the slow germination window.
Get the light and moisture right and germination takes care of itself, but knowing what to expect next keeps you from giving up too soon.
Germination: What’s Normal and What’s Not
Expect the first sprouts in 10 to 21 days, sometimes stretching to 4 weeks. This is the part that tests people. Bee balm is not a fast germinator, and a bare tray at day 10 does not mean failure.
If you assumed nothing is happening because nothing is visible, that’s the guess that gets trays tossed in the compost two weeks too early. Germination is uneven by nature here, some seeds pop at day 12, others at day 25 from the exact same batch.
What actually signals trouble is a tray that’s gone moldy, smells sour, or shows no green at all past 5 weeks under consistent warmth and light. That’s when you restart.
Once true leaves show up, the slow part is behind you, and the next test is getting seedlings safely outside.
Hardening Off and Transplanting
Wait until seedlings have 2 to 3 sets of true leaves and outdoor nighttime temperatures stay reliably above 45 to 50°F. That’s usually 1 to 2 weeks after your last frost date, once the ground itself feels warmed through rather than just the air.
Harden off over 7 to 10 days, starting with an hour or two in filtered shade and working up to full sun and a full day outside before transplanting.
Space plants 18 to 24 inches apart. Bee balm spreads by rhizomes and gets airy, full clumps within a year or two, and tight spacing now means powdery mildew later, since good airflow is the single biggest thing standing between you and mildew-covered leaves by midsummer.
Transplant into a spot with full sun to light afternoon shade and soil that drains but doesn’t dry out completely, bee balm is a moisture lover by prairie-plant standards.
Getting them in the ground is a milestone, but it’s not the finish line, the real test of a bee balm patch is how you treat it over the next few months.
Caring for Bee Balm Through the Season
Water consistently through the first summer, aiming for about an inch a week if rain doesn’t provide it, since young bee balm with a shallow root system dries out faster than the established clumps you may have seen elsewhere. Established plants tolerate more drought, but seed-grown first-years are not established yet.
Mulch around the base to hold moisture and keep roots cool, but leave a little breathing room right at the crown.
Watch for powdery mildew, a white-gray dusty coating on leaves that shows up in humid weather or crowded plantings. Thin overcrowded stems and improve airflow first, and if it’s severe, a fungicide labeled for powdery mildew on ornamentals can help when used exactly per the label.
Pinch the growing tips once in early summer if you want bushier, more floriferous plants, though it isn’t required.
All of that maintenance is really just setup for the moment you actually planted this thing for.
When Bee Balm Blooms and What “Harvest” Really Means
Seed-grown bee balm usually doesn’t bloom its first year, it’s building roots and leaf mass instead. Expect real flowering in year two, typically midsummer, from about July through September depending on your zone, with shaggy, tubular flower heads in red, pink, purple, or white clustered atop square stems.
This is the honest answer to the question hovering over this whole project: growing from seed costs you a bloom season compared to buying a potted plant, which often flowers the same year you buy it. That’s the real tradeoff, not a flaw in your technique.
If you’re growing it for tea or as a culinary herb, harvest leaves and flowers once blooms are fully open, ideally in the morning after dew dries. Snip stems, dry them in a single layer out of direct sun, and strip leaves and petals once they’re crisp.
Once that first real bloom shows up, the slow start stops mattering, and you’re left with a pollinator magnet that hummingbirds and bees genuinely fight over.
Bee Balm at a Glance
- When to plant: start seeds indoors 6 to 8 weeks before your last frost, or direct sow in early spring or fall.
- Sowing depth: on the surface or barely covered with fine vermiculite, bee balm seed needs light to germinate.
- Germination time: 10 to 21 days at 65 to 70°F, sometimes up to 4 weeks, uneven sprouting is normal.
- Spacing: 18 to 24 inches apart, tight spacing invites powdery mildew.
- Light and soil: full sun to light afternoon shade, moisture-retentive soil that still drains.
- First bloom: usually year two, midsummer into early fall, year one is root and leaf growth only.
- Watch for: powdery mildew in humid or crowded conditions, treat with better airflow first.
The seed itself is easy, it just wants light, warmth, and patience instead of depth and speed.
Give it a full second season before you judge whether it was worth growing from seed at all.