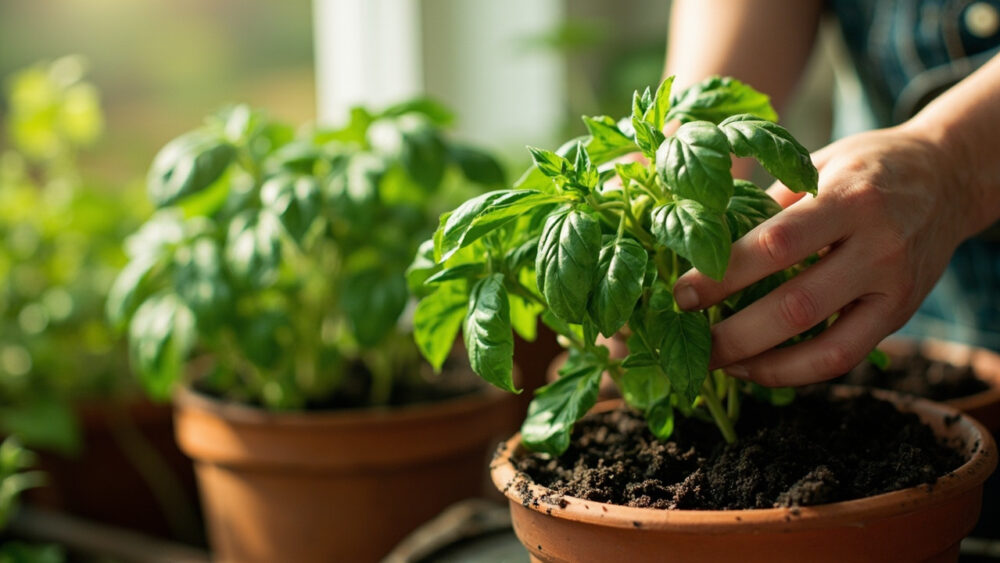
Growing basil indoors comes down to four things you have to get right at the same time: at least 6 hours of strong direct light (or a grow light running 12 to 14 hours a day), a pot with drainage holes, soil that dries slightly between waterings, and regular pinching so the plant bushes out instead of racing to flower. Get those four right and you will be cutting fresh basil in 4 to 6 weeks from seed, or within a week or two of transplanting a nursery start. Miss any one of them and you get the classic indoor-basil failure: a tall, leggy, sad-looking plant with three leaves at the top and nothing worth harvesting.
Here is the mistake that sinks most indoor basil before it ever gets going: not enough light, full stop. People set it on a bright-looking windowsill and wonder why it stretches sideways and goes pale. There is also a watering habit almost everyone gets backwards, and a pruning move that feels wrong the first time you do it but is exactly what keeps the plant productive for months instead of weeks.
Stick with me through the sections below and you will know exactly when to start, how to set the pot up so it does not fight you, and how to keep harvesting without the plant bolting to flower on you. There’s a save-able Basil at a Glance card at the very bottom with every number in one place.
When to Start Basil Indoors
Basil growing indoors does not care about your last frost date the way an outdoor garden does, because you control the temperature. That said, most people start it in spring because light is stronger and days are longer, which makes everything easier and faster.
Basil wants warmth above almost everything else. Seeds germinate reliably at soil temperatures of 70 to 80°F, and growth slows hard below 60°F. If your indoor spot runs cool at night, near a drafty window in winter, expect slower growth no matter how good your light is.
You can start basil indoors any month of the year as long as you can supply real light. Winter starts just need a grow light, since window light alone in December and January is usually too weak and too short in duration to keep basil compact and productive.
Next up is the part that decides whether this plant thrives or sulks: where you actually put it.
Choosing the Spot and Prepping the Container
If you assumed any sunny-looking windowsill would do, that is the assumption that produces the tall, floppy, pale plant nobody wants to eat. Basil needs 6 to 8 hours of direct sun, and a south-facing window in most homes does not actually deliver that in winter, even though it looks bright to your eyes.
The honest fix is a small grow light positioned 6 to 12 inches above the plant, run for 12 to 14 hours a day. It is the single biggest upgrade you can make, and it is why some people harvest basil all winter while others watch theirs give up by November.
Use a pot at least 6 to 8 inches wide and equally deep, with drainage holes, no exceptions. Basil roots rot fast in a pot that holds water, and a saucer that lets water sit under the pot causes the same problem from below.
Fill it with a light, well-draining potting mix, not garden soil, which compacts in containers and suffocates roots.
Once the pot and light are sorted, the actual planting takes ten minutes.
Planting Basil Step by Step
Starting from seed
- Depth: sow seeds about 1/4 inch deep, barely covered, since basil seed needs some light to germinate well.
- Spacing: scatter 3 to 4 seeds per 6-inch pot, then thin to the one or two strongest seedlings once they have their first true leaves.
- Moisture: keep the soil evenly damp, not soggy, until germination, which takes 5 to 10 days at 70 to 80°F.
Starting from a nursery transplant
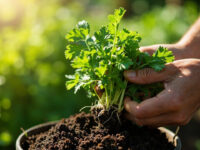
- Depth: plant at the same depth it was growing in its original pot, don’t bury the stem.
- Spacing: one plant per 6 to 8 inch pot, or space multiple plants 8 to 10 inches apart in a larger container or window box.
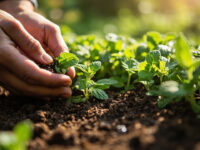
- Technique: loosen the root ball gently with your fingers before planting so roots spread outward instead of circling.
Water thoroughly right after planting until it runs from the drainage holes, then let the top inch dry before the next watering.
Now comes the part where most people either build a great plant or accidentally starve it.
Watering and Feeding Through the Season
Here is the watering habit that trips people up: they think basil, being a leafy, thirsty-looking herb, wants to stay constantly moist. It actually wants a light drying cycle between waterings.
Check the soil an inch down with your finger. If it feels dry there, water until it drains from the bottom. If it still feels damp, wait a day and check again.
Constantly wet soil is the fastest route to root rot and to the fungal issue gardeners call damping off in young seedlings. Basil would rather dry out slightly than sit wet.
Feed every 2 to 3 weeks with a balanced liquid houseplant fertilizer at half strength, or mix a slow-release fertilizer into the soil at planting time per the label. Skip heavy feeding, since basil grown too rich in nitrogen produces soft, less flavorful leaves.
Fed and watered right, the plant grows fast, and fast growth is exactly when trouble tends to show up.
Problems That Actually Show Up Indoors
The three real threats to indoor basil are leggy stretching, aphids or spider mites, and fungal problems from poor air movement, roughly in that order of how often they strike.
Leggy, stretched growth with big gaps between leaves means insufficient light, not a fertilizer problem. More light and regular pinching fix it; more fertilizer does not.
Aphids and spider mites show up as sticky residue or fine webbing, usually on a plant that has been indoors a while with still air. Rinse the plant in the sink, improve airflow with a small fan, and treat with insecticidal soap if it persists, following the product label exactly.
Fungal issues, including gray mold on stems or a general wilting despite moist soil, come from crowded plants, still air, and soil that stays wet. Space plants out, add a fan, and let the soil dry more between waterings.
Basil is generally an easy houseplant to keep healthy, and most of these issues trace back to light and airflow rather than anything mysterious.
Handle these three and the only remaining question is when to actually start cutting.
When and How to Harvest
Start harvesting once the plant has at least 6 to 8 true leaves and stands 6 to 8 inches tall, usually 4 to 6 weeks after sprouting from seed. That is earlier than most people expect, and earlier harvesting is exactly what keeps the plant from going leggy in the first place.
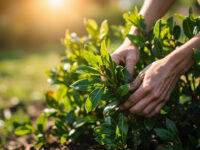
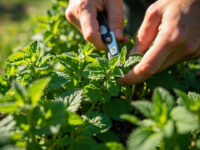
Here is the counterintuitive part: pinch from the top, not by pulling individual leaves off the sides. Cut just above a leaf node where two new leaves are emerging, and the plant branches into two stems where there was one.
Do this every 1 to 2 weeks and you get a fuller, bushier plant with more total harvest over its life, not less.
Watch for flower spikes forming at the top, small white or purple buds. Pinch those off immediately, since flowering signals the plant to slow leaf production and shift energy into seed.
An indoor basil plant kept pinched and well lit can keep producing for 4 to 6 months before it gets woody and needs replacing with a fresh start.
If you only remember one number from this whole guide, save the card below.
Basil at a Glance
- When to plant: any time of year indoors, as long as you provide 6 to 8 hours of strong light or a grow light for 12 to 14 hours daily.
- Depth and spacing: sow seed 1/4 inch deep, one plant per 6 to 8 inch pot, or space 8 to 10 inches apart in a larger container.
- Ideal temperature: 70 to 80°F for germination and steady growth, below 60°F growth slows noticeably.
- Watering: water thoroughly, then let the top inch of soil dry before watering again.
- Feeding: balanced liquid fertilizer at half strength every 2 to 3 weeks.
- First harvest: 4 to 6 weeks from seed, once the plant has 6 to 8 true leaves and stands 6 to 8 inches tall.
- Harvest method: pinch stem tips above a leaf node every 1 to 2 weeks, and remove flower buds as soon as they appear.
Light and regular pinching are what separate a leggy, disappointing pot from one you’re cutting from for months.
Get those two right and the rest of this guide is just details.