The best time to prune redbud trees is right after they finish flowering in spring, once the last blooms have faded but before the tree has pushed much new leaf growth. That window usually falls a few weeks after your last frost, depending on your zone. Prune redbuds in late winter and you will cut off a season’s worth of flowers before they ever open.
Most people who prune a redbud at the wrong time do not ruin the tree, they just rob themselves of the flower show they planted it for in the first place. That is the mistake that costs the most people the most disappointment, and it is entirely avoidable once you know the tree’s clock.
There is also a sign almost everyone misreads on a young redbud, a cut that looks fine in July and turns into a real structural problem by year three. And you are probably about to wonder how much you can actually take off without stunting a tree that is already a little slow to establish. Stick around, because the save-able Redbud Trees at a Glance card at the bottom covers timing, tools, and cut limits in one place you can screenshot before you walk outside.
When to Prune a Redbud, and When to Leave It Alone
Redbuds set next year’s flower buds during the current growing season, on wood that is already a year old. That single fact drives the whole calendar. Prune within two to four weeks after bloom ends in spring, while you can still see where the flower clusters were and while the tree still has the whole summer ahead to heal and regrow.
Late winter and early spring, before flowering, is the classic “obvious” time to prune a deciduous tree, and it is exactly wrong for a redbud. You will not hurt the tree’s health cutting then, but you will cut away buds that were about to open.
Dead, damaged, or diseased wood is the one exception. Remove that any time of year, no waiting required.
Once you know your window, the next question is what to bring outside with you.
Tools and the One Prep Step Most People Skip
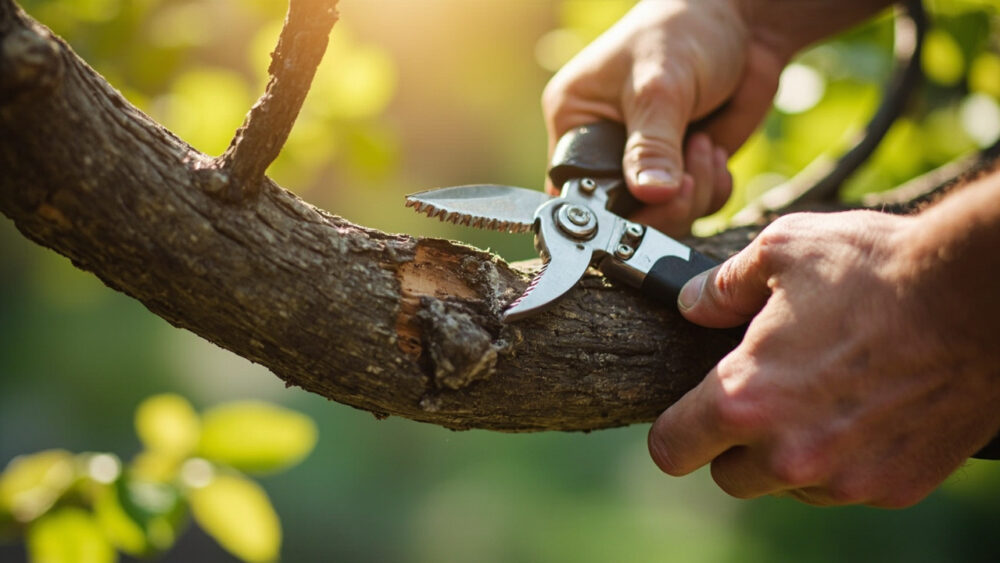
For a young to mid-size redbud you need bypass pruners for anything under about half an inch thick, loppers for branches up to an inch and a half, and a pruning saw for anything larger. Skip anvil-style pruners, they crush rather than cleave and leave a wound that heals slower.
Wipe your blades with rubbing alcohol before you start, and again if you move from a branch you suspect is diseased to healthy wood. Redbuds are not especially disease-prone, but verticillium wilt and canker both spread easily on dirty tools, and a clean cut is the cheapest insurance you have.
Step back and look at the whole tree before you cut anything. Decide on your three or four worst branches first so you are not making it up limb by limb.
With clean tools and a plan in your head, you are ready for the cuts that actually matter.
Step 1: Remove the Three D’s First
Dead, damaged, and diseased wood comes off before anything else, cut back to healthy tissue or to the trunk. This alone often solves half of what looked like a shaping problem.
Step 2: Open Up Crossing and Rubbing Branches
Redbuds naturally grow multiple trunks and low, spreading limbs, and it is common for two branches to cross and rub bark raw against each other. Pick the stronger, better-placed branch and remove the other at its point of origin.
Step 3: Correct Weak Crotches Early
Look for branches meeting the trunk at a narrow, V-shaped angle rather than a wide U. Narrow crotches split under ice or wind load years later. On a young tree, remove or shorten the weaker of the two while it is still a small cut instead of a future emergency.
Step 4: Thin for Light and Airflow, Don’t Shear
Take out whole branches at their origin rather than shearing the outer canopy into a shape. Redbuds have an open, layered, almost horizontal branching habit that is part of their appeal, and shearing destroys it while encouraging a thicket of weak regrowth.
As a general limit, remove no more than about 15 to 20 percent of the live canopy in a single season. Go past that and you push the tree into stress recovery mode instead of steady growth.
That percentage is the guardrail that keeps the next part, recovery, from becoming a slog.
What Happens After You Prune
Expect new growth to push from just below your cuts within a few weeks, since you are pruning right as the tree enters its most active growth period. Cut edges on branches under two inches typically callus over within the first season, visible as a slightly raised ring forming around the wound.
You likely assumed a big pruning cut needs to be sealed or painted to protect it. It does not. Modern arborist guidance is clear that wound paints and sealants trap moisture and slow natural healing rather than help it, so leave cuts bare and let the tree do its own work.
Watch the following year’s bloom, not this year’s, as your real report card. A well-timed, moderate prune this spring generally shows up as fuller, better-spaced flowering the next.
If your cuts were bigger or more numerous than usual, there is one more thing worth knowing before next season arrives.
The Mistakes That Cost You Flowers, Shape, or the Whole Tree
A few habits account for almost every regretted redbud prune. Knowing them ahead of time is cheaper than learning them after the fact.
- Pruning in late winter or early spring: you remove the buds that were about to become this year’s flowers, so wait until just after bloom instead.
- Topping or heading cuts on main branches: cutting a branch mid-length rather than back to a lateral or the trunk triggers a cluster of weak, upright shoots at the cut, called witch’s broom growth, that ruins the tree’s natural form for years.
- Taking too much in one season: anything past roughly 20 percent of live canopy stresses the root system and can trigger dieback rather than vigorous new growth.
- Leaving stubs: a cut that does not go flush to the branch collar heals slowly and invites rot; always cut just outside the collar, not into it and not far past it.
- Pruning a stressed or newly planted tree hard: a redbud in its first one to two years in the ground needs time to establish roots, and heavy pruning on top of transplant stress can set it back significantly. Limit first-year pruning to dead wood and safety issues only.
Every one of these is avoidable, and every one is common, which is exactly why the checklist below is worth keeping handy.
Redbud Trees at a Glance
- When to prune: two to four weeks after flowering ends in spring, once blooms have dropped but before heavy new leaf growth.
- When not to prune: late winter or early spring before bloom, since you will remove the season’s flower buds.
- How much to remove: no more than 15 to 20 percent of live canopy in a single season.
- Anytime exception: dead, damaged, or diseased wood, removed as soon as you spot it regardless of season.
- Tools needed: bypass pruners for stems under half an inch, loppers up to about an inch and a half, a pruning saw for anything larger, blades wiped with rubbing alcohol between cuts.
- Where to cut: flush to the branch collar or back to a healthy lateral, never a stub, never a wound sealant.
- Young trees: limit pruning to dead wood and structural safety issues for the first one to two years after planting.
Time it around the bloom, not the calendar, and take a little less than you think you should.
Do that consistently and a redbud rewards you with a better shape and a fuller bloom every year it is in the ground.