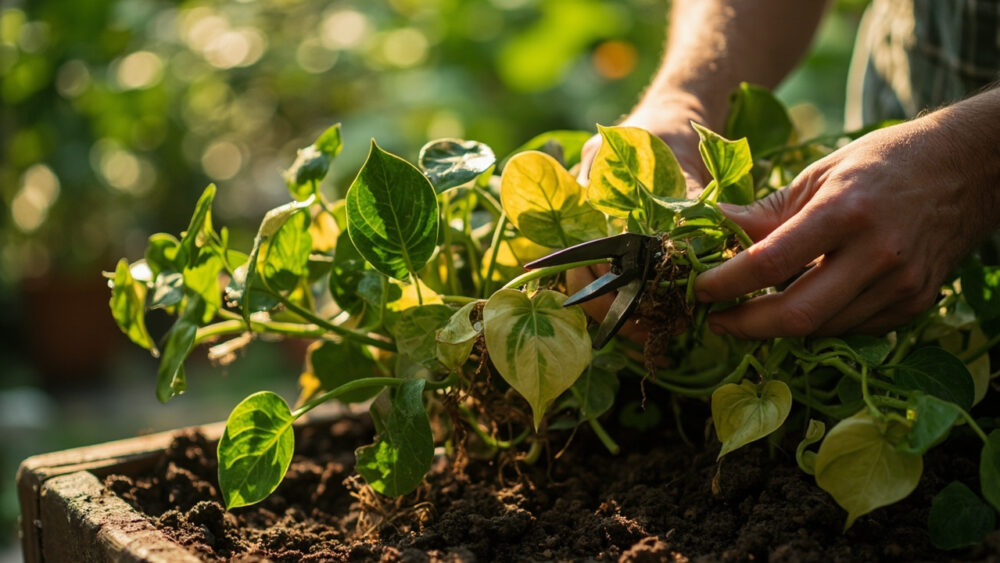
The method that actually works is water propagation from a stem cutting that includes at least one node and one aerial root nub, cut just below that node, with two or three leaves left on top. Set it in water, keep it warm and bright but out of direct sun, and roots show up in one to three weeks. Most people who try to propagate golden pothos get a cutting to sprout roots just fine and then lose it a month later, which is not a rooting problem at all.
That’s the first loop worth opening. The failure almost never happens at the cutting stage. It happens at the potting-up stage, when water roots get shoved into soil and the plant sulks or rots because nobody bridged the transition.
There’s a second thing almost everyone gets wrong too: where exactly to cut. Snip in the wrong spot and you get a leafy stick that never roots, no matter how long you leave it in water. Stick with this and you’ll get the full week-by-week timeline and the exact node-and-cut anatomy, plus a save-able Golden Pothos at a Glance card at the bottom with every number in one place.
Why Water Propagation Beats the Alternatives
Golden pothos roots readily from stem cuttings because every node along the vine already carries a small brown or tan bump, the aerial root primordium, that’s pre-programmed to become a root the moment it senses moisture. You aren’t asking the plant to do anything unnatural.
Soil propagation works too, but you lose the ability to see what’s happening. Water lets you watch roots form and pot up at the right moment instead of guessing whether a cutting took by tugging on it.
Division of an existing rooted plant is the other legitimate option, useful if you’re just repotting an overgrown pothos and want two plants instead of one, but it doesn’t multiply your plant the way cuttings do.
Water cuttings give you visible proof of progress, and that proof is what tells you when to move to the next stage.
Step by Step: Taking and Rooting the Cutting
Finding and making the cut
Look along any healthy vine for the nodes, the slightly swollen joints where a leaf attaches to the stem. Right at or just below most nodes on a mature vine you’ll see a small brown nub, sometimes several, pressed against the stem. That’s the aerial root.
Cut about a quarter inch below a node that has one of these nubs, using clean scissors or a knife. A cutting with three to four nodes and two or three leaves roots faster and grows into a fuller plant than a single-node snip.
Rooting medium and setup
Strip the bottom one or two leaves so no foliage sits underwater, since submerged leaves rot and cloud the water. Drop the cutting into a jar of room-temperature water with the node and aerial root nub fully submerged.
Plain tap water works fine for pothos. Change it every five to seven days, or the moment it looks cloudy, to keep bacteria from stalling root growth.
Light and warmth
Bright, indirect light is what actually drives rooting speed, not warmth alone. A spot near an east or north window, or a few feet back from a south or west one, beats a dim corner every time. Direct sun through glass will cook a leafless-stem cutting sitting in a small jar of water.
Room temperature between 65 and 80°F is fine, and pothos roots noticeably slower below 60°F.
Get the cut and the light right and the timeline below becomes almost boring in its predictability.
Week by Week: What to Actually Expect
Week one usually shows nothing dramatic. The aerial root nub may swell slightly or turn a touch greener or paler. Don’t panic if you see zero change.
By the end of week two, most healthy cuttings show the first thread-like white roots emerging from the node, often a few millimeters long. This is the point where people assume it’s ready to pot, and that guess is the one that costs a lot of cuttings their momentum.
Roots that thin and pale are not ready for soil. They’re built for water, and moving them too early means they have to essentially regrow a different root type once they hit dirt, which is exactly the stress that kills transplants.
By weeks three to four, roots should be 1 to 2 inches long, branching slightly, and starting to look a little more substantial and less glassy. That’s your real signal.
Once roots hit that 1 to 2 inch mark with some branching, the cutting is finally ready to leave water behind.
Potting Up: The Step Nobody Tells You About
Here’s the honest answer to the question every water-propagator eventually asks: why did my rooted cutting die after I potted it? Water roots are structurally different from soil roots, thinner-walled and adapted to constant moisture with no risk of drying out. Dropped straight into soil, they often can’t take up water fast enough and the plant wilts or the roots rot in the adjustment.
The fix is a short transition, not a hard switch. Pot into a small container, 3 to 4 inches, with a well-draining potting mix, and water it heavily right after planting so the soil is saturated and the shift in moisture isn’t so abrupt. Keep it out of direct sun for the first one to two weeks.
Expect a little droop or a couple of yellowing lower leaves in that adjustment window. That’s normal and usually temporary, not a sign of failure, as long as new leaves keep coming after a few weeks.
Plant multiple cuttings, three or four, around the edge of one 4 to 6 inch pot for the classic full, trailing pothos look faster than growing one cutting alone.
Get through that first tender month and the plant behaves like any established pothos from then on.
Why Most Attempts Actually Fail
If you assumed a mushy, blackened cutting means it needed more water, that guess is backwards. Stems that go soft and dark at the base are rotting from too much stagnant water and too little oxygen, not too little moisture. Change water more often and don’t submerge more stem than necessary.
The second most common failure is cutting mid-internode, between two nodes, with no aerial root nub anywhere on the submerged portion. That piece of stem can survive in water for months and never root, because there’s no root-producing tissue on it at all.
Low light is the quiet killer. A cutting can survive for a long time in a dim room without dying outright, it just never roots, and people give up around week six assuming the plant is defective.
Cold water and cold rooms slow everything down too, so a windowsill in a drafty winter house isn’t doing the cutting any favors even if the light there is good.
Fix the cut, the light, and the water cycle, and pothos propagation stops being a gamble.
Golden Pothos at a Glance
- Best method: stem cutting rooted in water, one taking three to four nodes and two or three leaves per cutting.
- Where to cut: a quarter inch below a node that shows a brown aerial root nub, never mid-internode.
- Rooting conditions: room-temperature water changed every five to seven days, bright indirect light, 65 to 80°F.
- Timeline: first roots by week two, ready to pot at 1 to 2 inches of branching root by weeks three to four.
- Potting mix: any well-draining potting soil, in a 3 to 4 inch pot, watered heavily right after planting.
- Adjustment period: one to two weeks out of direct sun, expect minor droop or a yellow lower leaf or two.
- Common failure points: cutting between nodes, low light stalling root growth, and stagnant water causing stem rot.
Cut at a node with a visible root nub and wait for real roots before potting, everything else about growing golden pothos is forgiving.
Get those two things right and one cutting can turn into a shelf full of trailing pothos within a season.