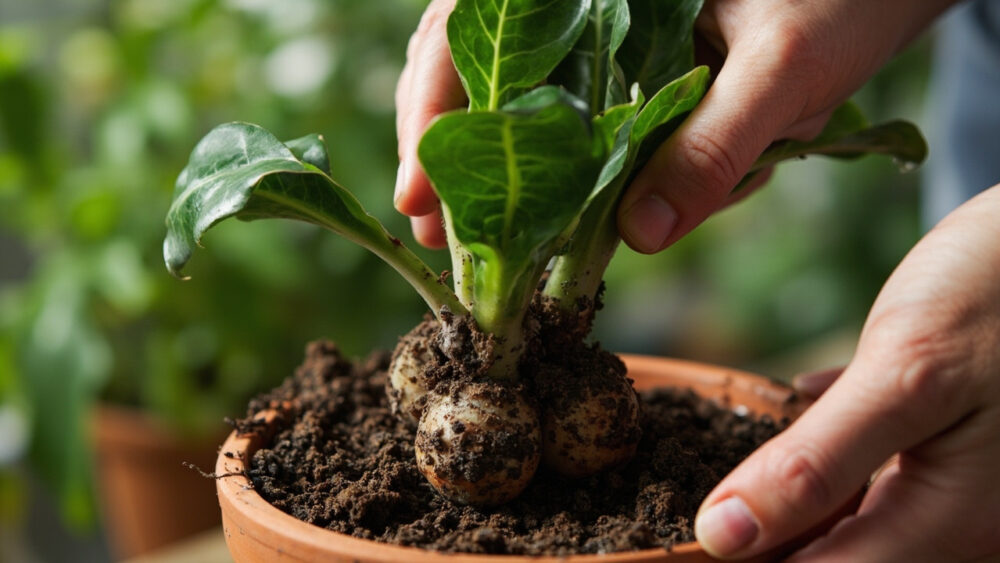
The best time to repot a ZZ plant is spring through mid-summer, when you see roots circling the drainage holes or the potato-like rhizomes are pushing the plant up and cracking the pot. Move up just one pot size, no more than 2 inches larger in diameter, using a fast-draining mix, and water lightly for the first week while new roots settle in. That’s the whole job in miniature. Do it wrong and you’ll drown a plant that was never thirsty in the first place, which is the single mistake that kills more ZZ plants during repotting than any pest or disease ever will.
There’s a sign most people misread right before repotting, and it’s the wrinkled or slightly soft stem that looks like a watering problem but usually isn’t. There’s also the size question everyone gets wrong, because bigger is not better here and a pot that’s too roomy will sit wet for weeks and rot those rhizomes from the inside. And once the new pot is filled, you’re going to have a follow-up question about watering that this guide answers directly, because the rules change for a few weeks after repotting.
Stick around to the end for the ZZ Plant at a Glance card, a save-to-your-phone summary of light, water, soil, and timing so you’re not hunting through paragraphs the next time you’re standing over the plant with dirt on your hands.
When Your ZZ Plant Actually Needs Repotting
Check the drainage holes first. If you see thick roots or the beginnings of a rhizome pressing against the plastic, it’s time.
The wrinkled-stem sign people misread is dehydration in the rhizome, not overwatering. Squeeze a stem gently near the base. If it feels soft and shrunken rather than firm, the rhizomes below have outgrown the pot and can’t store enough water anymore.
Repot every 2 to 3 years for most ZZ plants, sooner if you started with a small nursery pot. Spring into early summer is ideal because the plant is actively growing and recovers fast; repotting in the dead of winter just leaves it sitting in disturbed soil with no root growth to knit things back together.
Once you know it needs a new home, the size of that home matters more than people think.
Picking the Right Pot Size, Depth, and Drainage
Go up one size only, roughly 2 inches wider in diameter than the current pot. A ZZ plant actually prefers being a little snug in its container, and an oversized pot holds excess soil moisture that the roots can’t use fast enough.
Depth matters as much as width. The rhizomes sit horizontally near the surface, so choose a pot that’s proportionate rather than deep and narrow, which just stacks unused wet soil below the roots.
Drainage holes are non-negotiable. If you love a decorative pot with no holes, use it as a cachepot and keep the plant in a plain nursery pot with holes inside it.
The pot is only half the equation, the mix inside it does the real work.
The Soil Mix and Feeding Schedule
Use a fast-draining mix, something like a standard succulent or cactus blend, or a regular potting mix cut with perlite at roughly one part perlite to two parts potting soil. ZZ rhizomes rot fast in mix that stays soggy, and this is where most repotting mistakes actually happen, not in the pot size.
Skip fertilizer at repotting time. Fresh mix has enough nutrients to hold the plant for a couple of months, and feeding stressed, freshly disturbed roots can burn them.
Once the plant is established, feed lightly every 4 to 6 weeks during spring and summer with a balanced houseplant fertilizer diluted to half strength. Stop feeding in fall and winter when growth slows.
Get the mix right and watering becomes almost foolproof, which is the follow-up question you’re probably already thinking about.
Watering After Repotting, and What Changes
If you assumed the new, bigger pot means water more often to fill it, that guess is exactly backwards and it’s what rots the rhizomes within the first month. Fresh mix holds moisture longer than the old root-bound soil did, and disturbed roots aren’t ready to absorb much anyway.
Water lightly right after repotting, just enough to settle the mix around the roots, then let the top 2 to 3 inches dry out completely before watering again. That usually means waiting 2 to 3 weeks longer than you’d expect.
Check by pushing a finger in to the second knuckle. Bone dry means water. Any coolness or dampness means wait.
Long term, ZZ plants want to dry out fully between waterings every time, not just right after a repot.
Light, Placement, and Temperature
ZZ plants tolerate low light better than almost any houseplant sold, which is exactly why so many end up in dim hallways and never grow. For real growth and that glossy leaf shine, give it bright, indirect light, a few feet from an east or west window.
Direct afternoon sun through south or west glass can scorch the leaves, especially right after repotting when the roots are stressed and can’t support quick recovery.
Keep the plant between 65 and 79°F. It hates cold drafts and temperatures below 45°F for extended periods will damage the foliage.
Get placement right and most of your future problems solve themselves before they start.
Routine Care: Pruning and Cleaning
Pruning is rarely necessary, but cut back any yellowed or floppy stems at the base with clean shears whenever you see them, any time of year.
Wipe the leaves every few weeks with a damp cloth. ZZ leaves are naturally glossy, and dust buildup blocks light and dulls that shine fast.
If a stem grows too tall and leggy, cut it back to the soil line. New growth emerges from the rhizome, not from the cut stem, so don’t expect branching from a mid-stem cut.
Handled regularly, cleaning and light pruning prevent most of the problems the next section covers.
Common Problems After Repotting, and the Real Fixes
Yellow leaves are almost always overwatering, especially in the weeks after a repot when the mix stays wet longer than expected. Let the soil dry out fully and cut back the watering frequency.
Mushy, black, or foul-smelling rhizomes mean rot has already set in. Unpot the plant, cut away the affected rhizome tissue with a clean blade, let the remaining healthy rhizome dry for a day, and repot into fresh, dry mix.
Curling or crispy leaf edges point to too much direct sun or very low humidity, not underwatering, so move the plant back from the window before adding water.
Watch for scale or mealybugs, small waxy or cottony spots along the stems. Wipe them off with a damp cloth or treat with an insecticidal soap, following the product label exactly.
All ZZ plant parts are toxic if chewed or ingested, for both people and pets, and contact with the sap can irritate skin. If a pet or child ingests any part of the plant, contact a veterinarian or physician right away rather than waiting to see what happens.
Once you’ve ruled out the common culprits, it’s worth knowing what a genuinely happy ZZ plant actually looks like.
Signs Your ZZ Plant Is Actually Thriving
New stems emerging from the soil, thin and pale green at first, curled like a fiddlehead, are the clearest sign the rhizomes are healthy and expanding.
Leaves with real gloss, not dusty or matte, mean light and humidity are both in a good range.
A plant that hasn’t needed water in three or four weeks and still looks upright and firm is doing exactly what a ZZ plant is built to do.
Everything above boils down to a handful of numbers worth keeping close.
ZZ Plant at a Glance
- When to repot: spring through mid-summer, every 2 to 3 years, or sooner if roots circle the drainage holes.
- Pot size: go up only one size, about 2 inches wider in diameter, with drainage holes required.
- Soil mix: fast-draining, a cactus or succulent blend, or potting soil cut with perlite at roughly two parts soil to one part perlite.
- Watering: let the top 2 to 3 inches dry completely between waterings, less often right after repotting.
- Light: bright, indirect light a few feet from an east or west window, no direct afternoon sun.
- Temperature: 65 to 79°F, protect from drafts and anything below 45°F.
- Feeding: skip it right after repotting, then half-strength balanced fertilizer every 4 to 6 weeks in spring and summer only.
Get the pot size and the watering restraint right, and everything else about a ZZ plant takes care of itself.
When in doubt, wait another week before you water. That single habit saves more ZZ plants than any other piece of advice here.