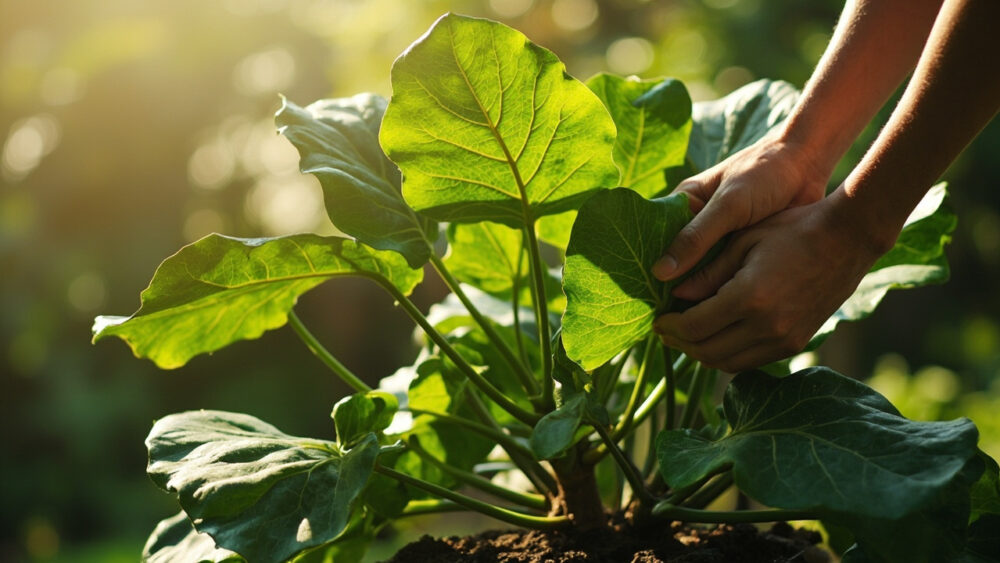
Here is how to care for fiddle leaf fig without the anxiety spiral: bright, filtered light for most of the day, water only when the top 2 to 3 inches of soil are dry, and consistent conditions with no drafts, no radiator blasts, and no constant moving from spot to spot. That combination solves the majority of fiddle leaf fig problems before they start. This plant is not fussy about being loved, it is fussy about being consistent.
Most people who kill a fiddle leaf fig make the same mistake, and it is not what they think. It is usually not underwatering. It is a plant kept in a spot that looks bright to a human eye but is actually too dim, paired with watering on a fixed schedule instead of by feel.
There is also a sign almost everyone misreads, and it is not the dropped leaf everyone panics about. Stick with this, because the real tell shows up somewhere else entirely, and I will point it out when we get there. The full Fiddle Leaf Fig at a Glance card is at the very bottom of this guide, saved and ready for your phone.
Light, Placement, and Temperature
Fiddle leaf figs want bright, indirect light for most of the day, ideally near an east or south-facing window with a few feet of clearance, or right in front of a west window with a sheer curtain. Direct hot afternoon sun through unfiltered glass will scorch the leaves into brown, papery patches. Too little light and new leaves come in small, pale, and spaced far apart on the stem.
Temperature range: keep it between 65 and 80°F, and away from cold drafts, AC vents, and heating registers. This plant hates sudden change more than it hates any single condition being slightly off.
Once you find a good spot, leave it there.
Watering: How Much, How Often, and How to Tell
If you assumed dropped leaves mean the plant needs more water, that guess kills more fiddle leaf figs than drought ever does. Overwatering is the single biggest cause of leaf drop and root rot in this plant, not underwatering.
Check the soil, not the calendar. Push a finger 2 to 3 inches down. If it’s dry there, water thoroughly until it runs from the drainage holes, then dump the saucer. If it’s still damp, wait.
In most homes that works out to once every 7 to 10 days in summer and every 10 to 14 days in winter, but light and pot size shift that more than the season does. A pot with no drainage hole is asking for root rot, full stop.
The plant will tell you when it’s thirsty long before it tells you it’s drowning.
Soil and Feeding
Use a well-draining potting mix, a standard indoor potting soil with some perlite or bark mixed in works well. Heavy, water-retentive soil is exactly what turns a slightly-too-frequent watering habit into root rot.
Feed during the active growing months, roughly spring through early fall, with a balanced liquid houseplant fertilizer diluted per the label, every 4 to 6 weeks. Skip feeding in winter when growth slows or stops.
Fresh, vigorous new leaves at the top of the plant are your best sign feeding is on schedule.
Pruning, Repotting, and Cleaning: The Routine Tasks
Repot every 1 to 2 years, or when you see roots circling the pot’s edge or pushing out the drainage holes. Go up one pot size, not three, an oversized pot holds excess water the roots can’t use fast enough.
Prune in spring or early summer, right as new growth is starting. Cut just above a leaf node to shape height or encourage branching, and expect sap, it’s mildly irritating to skin so wipe it up and wash your hands after.
Wipe the big leaves down with a damp cloth every few weeks. Dust blocks light from reaching the leaf, which quietly starves a plant that’s already working with indirect light to begin with.
Skip the wiping for a couple of months and you’ll notice growth slowing before you notice why.
The Problems Most Likely to Strike
Here is the sign almost everyone misreads: one dropped lower leaf here and there is normal aging, not a crisis. What actually signals trouble is multiple leaves dropping at once, or brown spots with a yellow halo spreading fast, that’s usually overwatering or root rot.
Brown, crispy edges with no yellowing usually mean low humidity or too much direct sun. Dark brown spots without a yellow ring, sitting anywhere on the leaf, often mean physical damage or inconsistent watering swings between bone dry and soaked.
- Yellow leaves plus soggy soil: overwatering or poor drainage, let it dry out fully and check roots for rot.
- Brown crispy edges: low humidity, sunburn, or underwatering, move out of direct sun and water by the finger test.
- Leggy growth with sparse leaves: not enough light, move closer to a bright window.
- Small white or brown bumps, sticky residue: scale or spider mites, wipe leaves down and treat with insecticidal soap or neem, following the product label.
The fiddle leaf fig is mildly toxic to pets and people if ingested, causing mouth and stomach irritation. If a pet chews on one, call your veterinarian rather than waiting to see what happens.
Get the diagnosis right before you change anything, because treating sunburn like a watering problem just compounds the damage.
How to Tell It’s Genuinely Thriving
A thriving fiddle leaf fig pushes out new leaves steadily through the growing season, each one slightly larger than the last, unfurling a rich, glossy green. The stem thickens over time and the plant stands upright without leaning hard toward the window.
Here’s the honest answer to the question you’re about to ask: yes, it’s normal for growth to slow or stop completely in winter, that’s dormancy, not failure. Don’t panic and start fertilizing or repotting to fix a plant that’s simply resting.
Everything you need to remember is right below, saved in one place.
Fiddle Leaf Fig at a Glance
- Light: bright, indirect light most of the day, near an east or filtered south or west window, no harsh direct afternoon sun.
- Watering: check the top 2 to 3 inches of soil, water thoroughly when dry, roughly every 7 to 14 days depending on season and light.
- Temperature: 65 to 80°F, away from drafts, AC vents, and heating registers.
- Soil: well-draining potting mix with perlite or bark, always in a pot with drainage holes.
- Feeding: balanced liquid fertilizer every 4 to 6 weeks in spring through early fall, none in winter.
- Repotting: every 1 to 2 years, one pot size up, when roots crowd the pot.
- Warning sign: multiple leaves dropping at once or spreading brown spots with a yellow halo means check for overwatering or root rot immediately.
Consistency beats perfection with this plant. Pick a good spot, water by feel, and leave it alone to grow.