Caring for tomatoes comes down to five things done consistently: at least 6 to 8 hours of direct sun, deep and even watering instead of frequent sips, rich soil with steady feeding, support installed early instead of late, and fast action the moment you spot trouble on the leaves. Get those five right and everything else is minor tinkering.
Most tomato failures trace back to one habit that feels responsible but backfires: watering a little bit every day. It grows shallow roots and sets you up for blossom end rot and split fruit later. There’s also a sign almost every new grower misreads on the plant itself, and a question that’s coming right after this one: why are my leaves curling, or why did all my flowers just drop.
Stick around, because the answers to all of that are below, and at the very bottom you’ll find a save-able Tomatoes at a Glance card with the numbers worth keeping on your phone.
Light, Placement, and Temperature
Tomatoes want full sun, meaning 6 to 8 hours minimum, and they’ll reward 10 hours if you can give it. Less than 6 hours and you get a leggy plant with disappointing fruit set no matter how well you feed it.
Soil temperature matters more than the calendar. Wait until nighttime air temps hold above 50°F and soil has warmed past 60°F, usually two to three weeks after your last frost date, before planting outside.
Plants sulk and stall below 50°F and stop setting fruit once days run past 95°F. In containers, dark pots overheat roots in peak summer, so use light-colored containers or give afternoon shade in the hottest climates.
Get the location right first, because no amount of fertilizer fixes a spot that’s shaded half the day.
Watering: How Much, How Often, and How to Tell
If you assumed more frequent watering means healthier plants, that habit is exactly what causes blossom end rot and watery, cracked fruit. Tomatoes want deep, infrequent watering that trains roots downward, not a daily splash that keeps them shallow and needy.
Water deeply two to three times a week, enough to soak 6 to 8 inches down, rather than a little every day. In sandy soil or peak summer heat you may need four waterings a week; in humid clay soil, two is often plenty.
Check by pushing a finger 2 inches into the soil. If it’s dry at that depth, water. If it’s still damp, wait.
Consistency is the real goal, not frequency, since irregular watering (a dry week followed by a flood) is what splits fruit and rots blossom ends even when the total water adds up fine.
Mulch 2 to 3 inches deep with straw or shredded leaves to buffer those swings before they start.
Soil, Potting Mix, and Feeding
Tomatoes are heavy feeders in rich, well-drained soil with a pH around 6.2 to 6.8. Work a couple inches of compost into the bed at planting time, and bury the stem deep, up to two-thirds of it, since tomatoes root all along a buried stem and that head start pays off all season.
In containers, use a quality potting mix, not garden soil, and go with at least a 15 to 20 gallon container per plant for full-size varieties.
Feed on a schedule, not by guessing. A balanced fertilizer at planting, then a phosphorus-and-potassium-leaning feed every 2 to 3 weeks once flowering starts, keeps fruit coming without pushing all leaf and no tomato.
Too much nitrogen late in the season is its own trap, and it’s the one that surprises people next.
The Nitrogen Trap Nobody Warns You About
A tomato plant that looks lush, dark green, and enormous but sets few flowers usually has too much nitrogen and not enough phosphorus and potassium. It looks like success. It isn’t.
Switch to a bloom-booster type feed (lower first number, higher second and third) once flowering should be underway, and back off high-nitrogen fertilizer or fresh manure.
This is also the honest answer to “why did all my flowers drop”: it’s usually heat stress above 90°F, cold nights below 55°F, or exactly this nitrogen imbalance, not a pest and not something you did wrong that morning.
Fix the feed and the environment, and new flowers will set within a week or two once conditions settle.
Pruning, Staking, and Routine Upkeep
Install your stake, cage, or trellis at planting time, not after the plant flops over. Roots disturbed later set the plant back for weeks.
Prune suckers, the small shoots growing in the crook between the main stem and a branch, on indeterminate (vining) varieties to keep airflow open and direct energy into fruit rather than endless foliage. Determinate (bush) varieties need little to no pruning, since removing growth reduces your total harvest.
Strip off any leaves touching the soil, since that’s the easiest entry point for fungal disease. Wipe pruning shears with rubbing alcohol between plants if you suspect any disease, so you’re not spreading it yourself.
Do this weekly through the growing season and it takes five minutes instead of an afternoon.
The Curling Leaves Almost Nobody Reads Right
Here’s that leaf sign from the intro. Curling leaves get blamed on disease constantly, but the far more common cause is simple heat and moisture stress, especially in the upper leaves during a hot afternoon.
The plant is rolling leaf edges to reduce water loss, the same way you’d squint in bright sun. If the plant perks back up by evening or the next morning, it’s stress, not disease, and consistent deep watering and mulch are the fix.
The real disease-related curling looks different: it comes with yellowing, mottling, or distorted new growth that doesn’t recover overnight, and that’s your cue to look closer for pests or pathogens rather than just adjusting the hose schedule.
Knowing which curl you’re looking at saves you from ripping out a perfectly healthy plant.
The Problems Most Likely to Strike
Blossom end rot shows up as a dark, sunken spot on the fruit’s bottom, caused by inconsistent watering interrupting calcium uptake, not a lack of calcium in most soils. Fix the watering rhythm before you reach for a calcium spray.
Hornworms, thick green caterpillars that vanish into the foliage, strip leaves fast. Hand-pick them off in the early morning when they’re easiest to spot.
Early blight and septoria leaf spot both start as brown or dark spots on lower leaves that spread upward. Remove affected leaves promptly, improve airflow through pruning, and use a fungicide labeled for tomatoes exactly per its label if it’s spreading fast.
Aphids and whiteflies cluster on new growth and undersides of leaves; a strong water spray or insecticidal soap applied per label knocks them back in most home gardens.
Catch any of these early and a single afternoon of cleanup usually settles it.
How to Tell Your Tomato Plant Is Actually Thriving
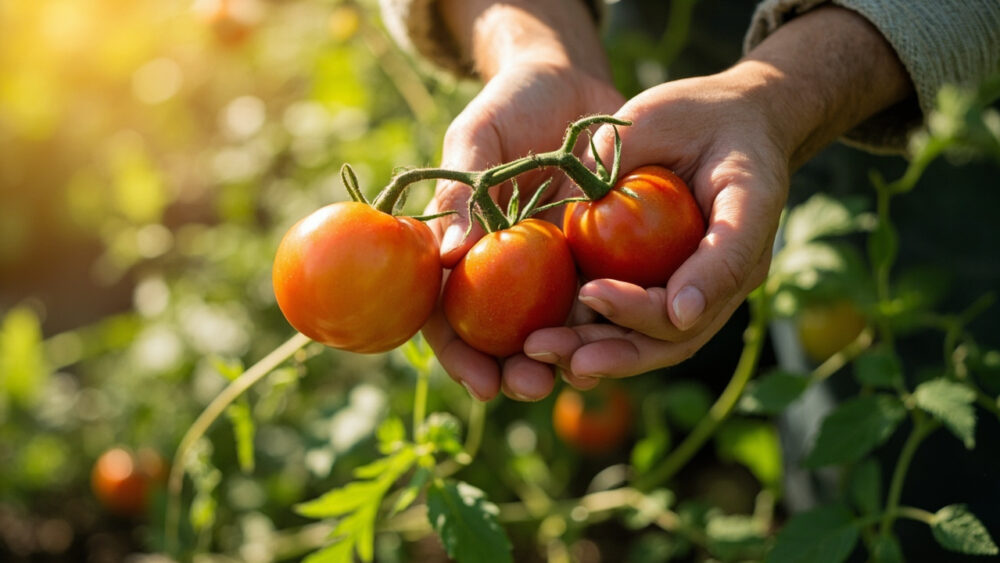
A thriving tomato has deep green upper leaves, steady new growth at the top, and flowers opening continuously rather than in one burst and done. The stem should feel thick and sturdy, not thin and floppy.
Fruit set is the real scoreboard. You want small green tomatoes forming behind every few flower clusters, not just flowers that bloom and drop.
Expect ripening to begin roughly 60 to 85 days after transplanting depending on variety, with cherry types running faster and big beefsteaks running slower.
Keep those signs in mind, because the quick-reference card below turns all of this into numbers you can check in ten seconds.
Tomatoes at a Glance
- When to plant: two to three weeks after last frost, once nighttime air holds above 50°F and soil is above 60°F.
- Light: 6 to 8 hours of direct sun minimum, more is better.
- Spacing and depth: 18 to 24 inches apart for staked plants, up to 36 inches for sprawling types, planted deep enough to bury two-thirds of the stem.
- Watering: deep soak two to three times a week, water when soil is dry 2 inches down, avoid daily shallow watering.
- Feeding: balanced fertilizer at planting, then a phosphorus and potassium leaning feed every 2 to 3 weeks once flowering starts.
- Support and pruning: stake or cage at planting time, prune suckers on indeterminate varieties weekly, strip lower leaves touching soil.
- Time to first ripe fruit: roughly 60 to 85 days after transplanting, depending on variety.
If you only remember one thing, remember this: consistent watering prevents more tomato problems than any fertilizer, spray, or pruning technique ever will.
Get that rhythm steady and the rest of this card is just details.