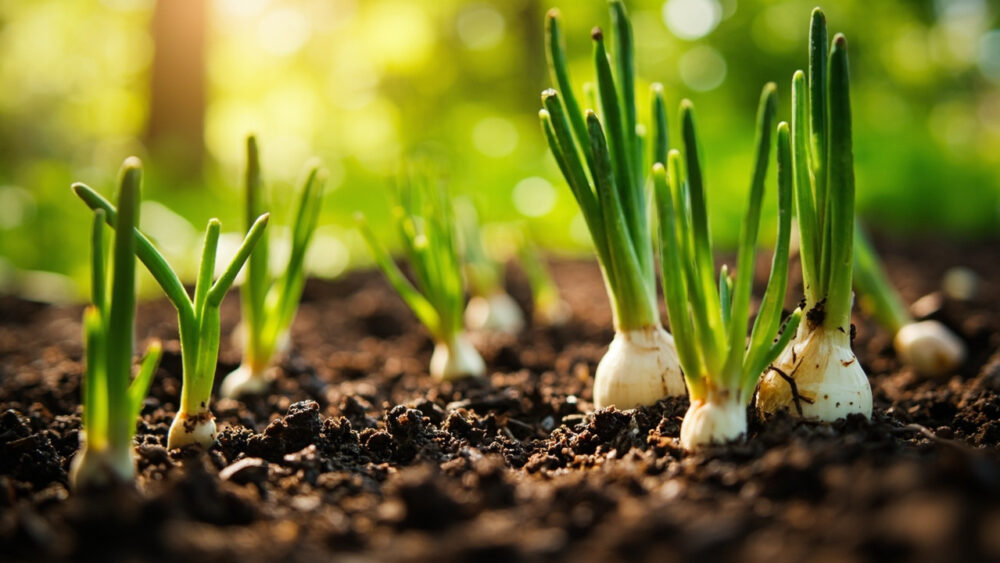
Onions growing stages run in five parts: germination, seedling, bulbing initiation, bulb swell, and maturity, and the whole run takes anywhere from 90 to 120 days depending on your variety and climate. Each stage has its own look and its own job for you, and skipping ahead or misreading one is exactly how a bed of onions turns into a bed of scallions. Get the sequence in your head now and you will know what you are looking at every time you walk out to check on them.
There is one mistake that quietly ruins more onion crops than anything else, and it happens at a stage most people think is the easy, boring middle part. There is also a sign at the bulbing stage that looks like trouble but is actually the plant doing exactly what it should. And there is an honest answer waiting for you about why some onions in your own row stay small no matter what you do, which has nothing to do with watering.
Stick with me through the stages below and you will hit all of that in order. At the bottom is a save-able Onions at a Glance card with the numbers you will actually want on your phone in the garden.
Germination: Days 0 to 10
If you start from seed, germination happens indoors or in a seed tray at soil temperatures between 60 and 75 F, and you will see a thin curled green loop push up through the soil within 4 to 10 days. It looks less like a seedling and more like a bent piece of grass at first, and that is normal.
From sets or transplants, you skip this stage entirely, which is why most home gardeners use them. Direct seeding is cheap and gives you more variety choices, but it costs you a month of lead time you have to plan for.
Either way, the next stage is where the plant actually starts building the tool it will use for the rest of the season.
Seedling Stage: Weeks 2 to 6
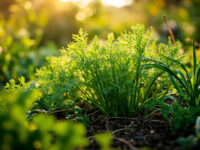
The loop straightens and splits into the first true leaf, then a second, then a third, each one hollow and grass-like. By week 6 a healthy seedling has 3 to 5 leaves and looks like a small, sturdy tuft of chives.
Transplant or thin during this stage, once seedlings are pencil-thick and about 6 inches tall. Space onions 4 to 6 inches apart in rows 12 to 18 inches apart, planted about 1 inch deep with roots straight down, not curled.
Every leaf an onion grows during this stage is a leaf it can later turn into bulb layers, so this is the stage where more leaves now means a bigger bulb later.
The Stage Where Most Onion Crops Actually Go Wrong
Here is the mistake I promised you: gardeners assume the leafy stage is just filler before the “real” growing starts, so they let weeds and skimpy soil slide during weeks 2 through 6. That is backwards. Bulb size is set almost entirely by leaf count before bulbing even begins, not during it.
An onion with 8 leaves at bulbing time will out-bulb an onion with 4 leaves every single time, even with identical care afterward. Weed competition, nitrogen shortage, or crowding during the leafy stage caps your final bulb size no matter what you do next.
Feed with a nitrogen-rich fertilizer every 3 to 4 weeks through this stage and keep the bed weeded by hand, since onion roots are shallow and hate competition. Once you understand that leaves come before bulbs, the rest of the calendar makes a lot more sense.
Bulbing Initiation: The Daylight Trigger
Onions do not decide to bulb because they feel like it. They bulb when day length crosses a threshold specific to their type: short-day onions (around 10 to 12 hours) trigger in late winter to early spring in mild climates, long-day onions (14 hours or more) trigger in early to mid summer in northern climates, and day-neutral types split the difference and work across more zones.
The visual cue everyone misreads happens right here. The base of the plant starts to swell and the leaves may yellow slightly or flop over early, and a lot of gardeners panic and think the plant is dying or diseased. It is not. That swelling is the bulb initiating, and slight lower yellowing at this exact stage is often just the plant shifting energy from leaf growth into bulb growth.
If you planted the wrong day-length type for your latitude, though, bulbing triggers too early on too few leaves, and you get small, tight bulbs no matter how well you fed them.
What happens next during bulb swell is where all that leaf investment finally pays off, or where it becomes obvious it didn’t.
Bulb Swell: Weeks 8 to 14
Once triggered, the bulb swells fast, pushing soil aside and rising partway above the surface. Each leaf you grew earlier corresponds to one ring of bulb, so this is purely a cashing-in stage, not a building stage.
Water consistently here, about 1 inch a week from rain or irrigation, since inconsistent moisture during swell causes split bulbs or double centers. Stop high-nitrogen feeding once bulbing starts; nitrogen now delays bulbing and can cause thick necks that store poorly.
This is also when you will notice which plants in your row are lagging, and that tells you something specific about how the earlier stages went.
Healthy Progress vs. a Stall
Healthy bulb swell looks like steady, visible growth week to week, with the bulb shoulders climbing higher out of the soil and leaves staying upright and green. A stalled onion looks static for two or three weeks straight, with thin leaves and a bulb that never seems to get bigger than a golf ball.
Stalls almost always trace back to the seedling stage, not the current one. **Undersized bulbs are the honest answer** to a question a lot of readers are about to ask: not “what’s wrong with my onions right now” but “what did I fail to do six weeks ago.” Crowding, weed competition, or too few leaves before bulbing locks in a small bulb, and no amount of water or fertilizer at swell stage reverses it.
Knowing you cannot fix a stall this late is frustrating, but it is also useful, because it tells you exactly where to fix next year’s crop instead of dumping fertilizer on this year’s.
Maturity and Curing: Weeks 14 to 18
You will know onions are mature when the tops yellow and fall over on their own, usually 60 to 80 percent of the row at once. Do not knock the rest over early hoping to force it; let each plant flop naturally.
Pull them once tops have fallen and necks feel soft, then cure in a warm, dry, airy spot out of direct sun for 2 to 4 weeks until the outer skins are papery and the necks are fully dry and tight.
Skipping the cure is the last common mistake, and it is an easy one to make once the exciting part feels over. Uncured onions rot in storage within weeks, while properly cured ones keep for months.
All of that adds up to a full season, so here is the whole thing condensed onto one card.
Onions at a Glance
- When to plant: sets or transplants 2 to 4 weeks before your last frost, once soil is workable and above 45 to 50 F.
- Spacing and depth: 4 to 6 inches apart, rows 12 to 18 inches apart, planted about 1 inch deep with roots straight down.
- Total time to harvest: 90 to 120 days depending on variety and climate.
- The stage that decides bulb size: the leafy seedling stage, weeks 2 to 6, before bulbing even begins.
- Bulbing trigger: day length, not calendar date, so match short-day, long-day, or day-neutral types to your latitude.
- Water needs during swell: about 1 inch per week, consistent, with nitrogen feeding stopped once bulbing starts.
- Harvest sign: tops yellow and fall over on their own, then cure 2 to 4 weeks before storing.
If you remember one thing, remember that leaves come before bulbs, so everything you do in the first six weeks decides what you’ll pull in month four.
Feed and weed early, water evenly at swell, and let the tops fall on their own before you cure.