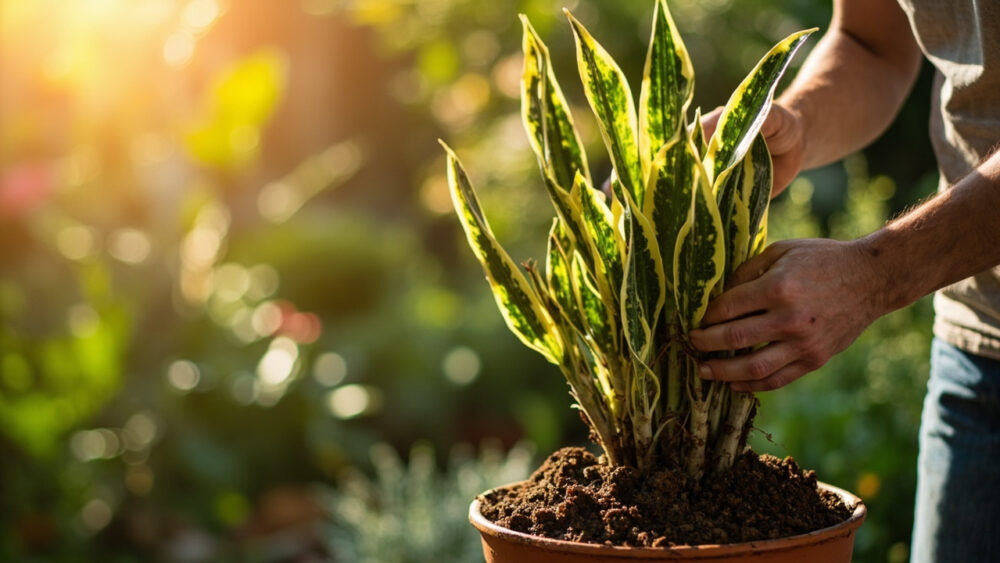
You repot a snake plant when roots start circling the bottom of the pot, poking through drainage holes, or when the plant tips over because the root mass has gotten top-heavy for its container. Move it into a pot just one to two inches wider in diameter, using a fast-draining mix, and do it in spring or summer when the plant is actively growing. That is the honest answer to how to repot snake plant without wrecking it or setting it back a year.
Here is what most people get wrong first: they repot on a schedule instead of by evidence, and they size up the pot way too aggressively because they assume bigger means happier. It does not. An oversized pot holds excess moisture around roots that are not ready to use it, and that is how a genuinely tough plant develops rot almost overnight.
There is also a timing trap tied to how snake plants actually grow, and a repotting mistake that costs people their rhizomes without them ever knowing what killed the plant. Stick around, because the full Snake Plant at a Glance card is waiting at the bottom, saved in one place so you never have to re-search this.
How to Tell It Actually Needs Repotting
Roots circling the drainage holes or visibly lifting the plant out of the soil are the clearest sign. So is a pot that has started cracking or bulging from root pressure underneath.
If you assumed slow top growth means the roots are idle too, that is the guess that trips people up. Snake plants can look static above soil for months while the rhizome network below is completely packed and searching for room.
Pull the plant out and check if you are unsure. If soil is barely visible between thick, tangled roots, it is time.
Next comes the part almost nobody sizes correctly.
The Right Pot Size, and the Mistake That Rots Roots
Go up one to two inches in diameter, not more. A snake plant in a pot that is dramatically larger than its root ball sits in damp soil for weeks with no roots there to drink it up.
That excess unused moisture is the single most common killer of a plant that survived neglect for years, then died within a month of a well-meaning repot.
Always choose a pot with a drainage hole. No exceptions, decorative pots included, just use them as a cachepot with a plain nursery pot inside.
Terra cotta is ideal because it wicks moisture out through its walls, adding a buffer against overwatering.
The pot matters, but the mix inside it matters just as much.
Soil Mix That Actually Drains
Use a mix built for cacti and succulents, or make your own with two parts regular potting soil to one part perlite or coarse sand. Snake plants store water in thick rhizomes and leaves, so they want soil that dries out between waterings, not soil that stays damp for insurance.
Standard all-purpose potting mix alone holds too much water for this plant long term, even though it will not kill it immediately.
Feed lightly during the growing season with a balanced liquid houseplant fertilizer diluted to about half strength, once every four to six weeks from spring through early fall. Skip feeding entirely in winter.
Get the mix right and watering gets a lot more forgiving, which is the next thing to understand.
Watering: Less Than You Think, Checked the Right Way
Water only when the top two to three inches of soil are completely dry. In most homes that means every two to three weeks, stretching to four to six weeks in winter when growth slows and light drops.
The sign everyone misreads is soft, yellowing, or mushy leaf bases, which people assume means underwatering because the plant looks unwell, so they water more. That is backward. Mushy yellow bases are almost always overwatering and early rot, and adding water speeds up the damage.
Firm, upright leaves with a slightly wrinkled or thin look are actually the plant asking for water. Check by pushing a finger into the soil rather than trusting the calendar.
Get watering right and light is the other half of the equation.
Light, Placement, and Temperature
Snake plants tolerate low light and survive in dim corners, but they grow noticeably faster and hold denser, more upright leaves in bright, indirect light. A spot a few feet from an east or west window is close to ideal.
Direct hot afternoon sun through unfiltered glass can scorch leaves, showing up as pale or brown patches, so filter it with a sheer curtain if that is the only bright spot you have.
Keep temperatures between about 60 and 85 degrees Fahrenheit, and keep the plant away from cold drafts, single-pane winter windows, and heating vents blasting dry hot air directly on the leaves.
This plant is genuinely one of the most forgiving houseplants on light alone, which is exactly why people get complacent about everything else.
Pruning, Cleaning, and the Repotting Timeline
Remove any leaf that has gone fully yellow, brown, or mushy at the base, cutting it off close to the soil line with clean shears. This is not optional grooming, damaged leaves can spread rot to healthy tissue nearby.
Wipe leaves down every month or two with a damp cloth to clear dust, which blocks light and gives pests somewhere to hide.
Repot roughly every two to five years, and always in spring or summer when roots recover fastest from disturbance. Repotting in the depths of winter dormancy is the second most common way people accidentally stall a plant for months.
Even a well-tended snake plant runs into a short, predictable list of problems.
The Problems That Actually Show Up
- Root rot: mushy brown roots and collapsing leaf bases from overwatering or poor drainage, treated by cutting away all affected tissue and repotting into fresh dry mix.
- Spider mites and mealybugs: fine webbing or small white cottony clusters, treated with insecticidal soap or horticultural oil applied exactly per the product label.
- Leaf curling or brown crispy tips: usually low humidity or a buildup of fertilizer salts, fixed by flushing the soil with plain water and easing up on feeding.
- Sudden pale or bleached patches: sunburn from a recent move into stronger direct light, fixed by relocating a few feet back or adding a sheer filter.
A quick safety note if you share the house with pets: snake plant is mildly toxic to cats and dogs if chewed or swallowed, and can cause nausea, drooling, or vomiting. If you suspect a pet has eaten any part of it, call your veterinarian rather than waiting to see what happens.
Once the plant is repotted, fed, and clear of pests, here is what genuine thriving actually looks like.
Signs It Is Actually Thriving
New leaf spikes emerging from the soil, even one or two a season, mean the rhizomes are actively expanding and happy with their conditions. Leaves that stand upright and firm, with good color and no yellowing at the base, are the clearest daily readout you have.
A slightly root-bound plant is not a problem, in fact snake plants often flower more readily when a bit snug in their pot, so do not chase repotting just because you can.
If growth has stalled completely for over a year with no new spikes, that is your actual cue to check roots and consider a fresh pot and mix.
Everything above compresses into one card you can save right now.
Snake Plant at a Glance
- When to repot: spring or summer, every two to five years, only when roots are visibly crowded or circling.
- Pot size: one to two inches wider in diameter than the current pot, always with a drainage hole.
- Soil mix: cactus or succulent mix, or potting soil cut with perlite or coarse sand for fast drainage.
- Watering: only when the top two to three inches of soil are fully dry, roughly every two to three weeks in the growing season, less in winter.
- Light: bright indirect light for best growth, tolerates low light, avoid harsh unfiltered direct sun.
- Feeding: balanced liquid fertilizer at half strength every four to six weeks, spring through early fall only.
- Watch for: mushy yellow leaf bases mean overwatering, not thirst, act fast and cut away rot.
Get the pot size and watering right and this plant will forgive almost everything else.
When in doubt, wait another week before watering, snake plants recover from thirst far more easily than from rot.