The fastest, most reliable way to propagate asparagus fern is by division, not cuttings. You dig up or slide the plant out of its pot, pull the tuberous root mass into sections that each have some fern growth attached, and pot each section separately. Stem cuttings can technically root, but they’re slow, unreliable, and frankly not worth your time when division gives you a full-sized plant in one afternoon.
How to propagate asparagus fern reliably comes down to picking the right method and not fighting the plant’s biology. Most people reach for scissors and a stem cutting because that’s how they propagated their pothos, and that habit is the single biggest reason attempts fail. Asparagus fern doesn’t root from stem cuttings the way vining houseplants do.
Below I’ll walk through why division wins, the exact steps for taking one apart without killing it, what the recovery timeline actually looks like week by week, and the mistakes that quietly sink most attempts. Save-and-screenshot the “Asparagus Fern at a Glance” card at the bottom before you start, you’ll want it open while you work.
Why Division Beats Cuttings for This Plant
Asparagus fern isn’t a true fern and it doesn’t grow from a single stem you can snip and root. It’s a member of the Asparagus genus, and its real growth engine is a dense mat of tuberous roots underground, the same kind of fleshy, water-storing roots you’d find on a daylily.
Those roots are where new growth comes from. A stem cutting has no access to that root system, so it has to generate entirely new roots from scratch, something asparagus fern stems are genuinely bad at.
Division works because you’re not asking the plant to build a root system from nothing. You’re just giving an existing chunk of root mass, with its own fern top already attached, a pot of its own.
That’s the mistake almost everyone makes on their first try, and it’s why the next section starts underground instead of at the stem.
Step by Step: Dividing an Asparagus Fern
Taking the Division
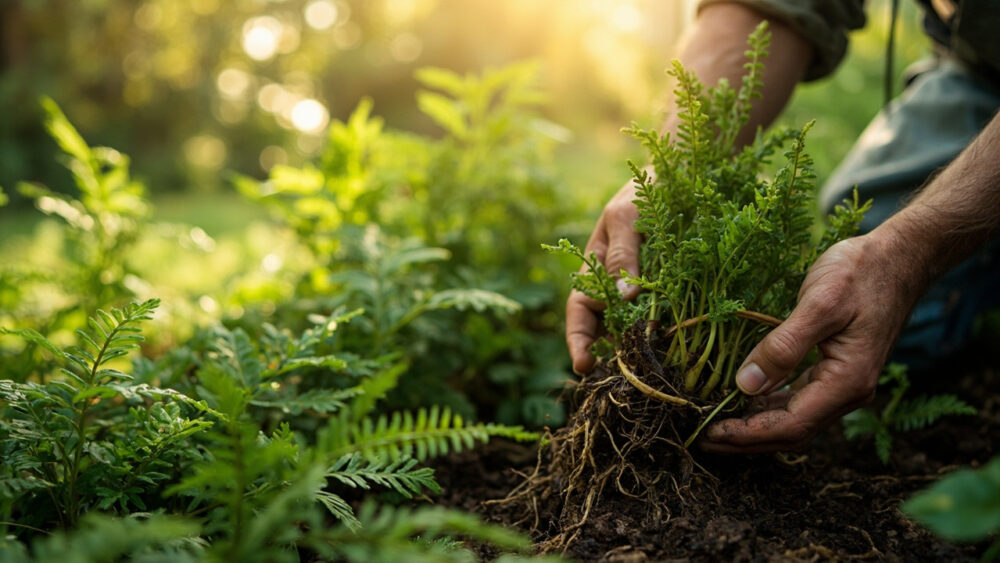
Water the plant a day ahead so the soil is moist but not soaked, that makes the root ball easier to handle. Slide the whole plant out of its pot, or dig it up if it’s in the ground, and knock or rinse off loose soil so you can actually see the root structure.
You’re looking for a mass of tubers with several fern crowns growing from it. Use a clean, sharp knife or your hands to pull or cut the mass into sections, each section needs at least one healthy crown of foliage and a fair share of tubers attached, not just a few stray roots.
Rooting Medium and Potting
There’s no rooting-in-water step here, because you’re not rooting anything, the roots already exist. Pot each division directly into a well-draining mix, a standard houseplant potting soil with some perlite worked in does the job.
Choose a pot just slightly larger than the root mass itself, oversized pots hold excess moisture and invite rot in those fleshy tubers. Set the crown at the same depth it was growing before, water it in well, and don’t bury the foliage.
Conditions After Potting
Bright, indirect light and normal room temperature, roughly 65 to 75°F, is all it needs. Keep soil lightly moist for the first couple of weeks while it settles, but don’t keep it soggy, those tubers rot fast in waterlogged soil.
The hard part is over once it’s potted, now it’s a waiting game.
What to Expect, Week by Week
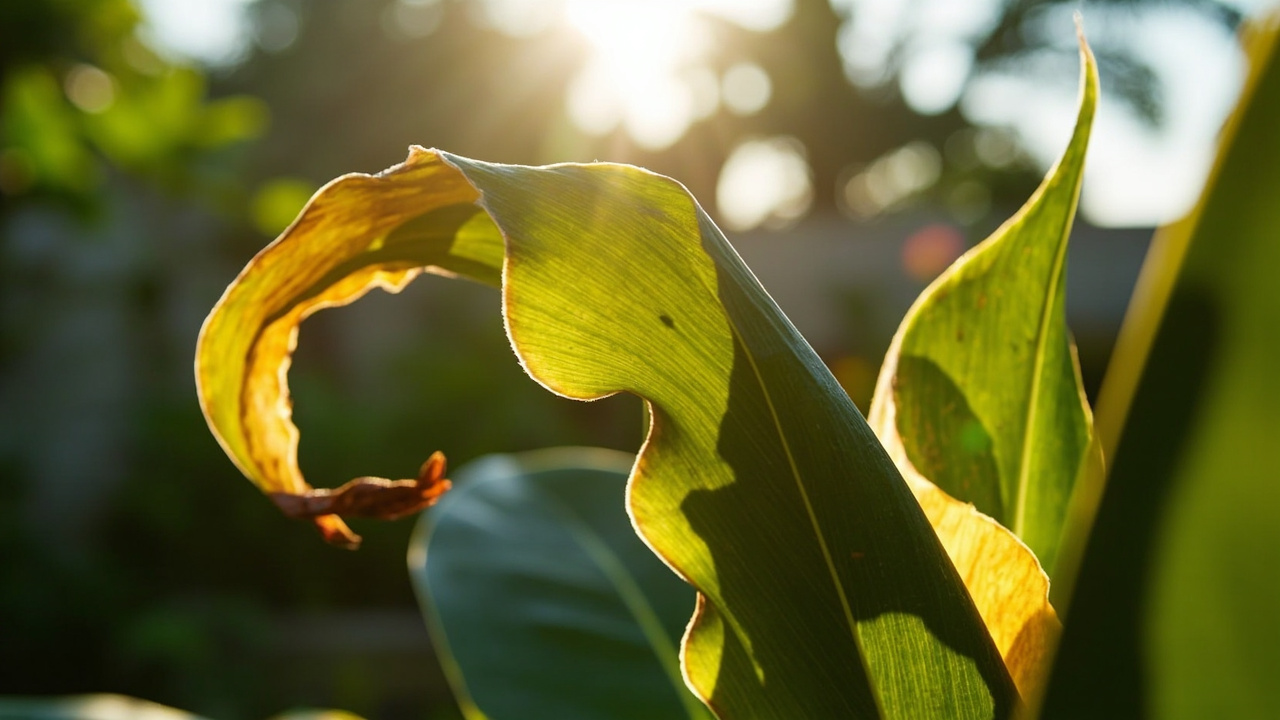
Here’s the honest answer to the question you’re about to ask, which is “did this work?” A freshly divided asparagus fern often looks a little sulky for the first week or two, some yellowing or dropped needles on the outer fronds is normal stress, not failure.
By week two to three, established divisions with a decent tuber mass usually start pushing new, bright green growth from the crown. That fresh growth is your real confirmation, not the old foliage looking pristine.
By week four to six, a healthy division should look like a small independent plant, filling in and putting out new fronds regularly. Divisions taken with only a thin sliver of tuber attached recover slower, sometimes stalling for a month before doing anything, and some simply don’t make it.
If you assumed no visible change in the first week means it’s dying, that guess causes more people to yank the plant back out and disturb it than the actual slow start ever would.
Leave it alone and check the crown for new green tips instead of pulling it up to inspect the roots.
When and How to Pot Up or Plant Outside
Once a division is actively producing new fronds and its roots have filled out the starter pot, usually 6 to 10 weeks in, it’s ready to move to a slightly larger container, go up about 1 to 2 inches in diameter, not more. Asparagus fern actually prefers being a bit snug in its pot, so resist the urge to jump straight to a huge planter.
If you’re moving divisions outdoors, wait until nighttime temperatures are reliably above 50°F, this plant has zero frost tolerance and a single cold night can blacken the foliage overnight. Harden it off gradually over a week, a few hours of outdoor shade at first, before leaving it out full time.
Space outdoor plantings or plants in mixed containers at least 12 to 18 inches apart, the root systems spread wider than the top growth suggests.
Getting it potted up right sets the plant up to thrive, but most propagation failures actually trace back to a decision made earlier.
Why Most Attempts Fail (and the Fix)
The number one failure is dividing a section with too little root mass, just fern top and barely any tuber. It looks like a plant, but it has almost no stored energy to push new growth, and it usually declines slowly over several weeks rather than dying outright, which makes it confusing when it happens.
The fix is simple, be generous with the tuber portion on every division rather than trying to squeeze out the maximum number of pieces from one plant. Two or three strong divisions beat six weak ones every time.
The second common failure is overwatering right after division, the cut and disturbed tubers are vulnerable to rot for the first couple of weeks. Let the top inch of soil dry between waterings until you see new growth confirming the roots have settled in.
The third: doing this in the middle of winter when the plant is barely growing at all, division success rates are noticeably better in spring and summer when the plant is actively pushing new growth anyway.
Get those three things right and there’s very little that can go wrong from here.
Asparagus Fern at a Glance
- Best method: division of the tuberous root mass, not stem cuttings, which root poorly or not at all.
- Best timing: spring through summer, while the plant is actively growing, avoid the darkest winter months.
- Division size: each section needs one healthy fern crown plus a generous portion of tubers attached.
- Potting mix: well-draining houseplant soil with added perlite, a pot just slightly larger than the root mass.
- Conditions: bright, indirect light, 65 to 75°F, soil lightly moist but never soggy for the first two weeks.
- Timeline: mild stress and slight yellowing normal for week one to two, new fresh growth by week two to three, established look by week four to six.
- Outdoor move: only after nights stay reliably above 50°F, spaced 12 to 18 inches apart, hardened off over about a week.
Division works because you’re giving the plant a head start it already had, not asking it to build one from nothing.
Be generous with the roots, go easy on the water, and the new growth will tell you within three weeks whether it took.