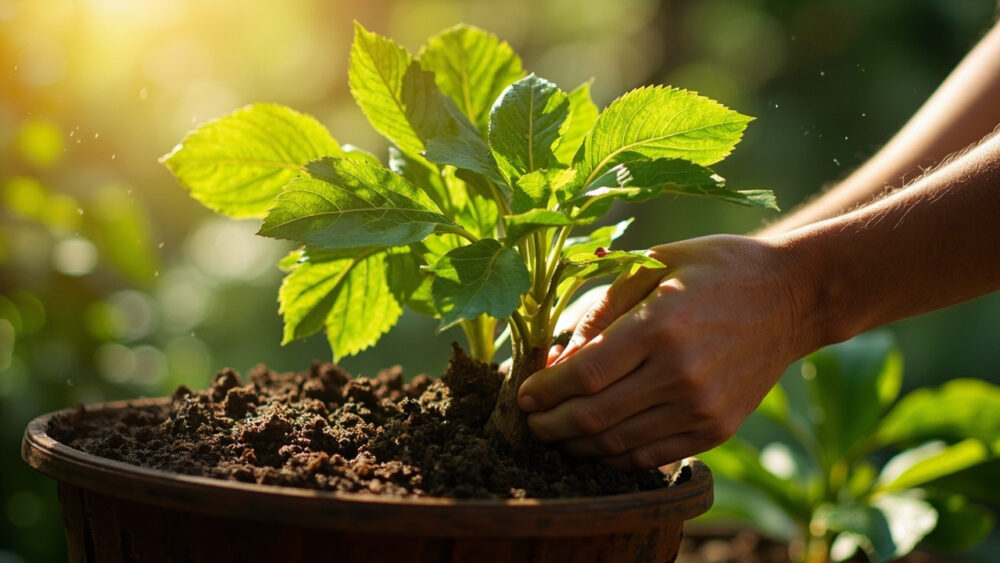
The method that actually works for propagating a money tree (Pachira aquatica) is a simple stem cutting rooted in water or moist perlite, taken just below a leaf node, with at least one node submerged. Skip the seed route unless you enjoy waiting for something that may never sprout. Skip air layering too, it works but it’s overkill for a plant this cooperative.
Most people who try this fail for one specific reason, and it’s not lack of patience. It’s cutting the stem in the wrong place, then wondering for a month why nothing happens.
There’s also a sign everyone misreads along the way, a cutting that looks totally fine but is quietly rotting from the base up, and by the time you notice the smell it’s already too late to save it. Stick with me and you’ll know exactly what a rooting cutting should look like at week two versus week six, plus I’ll give you the Money Tree at a Glance card at the bottom, save that one to your phone before you head out to the plant.
Why Stem Cuttings Beat Every Other Method
Money trees root readily from stem cuttings because the species pushes new roots from nodes with very little encouragement, it’s built for it in its native swampy habitat. Seeds are slow, inconsistent, and honestly hard to source fresh enough to germinate reliably. Division doesn’t apply here since money trees grow as a single trunk or braided trunks, not clumping offsets.
A stem cutting also lets you control exactly what you’re rooting. You pick the healthiest section, you know its age, and you can root two or three at once to hedge your bets.
That hedge matters more than people think.
Step by Step: Taking and Rooting the Cutting
Taking the Cutting
Choose a stem with at least two to three nodes, the little bumps or leaf joints along the stem, and cut a 6 to 8 inch section just below a node using clean, sharp shears. Cutting too close to the node or through it is the mistake that ruins most attempts, it damages the exact tissue that’s supposed to grow roots. Leave a clean quarter inch of stem below the node instead.
Strip any leaves from the bottom half of the cutting so no foliage sits underwater or buried in medium.
Rooting Medium
Water works well and lets you watch progress, use a glass or jar with the bottom node or two submerged and the leaves above the rim. Moist perlite or a perlite-and-peat mix works too and tends to produce sturdier roots for potting up later.
Either way, that visual check happens weekly, not daily.
Conditions
Keep the cutting in bright, indirect light, never direct sun through glass, which can scorch leaves and overheat water. Room temperature between 65 and 80°F is the sweet spot. Change water every 4 to 5 days to prevent bacterial buildup, that cloudy, slightly sour-smelling water is what quietly kills more cuttings than anything else.
Now here’s what you’re actually watching for once it’s set up.
Week by Week: What Rooting Actually Looks Like
In weeks one and two, expect nothing visible and that’s normal, don’t pull the cutting to check, you’ll just damage what’s starting underneath. The cutting should still look firm and green, with no softening at the cut end.
By week three to four, small white root nubs typically appear at the submerged node, sometimes faint and hair-like at first. This is the stage everyone misreads, they see a slimy-looking film on the stem and panic, but a thin, clear-ish coating is often just natural mucilage, not rot. Actual rot looks and smells different: the stem turns brown or black, feels mushy under light pressure, and smells sour or fermented.
If you catch that smell, that cutting is done, cut your losses and start a fresh one rather than trying to save it.
By week six to eight, healthy cuttings have roots 1 to 2 inches long and you may see a new leaf bud swelling. That’s your signal potting up is close.
Potting Up Without Setting It Back
Pot up once roots reach 2 to 3 inches long and there are several of them, not just one lonely strand. Use a well-draining potting mix, a standard houseplant blend with extra perlite works fine, in a pot just one size up from the cutting’s root mass, oversized pots hold excess moisture and invite rot in a plant that just spent weeks growing tender new roots.
Water thoroughly after potting, then let the top inch of soil dry before watering again.
Keep it out of direct sun for the first one to two weeks so it can adjust from water roots to soil roots, a real transition that trips up cuttings that seemed perfectly healthy in the jar.
Expect a little leaf droop for a few days after transplant, that’s normal adjustment, not failure.
The next section covers what actually causes failure, because it’s rarely what people blame it on.
Why Most Attempts Fail, and the Honest Fix
If you assumed low light was the main killer, that’s a reasonable guess, but it’s usually not the culprit, money trees tolerate moderate light just fine during rooting. The real repeat offenders are stagnant water, a cutting taken from a stem that was already stressed or leggy, and impatience, pulling the cutting to check roots so often that new growth keeps snapping off.
Stagnant water is the biggest one. Change it on schedule even if it still looks clear, bacteria build up before the water visibly clouds.
The second biggest failure point is skipping the node entirely, a cutting with no node submerged simply has nowhere to grow roots from, no matter how long you wait.
Take two or three cuttings at once from different stems if you can. It costs nothing extra and doubles your odds of ending up with a rooted plant instead of a compost contribution.
Money Tree at a Glance
- When to propagate: anytime indoors, though spring and early summer give faster rooting thanks to warmth and longer daylight.
- Cutting length: 6 to 8 inches, with at least two to three nodes, cut just below a node, not through it.
- Rooting medium: water with one to two nodes submerged, or moist perlite for sturdier roots.
- Ideal conditions: bright indirect light, 65 to 80°F, water changed every 4 to 5 days.
- Rooting timeline: root nubs by week three to four, roots 1 to 2 inches by week six to eight.
- Pot up when: roots reach 2 to 3 inches with several branches, using a well-draining mix and a pot only one size up.
- Warning sign: mushy, dark, sour-smelling stem tissue means rot, discard that cutting and start fresh rather than waiting it out.
Get the node underwater and change that water on schedule, and this one is genuinely hard to mess up.
Everything else is just patience.