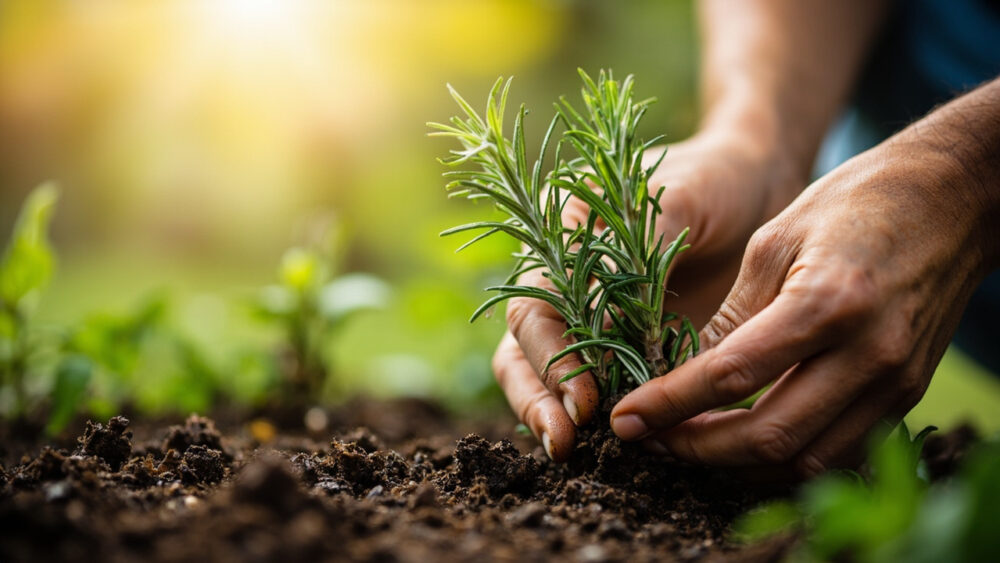
The method that actually works for how to grow rosemary from cuttings is simple but unforgiving: take a 3 to 4 inch tip cutting from new, still-flexible growth, strip the lower leaves, stick it in a gritty, fast-draining medium, and keep it warm and humid until roots form, usually 3 to 6 weeks. Rosemary roots readily from cuttings. It roots badly from seed, which germinates unevenly and takes forever, so cuttings are the real path if you want a plant that actually looks like rosemary this year.
Most attempts fail for one boring reason that has nothing to do with skill. It is almost always rot, and it almost always traces back to the wrong wood, the wrong medium, or a plastic bag that turned the cutting into a swamp.
There is also a sign everyone misreads: a cutting that still looks green and upright at week two feels like success, but that tells you nothing about roots. The real tell is different, and I will show you exactly what to check and when. Stick with this to the bottom and you get the full at-a-glance card: cutting length, rooting time, potting depth, and the water habit that kills more rosemary starts than frost ever does.
Why Cuttings Beat Seed for Rosemary, Every Time
Rosemary seed has poor, erratic germination, sometimes 15 percent or worse, and seedlings are slow, taking months to look like anything. Cuttings skip all of that. A cutting is already a mature rosemary plant genetically, just small, so it grows faster and roots in weeks instead of germinating in a coin-flip over more weeks.
Cuttings also guarantee you get the exact plant you started with, same flavor, same growth habit, upright or trailing.
That matters more with rosemary than with most herbs because named types vary a lot in cold hardiness and form.
Once you accept cuttings as the path, the next question is timing, and that is where most people either help themselves or set up their own failure.
Step by Step: Taking, Rooting, and Holding the Cutting
Take the cutting from the right wood
Choose new growth from this season, the soft, flexible tips, not the gray, woody base. Cut a 3 to 4 inch piece just below a leaf node using clean shears. Late spring through mid summer is the best window, when the plant is actively pushing new growth.
Strip and wound it
Strip leaves from the bottom 1.5 to 2 inches, leaving a bare stem. Some growers scrape a thin sliver of bark off one side of that bare section to expose more cambium; it speeds rooting but is not mandatory.
Choose the rooting medium
Skip potting soil, it holds too much water. Use a mix of half perlite and half peat or coir, or straight coarse sand, or perlite alone. Drainage is the entire job of this medium. Rooting hormone powder on the cut end helps speed things along but rosemary will root without it.
Set conditions
Insert the stripped end 1 to 2 inches deep. Keep the medium barely moist, warm soil around 65 to 75 F, and bright indirect light, not direct blasting sun. A loose humidity tent, propped open for airflow, helps, but a sealed bag is asking for rot.
Get the wood, the medium, and the moisture right and the waiting is the easy part.
Week by Week: What Actually Happens
Week 1: the cutting looks unchanged, maybe slightly droopy for a day or two as it adjusts. This is normal, not failure.
Weeks 2 to 3: no visible top growth yet, but this is when roots are quietly starting below the surface if things are going right.
Here is the sign everyone misreads: new green growth at the tip does not mean roots exist yet. Rosemary can push a little new growth on stored energy alone before a single root has formed. The real test is a gentle tug: if you feel resistance, roots have gripped. If it lifts freely, it is not there yet, so wait.
Weeks 4 to 6: resistance to a gentle tug, and often visible white roots if you’re rooting in a clear container or check by easing one plant out. This is your green light.
Once you get consistent resistance on the tug test, it is time to talk about moving up.
Potting Up and Planting Out
Once roots hold firm under a gentle tug, pot the cutting into a 3 to 4 inch container with regular, well-draining potting mix, planting at the same depth it was rooted. Water it in, then let the top inch of soil dry between waterings from here on.
Keep the new transplant in bright indirect light for a week before moving it into full sun; direct sun right after transplant stresses a root system that is still thin and finding its footing.
Hold it indoors or in a sheltered spot for 2 to 4 more weeks so roots fill the pot before you plant outside.
Plant outside only after your last frost has passed and soil has warmed, since rosemary is a Mediterranean plant that hates cold, wet feet far more than it minds heat or drought. Space plants 24 to 36 inches apart. They get wide and woody with age.
Getting a plant this far only to lose it to soggy soil is the most common late-stage heartbreak, so let’s cover exactly why that happens.
Why Rosemary Cuttings Really Fail
If you assumed a see-through bag and constant misting is the safe, gentle approach, that guess kills more rosemary cuttings than neglect does. Rosemary is native to dry, rocky Mediterranean hillsides. It wants airflow and dryish feet even while rooting, not a steamy terrarium.
The real causes of failure, in order of how often they happen:
- Cutting from old, woody stems instead of new flexible growth, which roots far slower or not at all.
- Rooting medium that holds too much water, like straight potting soil or garden dirt.
- Sealed humidity domes with no airflow, which trap moisture against the stem and invite stem rot.
- Watering on a schedule instead of by feel, keeping the medium soggy for weeks straight.
- Cold rooting conditions. Below 60 F, rooting slows dramatically or stalls.
Fix the wood, the drainage, and the airflow, and rosemary roots about as reliably as any herb you’ll ever propagate.
Once you’ve got the causes of failure sorted, the only thing left is the cheat sheet worth keeping.
Rosemary at a Glance
- Best time to take cuttings: late spring through mid summer, from new, flexible, non-woody growth.
- Cutting size: 3 to 4 inches long, leaves stripped from the bottom 1.5 to 2 inches.
- Rooting medium: half perlite and half peat or coir, or straight coarse sand or perlite, never plain potting soil.
- Rooting conditions: 65 to 75 F, bright indirect light, medium kept barely moist, airflow instead of a sealed bag.
- Time to root: 3 to 6 weeks. Check readiness with a gentle tug, not by watching for new leaves.
- Potting up: once roots resist a gentle tug, into a 3 to 4 inch pot with well-draining potting mix.
- Planting outside: after last frost and warm soil, spaced 24 to 36 inches apart, in full sun with sharp drainage.
Rosemary rewards patience and dry feet more than any fussing. Get the wood right, the drainage right, and check with a tug instead of your eyes, and this is one of the easiest herbs you’ll ever root.