Learning how to grow rhododendrons comes down to three things most people get wrong before they even plant: soil that’s too alkaline or too heavy, a hole dug too deep, and roots planted where afternoon sun bakes them by July. Get the site and the planting depth right and rhododendrons are genuinely low-fuss shrubs that bloom reliably for decades. Get any one of those three wrong and you’ll spend years wondering why a plant everyone calls “easy” keeps yellowing and sulking.
There’s also a timing mistake that costs people an entire season, a watering habit that quietly kills more rhododendrons than drought ever does, and a very specific soil test you can do with stuff already in your kitchen. I’ll walk through all of it.
Stick with me to the bottom and you’ll find a save-able Rhododendrons at a Glance card with the depth, spacing, soil pH, and bloom timing in one place, so you don’t have to hunt back through this later.
When to Plant Rhododendrons
The best windows are early spring, once the soil has thawed and is workable, and early fall, roughly six weeks before your ground typically freezes. Both windows give roots time to settle before they’re asked to support a flush of new growth or survive winter cold.
Fall planting is actually the better of the two in most of the country, because cooler air and still-warm soil let roots establish without heat stress. In colder zones (5 and below), spring planting is safer since a rhododendron planted too late in fall may not root deeply enough before a hard freeze.
Avoid planting in the dead heat of summer if you can help it. A rhododendron put in the ground during a 90-degree stretch spends its energy just trying not to die, not growing roots.
Timing gets you started right, but the ground itself is what decides whether this plant thrives or limps along for years.
Choosing the Spot and Prepping the Soil
Rhododendrons want dappled or morning sun with afternoon shade, acidic soil in the 4.5 to 6.0 pH range, and drainage that never leaves them sitting in water. This is the part everyone underestimates.
Most nursery-grown soil advice tells you to check drainage. Fewer people check pH, and it’s actually the bigger dealbreaker. Rhododendrons in soil above 6.5 pH can’t take up iron properly no matter how much fertilizer you throw at them, and you’ll see it as yellowing between the leaf veins that no amount of feeding fixes.
If your soil is heavy clay, don’t fight it by digging a deep hole and filling it with amended soil, that just creates a bathtub that holds water against the roots. Instead, plant high, with the top of the root ball sitting an inch or two above grade, and mound amended soil around it like a shallow berm.
Work in a few inches of pine bark fines, peat, or a bagged acidic planting mix into the top 12 inches of native soil across a wide area, not just the planting hole. Rhododendron roots spread wide and shallow, not deep, so wide prep matters more than deep prep.
Once the ground is ready, the actual planting takes ten minutes and it’s easy to do wrong in exactly one way.
Planting Rhododendrons Step by Step
- Dig the hole: only as deep as the root ball and two to three times as wide. Depth is where most people fail this plant.
- Check the root ball: if it’s tightly wound or pot-bound, score it vertically in two or three places with a clean knife to encourage outward growth.
- Set the depth: the top of the root ball should sit level with, or slightly above, the surrounding soil. Planted too deep, roots suffocate slowly over one to two years, a delayed death that confuses a lot of gardeners.
- Space plants: 3 to 6 feet apart depending on the variety’s mature spread, check the tag since dwarf types stay under 3 feet and large landscape types can reach 8 feet or more.
- Backfill and water in: use the amended native soil, firm it gently, don’t stomp it down hard, then water slowly until it runs clear from the base.
- Mulch: 2 to 3 inches of pine bark or pine needles, kept a couple inches back from the stem itself.
That mulch layer isn’t decorative, it’s doing real work on the next problem you’ll run into.
Watering and Feeding Through the Season
If you assumed more water is always safer for a plant that likes moisture, that habit is exactly what kills rhododendrons faster than letting them go dry. Their roots are fine and shallow, and they rot quickly in soil that stays soggy.
The real test: stick a finger two inches into the mulch and soil. If it’s cool and slightly moist, leave it alone. Water only when that top couple inches starts drying out, roughly once a week in normal conditions, more often during a hot dry stretch, less in cool or rainy weather.
Feed lightly, once in early spring, with a fertilizer formulated for acid-loving plants (often labeled for azaleas and rhododendrons together). Skip a second feeding for most home gardens, since heavy fertilizing pushes soft growth that’s more vulnerable to cold damage and disease.
That same mulch layer that regulates moisture is also your best defense against most of what actually attacks this plant.
Problems Most Likely to Strike
Rhododendrons are sturdy, but a few issues show up often enough to name plainly.
- Yellow leaves with green veins: classic sign of iron deficiency from soil that’s too alkaline, not a nutrient the plant is missing, a pH problem. Retest and re-acidify rather than fertilizing harder.
- Root rot: wilting despite wet soil, often from poor drainage or planting too deep. There’s no cure once it’s advanced, prevention through drainage and correct depth is the only real fix.
- Lacebugs: stippled, pale speckling on upper leaf surfaces with dark specks underneath. Insecticidal soap applied per the product label, focused on leaf undersides, handles most infestations.
- Bud blast or bud drop: flower buds turning brown and dry before opening, usually from winter cold, drought stress the prior fall, or a fungal issue in wetter climates. A hard freeze right after a warm spell is a common trigger and mostly out of your hands.
- Winter leaf curl and browning: the leaves rolling tightly downward in cold weather is normal, a moisture-conserving response, not a symptom to panic about.
Most of these show up in the leaves long before the plant is in real trouble, which is exactly where your attention should go each season.
Once the plant is healthy and settled, the payoff is the part you actually planted it for.
When Rhododendrons Bloom
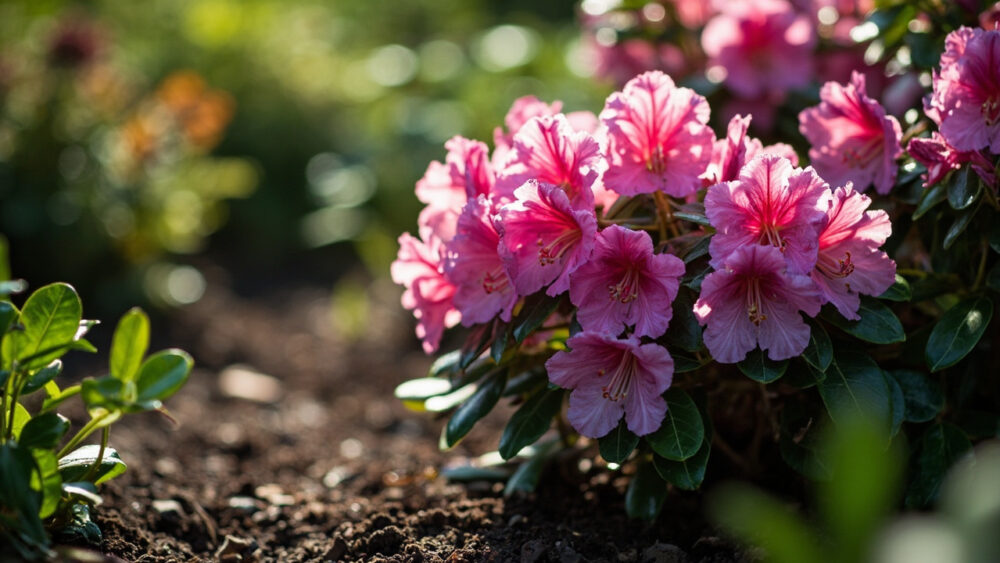
Rhododendrons don’t produce a harvest in the vegetable-garden sense, their “yield” is the bloom, and most varieties flower in mid to late spring, with some early types opening as soon as late winter in mild climates. A newly planted rhododendron may bloom lightly its first year and then settle into a fuller, more reliable show by year two or three as its root system fills out.
The honest answer to the question everyone eventually asks: no, you didn’t do anything wrong if a young plant blooms sparsely at first. Establishing roots takes priority over flowers, and a plant that blooms modestly while building a strong root system will out-bloom a stressed, overfed plant within a couple seasons.
Deadhead spent blooms by snapping off the faded flower cluster just above the new growth buds beneath it, being careful not to damage those buds, since next year’s flowers are already forming there by midsummer.
All the timing, depth, and pH details land in one place below so you can save it before you head back out to the yard.
Rhododendrons at a Glance
- When to plant: early spring once soil is workable, or early fall about six weeks before your ground typically freezes.
- Soil pH: acidic, 4.5 to 6.0, test before planting since this fixes most yellowing problems before they start.
- Planting depth: top of the root ball level with or slightly above the surrounding soil, never buried deeper.
- Spacing: 3 to 6 feet apart for most varieties, check the tag for dwarf versus large types.
- Light: morning sun with afternoon shade, or dappled light all day.
- Watering: check two inches down, water only when that layer starts drying, avoid constantly soggy soil.
- Bloom time: mid to late spring for most varieties, with fuller flowering by the second or third year after planting.
Get the depth and the pH right and almost everything else about this plant takes care of itself.
Everything else on this list is just maintenance around those two decisions.