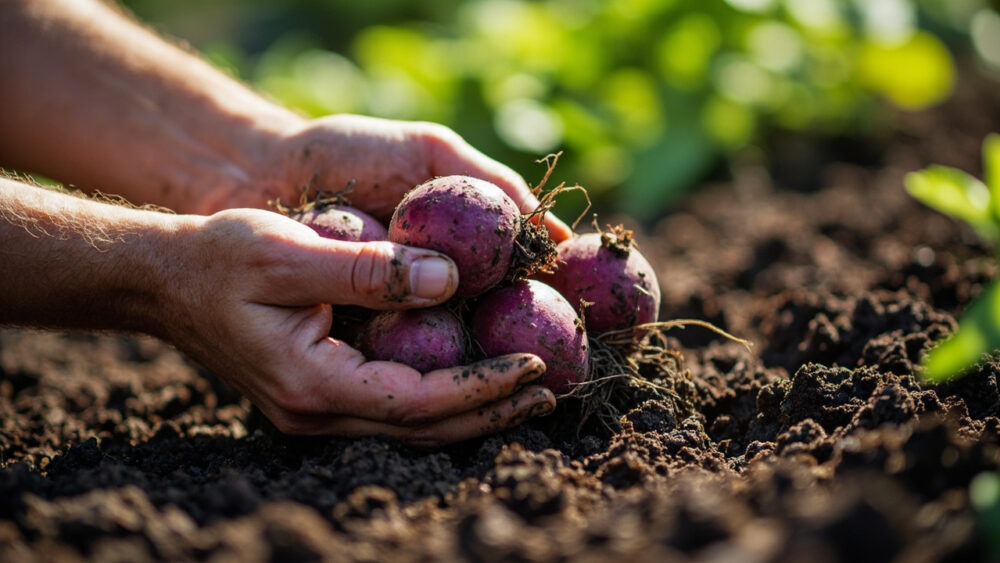
Purple potatoes grow exactly like regular potatoes, planted from seed pieces two to three weeks before your last frost, spaced 10 to 12 inches apart in loose, well-drained soil, and ready to dig 70 to 110 days later depending on the variety. The color comes from anthocyanins in the flesh, not from special soil or fertilizer, so you cannot feed a russet into turning purple. Get the timing and hilling right and they are no harder than any other potato.
But there is a mistake that ruins more purple potato patches than blight does, and it happens before the plant even breaks ground. There is also a sign in the leaves that gardeners routinely misread as a nutrient problem when it is actually the plant telling you exactly what it needs. And there is an honest answer to the question everyone asks next, which is why the potatoes they dig up are green in spots.
Stick with me through planting, feeding, and the pest that shows up every single year, and you will hit the Purple Potatoes at a Glance card at the bottom with every number saved in one place.
When to Plant Purple Potatoes
Plant purple potatoes two to three weeks before your average last frost date, once soil temperature at planting depth reaches at least 45°F. Soil colder than that just sits wet and rots the seed piece before it sprouts.
A light frost on the young shoots rarely kills the plant outright, since new growth pushes up from the seed piece below ground. In zones 3 to 6, that usually lands mid to late April. In zones 7 and warmer, you can plant as early as February or March, and a fall crop is often possible too if you get seed potatoes in the ground about 90 days before your first fall frost.
Here is where the season-ruining mistake happens.
The Mistake That Ruins Most First Attempts
Gardeners plant a grocery-store purple potato, and either it fails to sprout at all or it brings soil-borne disease into a bed that stays contaminated for years. Grocery potatoes are often treated with a sprout inhibitor, and they carry zero guarantee against blight or scab.
Buy certified seed potatoes from a garden center or seed catalog instead. Common purple varieties include Purple Viking, All Blue, and Adirondack Blue, the last of which stays purple all the way through when you slice it, unlike some varieties that fade to lavender or white once cooked.
Seed potatoes solve half your future problems before you ever pick up a shovel.
Choosing the Spot and Prepping the Soil
Potatoes want full sun, six or more hours a day, and soil that drains fast after rain. Standing water rots seed pieces and tubers faster than almost anything else you can get wrong.
Work the bed to a loose depth of 10 to 12 inches, breaking up clay and stones that would otherwise deform the tubers as they swell. Mix in a couple inches of compost or aged manure.
Aim for soil pH between 5.0 and 6.5. That is more acidic than most vegetables prefer, and it is intentional, since acidic soil suppresses scab, a cosmetic disease that leaves rough patches on the skin.
Avoid planting where tomatoes, peppers, eggplant, or other potatoes grew in the last two to three years, since they share the same soil-borne diseases.
Good soil prep now means less troubleshooting all summer.
How to Plant Purple Potatoes
Step 1: Cut the seed potatoes
A few days before planting, cut larger seed potatoes into chunks about the size of a golf ball, making sure each piece has at least one or two eyes. Let the cut sides callus over for one to two days in a cool, dry spot, which cuts down on rot once they are in the ground.
Step 2: Dig the trench
Dig a trench 4 to 6 inches deep. Space rows 24 to 36 inches apart to leave room for hilling later.
Step 3: Set the seed pieces
Place pieces cut-side down, eyes facing up, every 10 to 12 inches along the trench. Cover with 3 to 4 inches of soil, leaving the rest of the trench open for now.
Step 4: Wait, then hill
Once shoots reach about 6 to 8 inches tall, pull soil up around the stems, burying the lower third to half of the plant. Repeat this hilling once or twice more as the plant grows, every two to three weeks.
Hilling is not optional busywork, and skipping it is the second big way people cost themselves a harvest.
Watering and Feeding Through the Season
Potatoes want about 1 to 2 inches of water a week, consistent rather than heavy and sporadic. Uneven watering, drought followed by a soaking, is what causes hollow centers and oddly shaped tubers.
Ease off watering once the plants begin to flower and tubers are sizing up, and stop entirely a week or two before you plan to harvest, since dry soil at the end firms up the skins for storage.
Skip high-nitrogen fertilizer once plants are established. It grows lush foliage at the expense of tubers.
A balanced fertilizer or a side dressing of compost at planting and again at first hilling is enough.
Here is that leaf sign everyone misreads.
The Leaf Sign Everyone Gets Wrong
If the lower leaves start yellowing in midsummer while the plant is still flowering, most people panic and dose it with nitrogen fertilizer, assuming a deficiency. That is almost always the wrong move.
Yellowing lower leaves in a mature potato plant are normal senescence, the plant redirecting energy into the tubers below and shutting down foliage it no longer needs. Extra nitrogen at this stage delays tuber bulking instead of helping it.
The real thing to check is whether the yellowing is spreading upward evenly, which is fine, versus blotchy with brown lesions, which points to disease instead.
That distinction matters for the next section too.
Problems to Watch For
Colorado potato beetles are the pest you will meet almost every year, orange-and-black striped adults and reddish larvae that skeletonize leaves fast. Hand-pick them into a bucket of soapy water in small patches, or use a labeled insecticide following the product directions exactly for larger plantings.
Late blight shows up as dark, water-soaked spots on leaves during cool, wet weather and can wipe out a planting in days. Remove and destroy affected foliage immediately and avoid overhead watering that keeps leaves wet.
Scab causes rough, corky patches on the skin. It is cosmetic, not dangerous to eat once peeled, and it is why you kept soil pH on the acidic side.
Green potatoes happen when tubers are exposed to sunlight during growth or left uncovered near the soil surface, producing solanine, a compound that is toxic in quantity. Cut away and discard any green-tinged flesh, and if a pet or person eats a significant amount of green potato and shows nausea, vomiting, or stomach upset, contact a veterinarian or doctor rather than waiting it out.
Consistent hilling is your best defense against green tubers, which brings us right back to why that step matters so much.
When and How to Harvest
New potatoes, small and thin-skinned, can be harvested about 7 to 8 weeks after planting, as soon as the plants flower. Gently dig around the edge of a hill and take a few without disturbing the rest.
For the main crop, wait until the foliage yellows and dies back on its own, typically 70 to 110 days after planting depending on variety. Stop watering, then wait another 1 to 2 weeks after the tops die to let skins toughen, which matters enormously for storage.
Dig on a dry day, working a fork well outside the plant’s base so you do not stab the tubers. Purple potatoes hide their color well until you slice or scrub one, so it is worth cutting one open in the row just to confirm you have the right crop and timing.
Cure the harvested tubers in a cool, dark spot around 45 to 60°F for one to two weeks before moving them to long-term storage.
Everything you need to remember is right below, saved in one place.
Purple Potatoes at a Glance
- When to plant: two to three weeks before your last frost, once soil hits at least 45°F.
- Depth and spacing: plant seed pieces 4 to 6 inches deep, 10 to 12 inches apart, rows 24 to 36 inches apart.
- Soil: loose, well-drained, pH 5.0 to 6.5, enriched with compost before planting.
- Hilling: mound soil over the stems once shoots reach 6 to 8 inches tall, repeating every two to three weeks.
- Water: 1 to 2 inches per week, easing off as tubers mature and stopping a week or two before harvest.
- Days to maturity: 70 to 110 days depending on variety, or 7 to 8 weeks for small new potatoes.
- Harvest signal: foliage yellows and dies back on its own, then wait another 1 to 2 weeks before digging.
Get the seed potatoes right and the hilling consistent, and the color takes care of itself. Everything else is just good potato growing.