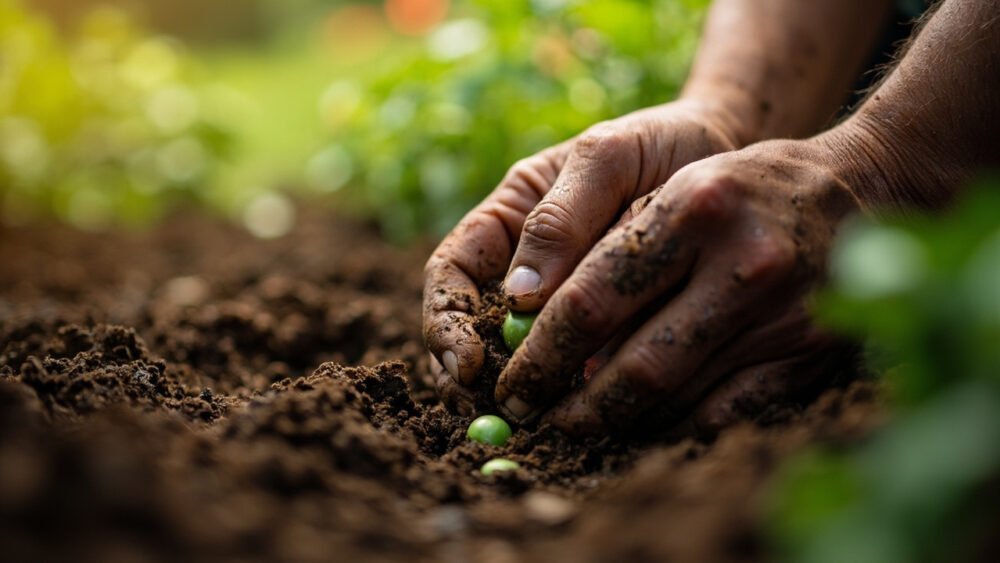
Here’s how to grow peas from seed: direct sow them 1 inch deep, 2 inches apart, four to six weeks before your last frost date, as soon as the soil can be worked and sits around 40 to 50°F. Peas hate root disturbance, so skip transplanting whenever you can and sow straight into the garden. You’ll see germination in one to two weeks and a full harvest 55 to 70 days later depending on the variety.
That’s the short version, and it works. But there are a handful of details that decide whether you get a heavy harvest or a handful of pods, and most of them are not what people assume.
The biggest mistake is not cold, and it’s not pests either. It’s planting too late in warm, dry soil out of nervousness about frost. Peas are tougher than gardeners give them credit for. There’s also an inoculant trick almost nobody uses that changes yield more than fertilizer does, and a very specific leaf-color signal at the base of the plant that tells you exactly when to stop worrying and start watching for flowers. Stick around, because the full at-a-glance card with every number you’ll want saved to your phone is waiting at the bottom.
When to Start Pea Seeds: Indoors or Direct Sown
Direct sowing wins for peas almost every time. They germinate fine in cool soil and their roots resent being moved, so starting them indoors in cell trays usually costs you more than it gains.
The exception is a genuinely cold, wet spring where your ground stays soggy past your ideal window. In that case, start seeds indoors in biodegradable pots three to four weeks before you plan to plant out, and transplant the whole pot so roots are never exposed.
For direct sowing, the target window is four to six weeks before your average last frost date, whenever soil temperature reaches about 40°F and the ground is dry enough to crumble in your hand rather than clump into mud.
Peas can also go in for a fall crop in many zones, timed so they mature before the first hard freeze, but spring is the more forgiving season for beginners.
Get the timing right and the rest of this is mostly just patience.
Sowing Peas Step by Step
Once your soil is workable, the actual planting takes minutes. The details below are what separate a thin, patchy row from a thick wall of vines.
1. Prep the bed
Loosen soil 8 to 10 inches deep and work in an inch of compost. Peas don’t need rich soil loaded with nitrogen fertilizer, since they fix their own nitrogen from the air once established.
2. Inoculate if you can
A powdered legume inoculant, dusted on damp seeds right before planting, introduces the rhizobia bacteria that let pea roots fix nitrogen. It’s cheap, optional, and genuinely boosts vigor and pod set on soil that hasn’t grown peas or beans recently.
3. Sow the seeds
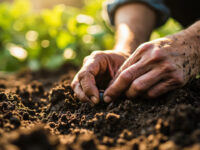
Push seeds 1 inch deep into the soil, spaced 2 inches apart in rows, with rows 18 to 24 inches apart. For bush types you can go slightly closer; for tall vining types, set up a trellis or netting now, before the vines need it.
4. Water and walk away
Water in well at planting, then let the soil stay evenly moist but not soggy. Cold soil that’s waterlogged is the one condition that reliably rots pea seed before it sprouts.
Get the seed in the ground correctly and germination takes care of itself within two weeks.
Germination: What’s Normal and What Isn’t
Expect the first loops of stem to break the surface in 7 to 14 days in cool spring soil, faster if the soil warms toward 60°F. Pea seedlings emerge as a bent hook, then straighten and unfurl their first true leaves.
Patchy or slow germination is usually the soil, not the seed. Soil colder than 40°F can stretch germination past three weeks, and soil that crusted over after a hard rain can physically trap the sprout underneath.
If nothing has shown after three full weeks in reasonably warm soil, dig up a seed. A mushy, gray seed means it rotted from excess moisture. A hard, dry seed that never swelled means the soil was too dry, and a fresh reseed will usually catch up fast once conditions are right.
Birds and mice will also dig up fresh pea seed, so if you find empty divots instead of seeds, that’s your culprit, not disease.
Once seedlings are up and standing straight, the real work of the season begins.
Hardening Off and Transplanting, If You Started Indoors
If you started your peas indoors, they need a gentler transition than heat-loving crops, but they’re not exempt from hardening off. Give them 5 to 7 days outside in a sheltered spot before planting, starting with an hour or two in filtered light and working up to a full day.
The guess most people make is that because peas love cool weather, they can go straight from windowsill to garden with no adjustment. That guess causes sunscald and stem snap, because indoor light and still air are nothing like a windy garden bed.
Transplant on an overcast day if you can, and handle the root ball as little as possible since pea roots are fine and easily torn. Water in immediately after planting.
Whether you transplanted or direct sowed, care from here on out is identical.
Caring for Peas Through the Season
Peas are a low-drama crop once established, but three things matter more than anything else: support, water, and cool weather.
Support should go up before plants need it, since tangled vines are hard to untangle later without snapping stems. Even bush varieties benefit from a low twiggy support to keep pods off the soil.
Water needs are moderate but steady, about 1 inch per week, with extra attention once flowering starts, since pods that form during a dry spell tend to stay thin and small.
Mulch lightly to keep roots cool, since pea plants stall out and stop setting pods once daytime temperatures push consistently past 80 to 85°F.
Powdery mildew is the most common problem in humid gardens; if you see white, dusty patches on leaves, improve airflow, avoid overhead watering late in the day, and treat with a labeled fungicide only if it’s spreading fast.
Yellowing on the lowest, oldest leaves as the plant matures is completely normal and not a deficiency, so don’t chase it with fertilizer.
Watch the base of the plant, not the top, because that’s where the real signal about harvest timing shows up first.
From Bloom to Harvest: Reading the Signs
Flowers appear 30 to 40 days after sowing for most varieties, small and white or purple depending on type, and pods follow within a week or two of the flower fading.
Here’s the guess that trips people up: bigger pods do not mean better peas. Shelling peas taste sweetest when pods are plump but still bright green and glossy, not when they’ve swollen tight and started to look dull or leathery.
For snap peas, harvest when pods are full but still snap crisp between your fingers. For snow peas, pick while pods are flat, before the peas inside swell at all.
Check plants every day or two once flowering starts, because pods left too long turn starchy fast and also signal the plant to stop producing new ones.
Once you’re picking regularly, the plant keeps flowering, so the harvest itself is what extends the season.
Peas at a Glance
- When to plant: four to six weeks before your last frost, once soil is workable and around 40 to 50°F.
- Depth and spacing: sow 1 inch deep, 2 inches apart, in rows 18 to 24 inches apart.
- Germination time: 7 to 14 days in cool soil, longer if soil is colder than 40°F.
- Support: set up trellis or netting at planting time for vining types, before vines need it.
- Water: about 1 inch per week, more consistent once flowering begins.
- Days to harvest: 55 to 70 days from sowing, with flowers appearing around day 30 to 40.
- Harvest cue: pods plump and glossy for shelling peas, still crisp for snap peas, flat for snow peas.
Get the seed into cool, workable soil on time and keep the pods coming off the vine, and peas will outproduce almost anything else you plant this early in the season.
That’s the whole job: right timing going in, regular picking coming out.