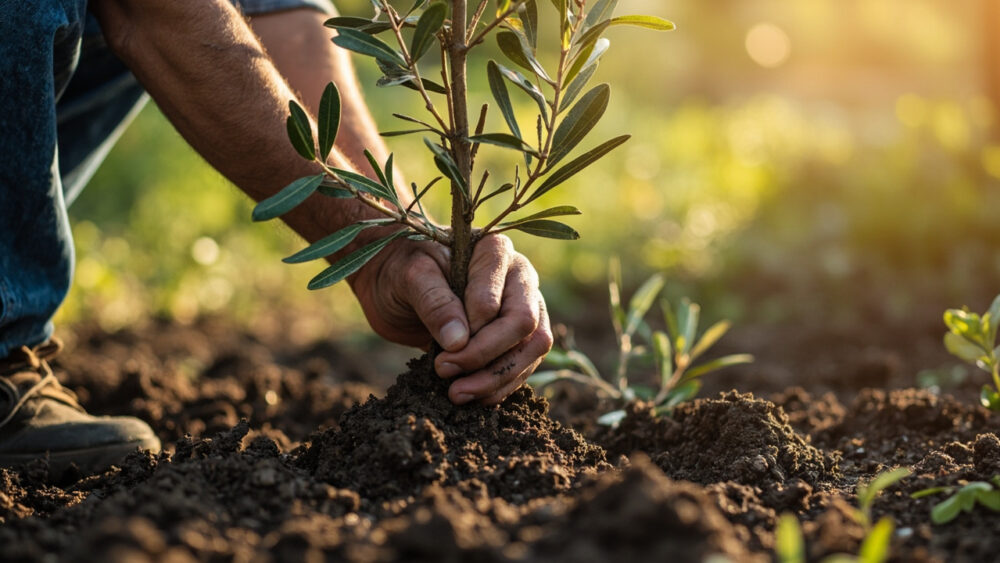
Growing olive trees works if you get three things right: full sun, soil that drains fast, and a climate with a real winter chill followed by a long, dry, hot summer. Plant a young tree in spring after frost risk passes, give it 20 to 25 feet of room if you want a full-size tree, and expect your first meaningful harvest in 3 to 5 years, not this year. Olives are patient trees and unforgiving of wet feet, and that combination trips up more beginners than anything else.
Here is what nobody tells you upfront. The mistake that kills most young olive trees has nothing to do with cold and everything to do with a hose left on too long. There is also a sign of stress that gardeners routinely misread as a nutrient problem when it is actually a root problem. And if you are wondering whether your olive tree needs another olive tree nearby to fruit, the honest answer surprises most people who grew up on the “one tree is enough” myth.
Stick with me through the sections below and you will have the whole planting-to-harvest picture. At the very bottom is a save-able Olive Trees at a Glance card with the numbers you will actually want pulled up on your phone next time you are standing at the nursery or staring at your tree wondering what it needs.
When to Plant an Olive Tree
Plant in spring, once nighttime temperatures reliably stay above the mid 20s F and the soil has warmed and dried out from winter. In mild-winter climates you can also plant in fall, giving roots a full cool season to establish before summer heat hits. What you want to avoid is planting into cold, saturated soil, which is the single fastest way to rot young roots before the tree ever gets going.
Olives are reliably grown outdoors in USDA zones 8 through 10, with some cultivars tolerating brief dips into the low 20s F once mature. Zone 7 gardeners can succeed with a sheltered south wall and winter protection, but young trees there are gambling every year until they get some size on them.
If you are container growing in a colder zone, you sidestep most of this by moving the tree indoors near a bright window when frost threatens.
Get the timing right and the next decision, where you actually put the tree, matters just as much.
Choosing the Spot and Prepping the Soil
Olive trees want full sun, a minimum of 6 hours and ideally 8 or more. Less than that and you get a leggy tree with thin fruit set even if everything else is perfect. Pick the sunniest, most open spot on the property, away from taller trees that will shade it as both grow.
Soil drainage matters more than soil fertility. Olives tolerate poor, rocky, even alkaline soil just fine, but they cannot sit in standing water. If your native soil is heavy clay, plant on a raised mound 12 to 18 inches high, or amend a wide area with coarse grit and compost so water moves through rather than pooling.
A quick gut check before you dig: pour a bucket of water into the planting hole and see how fast it drains. If it is still standing after an hour, that spot will rot roots no matter how carefully you plant.
Once you have confirmed the spot drains, it is time to get the tree in the ground.
Planting an Olive Tree Step by Step
1. Dig the hole wide, not deep
Dig a hole twice the width of the root ball but no deeper than the root ball itself. Planting too deep is one of the most common ways people accidentally suffocate the root crown.
2. Loosen the root ball
If the tree is container grown, tease apart any circling roots at the edges. Roots that stay coiled the way they were in the pot will keep growing that way and eventually strangle the tree.
3. Set the tree at grade
The point where trunk meets roots should sit level with, or very slightly above, the surrounding soil. Burying that point invites rot at the base.
4. Backfill and water in
Backfill with native soil mixed with a couple shovelfuls of compost, firming gently as you go to remove air pockets. Water thoroughly right after planting to settle the soil around the roots.
5. Space for the future
Give standard trees 20 to 25 feet between them at maturity. Dwarf or hedge-grown cultivars can go as close as 8 to 10 feet if you plan to keep them pruned tight and are growing them more for form than for a big harvest.
Getting the tree into the ground correctly is half the battle. What you do with the hose for the next two years decides the rest.
Watering and Feeding Through the Season
If you assumed a Mediterranean tree wants to be kept on the dry side from day one, that guess costs a lot of young olive trees. New trees need consistent moisture for their first one to two summers while roots establish, watering deeply once or twice a week during hot, dry stretches rather than a light daily sprinkle.
Once established, olives shift into genuinely drought-tolerant mode. Mature trees in the ground often need no supplemental water at all in climates with any rainfall, and deep, infrequent watering during extended drought is plenty.
The sign everyone misreads here is yellowing, dropping leaves on an established tree. It looks exactly like a nitrogen deficiency, so people rush to fertilize.
Nine times out of ten it is overwatering or poor drainage suffocating the roots, and more fertilizer only makes a stressed tree worse. Feed lightly instead, once in early spring with a balanced, slow-release fertilizer, and skip feeding entirely in the tree’s first year while roots are still settling in.
Water and feed with a light hand, and most of what strikes an olive tree next becomes a lot easier to shrug off.
Problems That Actually Show Up
Root rot from poor drainage is the biggest threat by far, showing up as wilting leaves, dieback, and a general decline despite watering, which is the opposite of what a stressed gardener expects to see. The fix is prevention: the drainage work you did before planting matters more than anything you do after symptoms appear.
Olive knot, a bacterial disease causing rough galls on twigs and branches, spreads through wounds made by pruning or frost damage. Prune only in dry weather and clean tools between cuts to keep it from spreading tree to tree.
Scale insects and olive fruit fly can both show up, the first as small bumps on stems and leaves, the second as maggot damage inside the fruit itself. Cultural controls, sticky traps for fruit fly monitoring and horticultural oil for scale, handle light infestations. For anything beyond that, follow the label instructions exactly on whatever product your local nursery or extension service recommends for your region.
Frost damage is the other major risk in marginal zones, splitting bark and killing young growth in a hard freeze. Wrap trunks and cover young trees when a hard freeze is forecast, especially in the first few winters.
Handle the drainage and the frost risk, and you have removed most of what actually threatens an olive tree.
Pollination, Fruiting, and When to Harvest
Here is the honest answer to the pollination question. Most olive cultivars are self-fruitful and will produce alone, but nearly all of them set noticeably more fruit with a second, different cultivar planted nearby for cross-pollination. If you have the space, plant two.
Olive trees typically start flowering and setting a small amount of fruit around year 3 to 5, with full production taking closer to 5 to 8 years. This is a tree that rewards patience and punishes anyone expecting a quick payoff.
For eating olives cured green, harvest while fruit is still firm and green to straw colored, usually late summer into early fall depending on climate and cultivar. For black, fully ripe olives destined for oil or dark curing, wait until fruit turns deep purple to black, generally a month or more later.
One thing worth knowing plainly: olives straight off the tree are bitter and essentially inedible until cured, whether by brine, water, salt, or lye. Fresh olives are also considered mildly toxic raw due to that bitter compound content, so if a pet or child eats a handful straight from the tree, watch for stomach upset and call a veterinarian or doctor if symptoms appear or you are unsure.
Harvest by hand-picking for the best fruit quality, or lay tarps and shake branches for a faster, rougher harvest suited to a big tree.
All of that adds up to a tree that asks for very little once it is established, which is exactly what makes the at-a-glance card below worth saving.
Olive Trees at a Glance
- When to plant: spring after nighttime temps stay above the mid 20s F, or fall in mild-winter climates, zones 8 through 10 outdoors.
- Sun and spacing: full sun, 6 to 8 hours minimum, 20 to 25 feet apart for full-size trees, 8 to 10 feet for dwarf or hedge forms.
- Soil: fast-draining, tolerates poor or alkaline soil, mound plant if you have clay.
- Watering: consistent moisture for the first 1 to 2 years, then deep and infrequent once established.
- Feeding: light, balanced, slow-release fertilizer once in early spring, none in year one.
- Pollination: mostly self-fruitful, but a second cultivar nearby boosts fruit set considerably.
- Harvest: green cured olives late summer into early fall, black ripe olives a month or more later, year 3 to 5 for first fruit, all olives need curing before eating.
Get the drainage right at planting and go easy on the water and fertilizer after that, and an olive tree mostly takes care of itself for decades.
Everything else in this guide is just details around that one core habit.