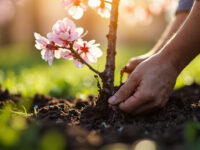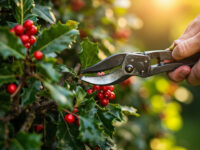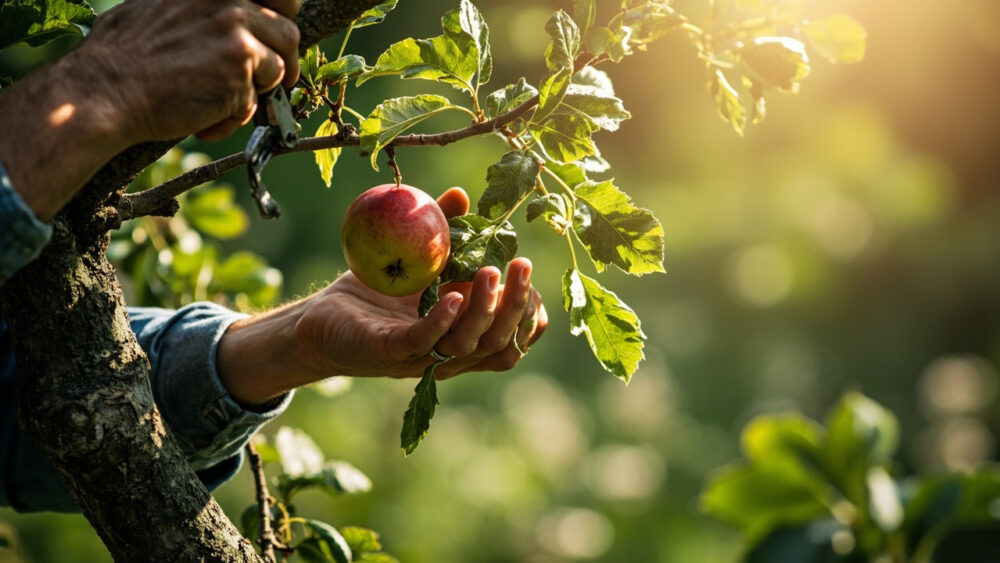
Caring for apple trees comes down to five things you have to get right: full sun, well-drained soil, consistent water in the first two years, an annual winter pruning, and a spray schedule that starts before you see a single bug. Skip any one of those and you get a tree that survives but never really produces. Get all five right and a healthy dwarf tree can hand you a real harvest by year three or four.
Most people who kill or stall an apple tree do it in one of three predictable ways. They plant only one tree and wonder why it never fruits, they prune it like a hedge instead of a fruit-bearing structure, or they ignore the trunk until borers or rabbits have already girdled it. There is also a sign of real trouble that gets misread as normal fall color almost every single year, and it is not what you think.
Stick with me through the sections below and you will know exactly what your tree needs this week, not just in general. The save-able Apple Trees at a Glance card is waiting at the bottom once you have the full picture.
Light, Placement, and Temperature
Apple trees need six to eight hours of direct sun daily. Less than that and you get a tree with plenty of leaves and disappointing fruit, small, sparse, and slow to ripen.
Plant on a site with good air movement and, ideally, a slight slope. Low pockets trap cold air and frost, which can wipe out a spring bloom overnight.
Apples need winter cold to fruit properly, a dormancy requirement measured in chill hours, so match the variety to your USDA zone. Most types thrive in zones 3 through 8, but a low-chill cultivar in zone 9 or 10 will disappoint you, and a high-chill northern variety planted in a mild-winter zone may barely bloom at all.
Get the site right first, because no amount of fertilizer fixes a shady, low spot.
Watering: How Much, How Often, and How to Tell
A newly planted apple tree needs about 10 to 15 gallons of water a week for its first two growing seasons, split across one or two deep soakings rather than daily sips. Shallow, frequent watering trains roots to stay near the surface, which makes the tree less drought-tolerant, not more.
Check by digging down 4 to 6 inches near the root zone. If the soil is dry at that depth, water. If it is still damp, wait.
Established trees, three years and older, are far more forgiving and often survive on rainfall alone in most climates, needing supplemental water only during extended dry spells of two weeks or more, especially while fruit is sizing up in summer.
Water stress at the wrong moment costs you fruit size and can trigger premature drop, which brings up the next thing everyone gets wrong.
Soil, Feeding, and the Mistake That Ruins Most First Attempts
Apples want well-drained loam with a pH around 6.0 to 6.5. Heavy clay that holds standing water after rain is the single biggest killer of young apple trees, root rot sets in before the tree ever gets established.
If you assumed a lone tree in a nice sunny spot with good soil is all you need, that guess is the real mistake, not watering or pruning. Most apple varieties are not self-fertile. Without a second, compatible variety blooming nearby (or a neighbor’s tree within roughly 50 to 100 feet), you can get a tree covered in beautiful blossoms every spring and almost no fruit to show for it.
Feed young trees lightly in early spring with a balanced fertilizer or a shovelful of compost worked into the surrounding soil, not directly against the trunk. Established, fruiting trees generally need less nitrogen, heavy nitrogen pushes leafy growth at the expense of fruit and makes the tree more attractive to aphids.
Pollination is the part nobody warns you about, and it is worth fixing before you plant anything else.
Pruning, Thinning, and the Yearly Rhythm
Prune during late winter dormancy, while the tree is bare and you can see its structure clearly. This is not the same job as trimming a hedge, and treating it that way is the second most common way people ruin a tree’s productivity for years.
The goal is an open center that lets light and air reach every branch. Remove dead, damaged, and crossing branches first, then thin crowded interior growth so branches are spaced roughly 6 to 12 inches apart along the main limbs.
In late spring, once fruit has set, thin clusters down to one apple every 4 to 6 inches along the branch. This feels wasteful, but it is what produces full-size fruit instead of a heavy crop of small, stressed apples that can also break limbs.
Skip thinning one year and you will feel it in the size of every apple you pick that fall.
Problems Most Likely to Strike, and the Sign Everyone Misreads
Apple scab shows up as olive-green to black spots on leaves and fruit, worse in wet springs. Improve air circulation through pruning and rake up fallen leaves in autumn, since the fungus overwinters in leaf litter, and use a fungicide labeled for apple scab according to the product directions if pressure is heavy.
Codling moth larvae are the classic worm in the apple. Pheromone traps and properly timed sprays, applied per the product label right after petal fall, are the standard fix, along with cleaning up dropped fruit promptly so larvae cannot finish their cycle in it.
Here is the sign everyone misreads: leaves turning yellow and dropping in late summer look like early fall color to most people, but on an apple tree it is often a sign of drought stress, fire blight, or a root problem, not the season changing. Real fall color comes later and affects the whole canopy evenly, not scattered branches weeks ahead of schedule.
Fire blight, a bacterial disease, causes shoot tips to blacken and curl like they were scorched, and infected wood should be pruned out well below the visible damage, cutting tools disinfected between cuts.
Catching the real cause early is what separates a bad season from a dead tree, so the next section tells you what healthy actually looks like.
Signs Your Apple Tree Is Genuinely Thriving
A thriving tree pushes 12 to 18 inches of new growth on young branches each year, with firm, flexible new shoots and leaves that are uniformly green, not blotchy or curled.
Bark should be smooth to slightly rough without cracking, oozing, or sunken cankers. Bloom should be heavy and even across the canopy in spring, followed by fruit that sizes up steadily through summer instead of stalling or dropping early.
By year three or four on a dwarf tree, or year five to seven on a standard, you should see a real harvest, not just a handful of test apples. If your tree is well past that age and still barely fruiting, pollination or excessive shade is almost always the culprit.
Once you see that steady, even growth pattern, you can stop second-guessing every leaf and just keep the routine going.
Apple Trees at a Glance
- Light: Six to eight hours of direct sun daily, more is better, shade is the top cause of poor fruiting.
- Planting time: Early spring after the ground thaws and is workable, or fall while trees are dormant in milder climates.
- Spacing: 8 to 12 feet apart for dwarf trees, 15 to 18 feet for semi-dwarf, 30 to 35 feet for standard-size trees.
- Watering: 10 to 15 gallons weekly for young trees, deep soaks rather than daily sprinkles, less once established.
- Pollination: Plant two compatible varieties, or confirm a neighbor’s tree is nearby, most apples are not self-fertile.
- Pruning: Late winter dormancy, open-center shape, thin fruit clusters to one apple every 4 to 6 inches in late spring.
- Watch for: Apple scab, codling moth, and fire blight, plus scattered early yellowing, which usually means stress, not fall color.
Get the sun, spacing, and a pollination partner right at planting, and most of the rest is just yearly maintenance.
Everything else, the pruning cuts, the thinning, the spray timing, is easy to learn once the tree itself is set up to succeed.