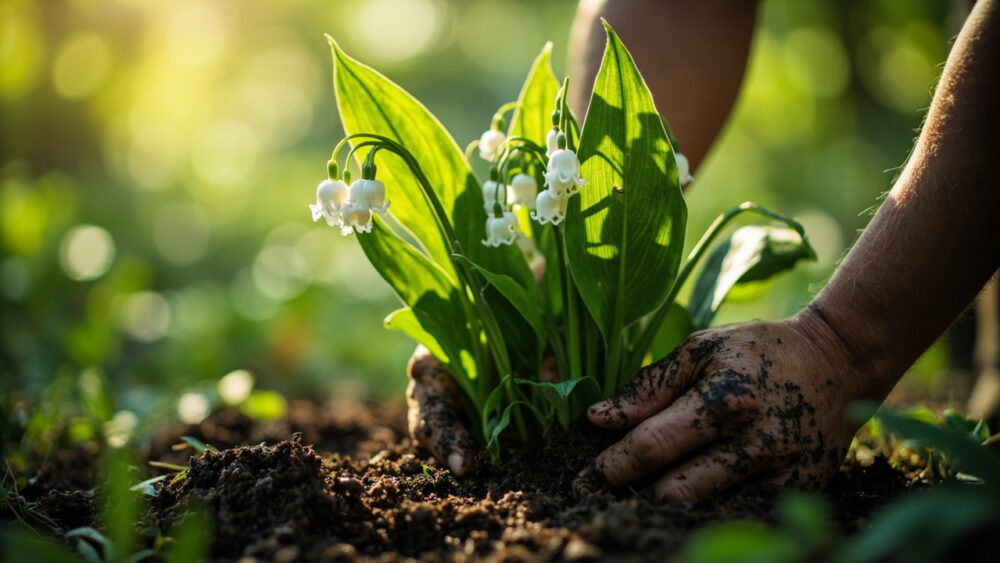
You grow lily of the valley by planting its knobby little roots called pips in fall or early spring, 1 to 2 inches deep and about 6 inches apart, in a shady spot with rich, moist soil. Once it settles in, usually by the second spring, it spreads on its own through underground rhizomes and needs almost nothing from you. That is the honest, short version, but there are a few things about this plant that surprise almost everyone who tries it for the first time.
The biggest one: people plant it expecting a slow, well-mannered little groundcover, and then three years later they are trying to figure out how to stop it from taking over the bed next door. There is also a sign of trouble that looks exactly like the plant thriving, when it is actually the opposite. And there is a question you are probably already forming if you have pets or small kids in the yard, one that deserves a straight answer instead of a shrug.
Stick with me through the sections below and I will walk you through timing, siting, planting, and the couple of problems that actually show up. At the bottom there is a save-able Lily of the Valley at a Glance card with the numbers you will want on hand once you have got dirt on your hands this weekend.
When to Plant Lily of the Valley
Fall is the best window, roughly 4 to 6 weeks before your ground freezes solid, when soil is still workable but air temperatures have cooled into the 50s and 60s F. This gives the pips time to root before winter dormancy.
Early spring works too, as soon as the soil can be dug and is no longer waterlogged, usually a couple weeks before your last frost date. Lily of the valley is hardy in USDA zones 3 through 9 and the pips themselves shrug off cold, so a light frost after planting will not hurt them.
What trips people up is planting into hot, dry summer soil because that is when garden centers happen to stock the pips. They will often sit and sulk for a year if you do this.
Get the timing right and the next question is exactly where in the yard this thing actually wants to live.
Choosing the Spot and Prepping the Soil
Part to full shade is non-negotiable in most climates, though in the far northern edge of its range it will tolerate a few hours of morning sun. Full afternoon sun, especially south of zone 6, scorches the leaves and stalls growth fast.
This is also where the “it’s thriving” mistake shows up. Gardeners see lily of the valley spreading fast and assume that is the plant loving its spot, when really it is a plant that spreads fast almost everywhere, including places you did not intend. More on containing that below.
Work compost or aged leaf mold into the top 6 to 8 inches of soil before planting. It wants soil that stays evenly moist but drains, not the boggy, standing-water kind.
Once your spot is picked and the soil is loosened, the actual planting takes about ten minutes.
Planting Lily of the Valley Step by Step
- Dig a hole or trench about 2 to 3 inches deep, deeper than the pip actually needs, so you can set it and backfill to the right depth.
- Set each pip with the pointed growing tip up and the fine roots spread downward, then cover so the tip sits just 1 to 2 inches below the soil surface.
- Space pips 4 to 6 inches apart if you want a filled-in look within two seasons, or 8 to 10 inches apart if you would rather let it spread on its own timeline.
- Water in immediately after planting to settle soil around the roots and close any air pockets.
- Mulch with an inch or two of shredded leaves or bark to hold moisture and moderate soil temperature.
Pips planted in fall often show nothing until spring, and that silence is normal, not failure.
Watering and Feeding Through the Season
Keep soil consistently moist through the first growing season, aiming for about an inch of water a week between rain and irrigation. Established patches tolerate short dry spells but sulk and brown at the leaf edges if drought stretches past two or three weeks.
Feeding needs are light. A topdressing of compost each spring, right as new shoots poke through, gives it everything it wants.
Skip regular flowering-plant fertilizer here. Heavy nitrogen pushes leafy growth at the expense of the flower spikes you actually planted this for.
Get the water right and most of what people call “disease” in this plant never shows up at all.
Problems That Actually Show Up
The realest problem with lily of the valley is not a pest, it is the plant itself. Its rhizomes spread aggressively underground, and in loose, rich soil it will happily march several feet past where you planted it within a few years.
If you assumed thick, spreading foliage always means a healthy plant, that guess is what lets it get away from you. Contain it early with a buried barrier, a large sunken pot with the bottom cut out, or plain vigilance pulling runners each spring.
Leaf spot and crown rot are the two real diseases, both tied to soil that stays wet and airless. Thin overcrowded clumps every few years and avoid overhead watering late in the day to keep both in check.
Slugs will chew ragged holes in the leaves in damp springs; hand-picking at dusk or a basic slug bait used per the label handles it.
One more thing you were probably already wondering: every part of this plant, leaves, flowers, roots, and the red berries it produces after bloom, is toxic if eaten, to people and to pets. It can cause vomiting, an irregular heartbeat, and other serious symptoms.
Keep it out of beds where small kids graze on things, and if you suspect a child or pet has eaten any part of it, call your doctor or a veterinarian right away rather than waiting to see what happens.
Handle the spreading and the toxicity with a clear head and you are left with the good part, which is watching it actually bloom.
When Lily of the Valley Blooms and How to “Harvest” It
Lily of the valley does not have a harvest in the vegetable-garden sense, but if you are growing it for cut flowers or fragrance, timing the picking matters. Established plants bloom in mid to late spring, usually 2 to 3 years after planting from pips, once the colony has had time to knit together underground.
Cut stems when the lowest 2 to 3 bells on the stalk have opened and the top ones are still tight buds. This gets you the longest vase life, often a week or more in cool water.
Cut in the morning while stems are fully hydrated, using clean shears, and strip any leaves that would sit below the waterline in the vase.
A patch left alone will only get denser and more floriferous with age, which is really the whole reward for the patience this plant asks of you.
Lily of the Valley at a Glance
- When to plant: fall, 4 to 6 weeks before your ground freezes, or early spring a couple weeks before last frost.
- Planting depth and spacing: pips 1 to 2 inches deep, spaced 4 to 6 inches apart for a filled-in look or 8 to 10 inches to let it spread naturally.
- Light and soil: part to full shade, rich soil amended with compost, evenly moist but well drained.
- Water and feed: about an inch a week the first season, a spring compost topdressing yearly, no heavy nitrogen fertilizer.
- Hardiness: USDA zones 3 through 9.
- Bloom time: mid to late spring, typically starting 2 to 3 years after planting.
- Watch for: aggressive spreading underground, slug damage on leaves, and crown rot in soggy soil.
- Toxicity: all parts toxic to people and pets if eaten, contact a doctor or veterinarian immediately for any suspected ingestion.
Give lily of the valley shade, steady moisture, and a boundary you set on purpose, and it will reward you with fragrance every spring for decades.
The only real failure here is planting it somewhere you cannot contain it and forgetting it is not as harmless as it looks.