Growing allium comes down to three things: plant the bulbs in fall (or very early spring in cold zones) about 3 to 4 times as deep as the bulb is tall, give them full sun and soil that drains well, and then mostly leave them alone. That is the whole trick, but the details of timing and depth are exactly where most people go wrong. If you want to know how to grow allium without wasting a season on rot or a no-show spring, the specifics below are what actually separate a bed full of those big purple globes from a patch of mystery foliage.
Here is what nobody tells you upfront. The number one killer isn’t cold, it’s wet feet. The sign everyone misreads is floppy, yellowing foliage in early summer, which looks like a problem but is usually the plant doing exactly what it’s supposed to do. And the honest answer to the question you’re about to ask, “can I still plant these in spring,” is more complicated than a flat yes or no.
Stick with me through the growing season and I’ll answer all three, plus give you the mistakes that cost people an entire year of blooms. At the bottom there’s a save-able Allium at a Glance card with the numbers you’ll actually want on your phone when you’re standing in the garden with a trowel.
When to Plant Allium
Fall is the real answerplanted 2 to 6 weeks before your ground freezes solid, once soil temperatures drop into the 60s F and are trending down. This gives the bulb time to grow roots before winter without pushing top growth that frost will just kill.
In USDA zones 3 to 8, that usually lands sometime between mid September and late November depending on your elevation and how far north you sit. Zones 9 and 10 are trickier: alliums need a real winter chill to bloom well, so gardeners there often pre-chill bulbs in the refrigerator for 6 to 8 weeks before planting, or just choose the ornamental onion relatives bred for milder climates.
Missed fall entirely? You can plant in very early spring as soon as the soil is workable, but expect a shorter or skipped bloom season the first year while the bulb catches up.
That timing choice is only half the job, the other half is where you put them.
Choosing the Spot and Prepping the Soil
Allium wants full sun6 or more hours a day, and soil that drains fast after a hard rain. If water sits visibly on the surface for more than an hour after a downpour, that spot will rot bulbs by midwinter no matter how well you planted them.
Raised beds, slopes, and spots amended with compost or coarse grit all solve drainage problems fast. Heavy clay is the classic allium graveyard; if that’s what you’ve got, work in several inches of compost or coarse sand before you plant, or just go with a raised bed and skip the fight.
Aim for a soil pH close to neutral, roughly 6.0 to 7.0. Alliums aren’t fussy about fertility, but they are absolute snobs about wet feet.
Good drainage picked out, now it’s time to actually get the bulbs in the ground.
Planting Allium Step by Step
1. Check the bulb
A healthy allium bulb feels firm and heavy for its size, with dry papery skin. Skip anything soft, moldy, or shriveled; it won’t magically recover once buried.
2. Set your depth
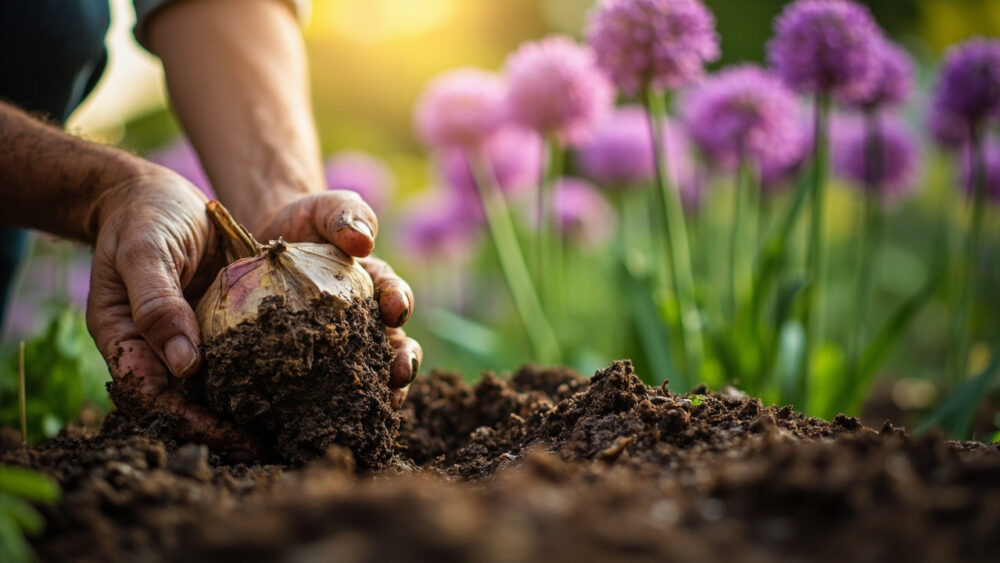
Plant at a depth roughly 3 to 4 times the bulb’s height, which typically works out to 4 to 8 inches deep depending on variety size. Small ornamental types like Allium moly go shallower, around 3 to 4 inches. The big drumstick types like Allium giganteum go deeper, 6 to 8 inches.
3. Space them right
Small varieties: 3 to 4 inches apart. Mid-size varieties: 6 to 8 inches apart. Large drumstick types: 8 to 12 inches apart, since their root systems and mature foliage both need room.
4. Orient and cover
Point the pointed tip up and the flatter root end down. If you honestly can’t tell which end is which, plant it on its side. Alliums are forgiving and will usually right themselves.
5. Water once, then wait
Water thoroughly right after planting to settle the soil around the bulb, then stop until you see growth or the soil goes bone dry.
Get the depth and drainage right at planting and the rest of the season is mostly hands-off.
Watering and Feeding Through the Season
Alliums are drought-tolerant once established and genuinely do not want constant moisture. Water only when the top 2 inches of soil are dry, and in most climates rainfall alone covers this except during a real dry spell in spring.
Skip heavy nitrogen fertilizer. It pushes leafy growth at the expense of flowers and can even weaken the bulb. A light topdressing of compost in early spring, or a bulb fertilizer worked in when foliage first emerges, is all they need.
If you assumed more water and more feeding means better bloomsthat instinct is exactly backward here. Alliums bloom best when slightly neglected, which is good news for anyone who forgets to water.
Now for the part that actually causes the most confused emails to garden columnists everywhere: the foliage flop.
The Foliage Flop, and Other Problems to Watch For
Right around bloom time or shortly after, allium leaves go yellow, floppy, and frankly ugly. It looks like disease or neglect. It is neither.
This is normal die-backthe plant redirecting its energy into the bulb for next year. Resist cutting it off. Let it yellow and wither completely on its own, which can take 4 to 6 weeks after bloom. Interplant with later-emerging perennials so the dying foliage isn’t the only thing on display.
Real problems to actually watch for:
- Bulb rot: soft, mushy, foul-smelling bulbs, almost always from poor drainage or overwatering. Prevention beats cure. There’s no fixing a rotted bulb once it’s gone soft.
- Onion thrips or aphids: stippled or distorted leaves. A strong water spray handles light infestations. For anything heavier, follow the label on an insecticidal soap.
- Downy mildew or rust: fuzzy gray or orange patches on leaves in humid, crowded conditions. Improve air circulation by thinning nearby plants, and remove affected foliage.
- Rodents and deer: mostly leave allium alone. That pungent onion scent is actually doing you a favor here.
Handle drainage and spacing up front and most of this list never becomes your problem.
When and How to Harvest Allium
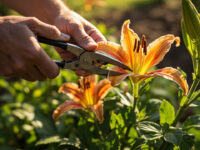
If you’re growing ornamental allium for those globe-shaped blooms, “harvest” means cutting flowers for a vase, and the timing window is narrow: cut when the flower head is about three-quarters open, in the cool of morning, and it will keep opening and last a week or more indoors.
For fresh, ongoing color in the garden, just let blooms finish naturally. They often dry in place into striking seed heads that hold their shape well into fall.
If you’re growing ornamental alliums specifically to eventually divide and multiply the bulbs, wait until foliage has completely died back, usually mid to late summer, then dig gently, separate any offset bulbs from the mother bulb, and replant or store in a cool, dry spot until fall.
One honest note: alliums, along with true onions, garlic, and chives, are toxic to dogs and cats if chewed or eaten in quantity. Watch for vomiting, lethargy, or pale gums, and call your veterinarian right away if you suspect a pet has eaten any part of the plant.
Everything up to this point has been the how. Here’s the whole thing distilled onto one card.
Allium at a Glance
- When to plant: fall, 2 to 6 weeks before hard ground freeze, or very early spring with a shorter first-year bloom.
- Planting depth: 3 to 4 times the bulb’s height, roughly 4 to 8 inches depending on variety.
- Spacing: 3 to 4 inches for small types, 6 to 8 for mid-size, 8 to 12 for large drumstick varieties.
- Light and soil: full sun, well-drained soil, neutral pH around 6.0 to 7.0.
- Water: only when the top 2 inches of soil are dry, none needed once established except in drought.
- Biggest threat: wet soil and bulb rot, not cold.
- Harvest window: cut flowers when three-quarters open, or let foliage fully die back before dividing bulbs.
Get the depth right and the drainage right, and allium genuinely takes care of the rest itself.
The floppy yellow leaves you’re tempted to fix are the one thing you should leave completely alone.