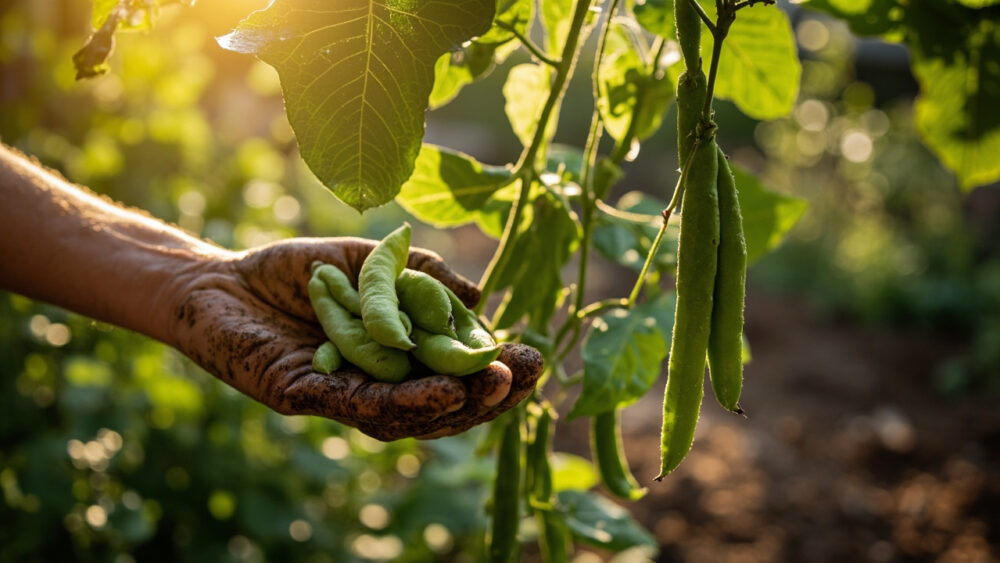
Green beans go straight into the ground outdoors after your soil warms to at least 60°F, about 1 to 2 weeks after your last frost date, planted an inch deep and 2 to 4 inches apart in rows 18 to 24 inches apart. They germinate in 6 to 10 days, bloom about a month after that, and bush varieties are ready to pick in 50 to 60 days, pole varieties more like 60 to 70. That is the whole arc, but a few things decide whether you get that first picking or a season of yellow, stalled plants.
Most people who fail with green beans make the same mistake: they plant too early because the calendar says it is time, not because the soil says so. There is also a sign at first bloom that scares beginners into overwatering or overfeeding when the plant is actually doing exactly what it should. And there is a harvest timing question nobody asks until they are standing over the row wondering if a bean that got away is still worth picking.
All of it gets answered below, section by section, and at the bottom you will find a save-able Green Beans at a Glance card with the numbers worth keeping on your phone.
When to Plant Green Beans
Green beans are a warm-season crop and they do not forgive a jump start. Cold soil, anything under 55°F, rots the seed before it can sprout instead of just slowing it down. Wait until soil hits a consistent 60 to 65°F, which usually lands 1 to 2 weeks after your last spring frost date.
If you garden in a longer season, zones 7 and warmer, you can sow again in mid to late summer for a fall crop, timed so it matures before your first fall frost. In cooler zones, one planting is often the realistic plan unless you succession-sow every 2 weeks through early summer for a steady supply instead of one big glut.
Soil temperature is the real gate, not the date on the seed packet.
Choosing the Spot and Prepping the Soil
Green beans want full sun, 6 to 8 hours minimum, and soil that drains well. They are not heavy feeders and actually sulk in soil that is too rich in nitrogen, since beans fix their own nitrogen from the air through bacteria on their roots.
Work in an inch or two of compost before planting, but skip the high-nitrogen fertilizer at this stage. If your soil is heavy clay, raise the bed a few inches or work in extra organic matter so water does not pool around the seed.
A pH between 6.0 and 7.0 suits them fine, and most garden soils already sit in that range without adjustment.
Get the bed right once and the rest of the season gets easier.
Planting Green Beans Step by Step
Bush vs. pole: pick your type first
Bush beans stay compact, need no support, and give you a concentrated harvest over 2 to 3 weeks. Pole beans need a trellis or pole 6 feet or taller, take a couple weeks longer to start producing, but keep bearing steadily for months if you keep picking.
Sowing
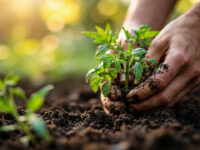
- Sow seeds 1 inch deep in average soil, or up to 1.5 inches deep in sandy soil that dries fast.
- Space bush bean seeds 2 to 4 inches apart in rows 18 to 24 inches apart.
- Space pole beans 4 to 6 inches apart at the base of each support, or thin to 2 to 3 strong plants per pole if you planted a cluster.
- Water gently right after planting to settle soil around the seed without washing it out of place.
- Skip pre-soaking the seed. It can crack the seed coat and cause it to rot instead of germinating faster.
Get the depth and spacing right and germination takes care of itself within a week to ten days.
Watering and Feeding Through the Season
Green beans need about 1 inch of water a week, more during flowering and pod set when the plant is under the most stress. Water at the soil line, not overhead, since wet foliage invites fungal disease.
Here is the sign that trips up new growers: right around first bloom, lower leaves sometimes turn pale or slightly yellow even though you are watering on schedule. If you assumed that means the plant needs more water or more feeding, that guess is the one that causes the real problem, because overwatering and heavy nitrogen at this stage push leafy growth at the expense of pods and can rot the roots outright.
That mild yellowing at bloom time is usually just the plant shifting energy into flowers, not a deficiency. Let the soil dry slightly between waterings and skip fertilizer entirely unless your soil was poor to begin with, in which case a light, low-nitrogen feeding once at bloom is plenty.
The plant is telling you it is working, not struggling.
Problems Most Likely to Strike
Mexican bean beetles and aphids are the most common pests, showing up as skeletonized leaves or curled new growth. Handpick beetles and their yellow egg clusters early, and knock aphids off with a strong water spray before reaching for anything stronger.
Powdery mildew and bacterial blight show up as white coating or water-soaked, brown-edged spots on leaves, almost always from overhead watering or crowded plants with poor airflow. Space plants properly from the start and water at the base to head off most of it.
Poor pod set despite plenty of flowers usually means daytime temperatures above 90°F or nighttime temps that will not drop below 70°F, which causes blossoms to drop before they set fruit. There is no fix for a heat wave, only patience until temperatures moderate.
If a fungal issue does take hold and cultural fixes are not enough, a labeled fungicide can help, but follow the product label exactly rather than guessing at rates.
Most of these problems trace back to spacing and watering habits set weeks earlier.
When and How to Harvest
Pick green beans when pods are firm, bright, and about the diameter of a pencil, usually 50 to 60 days after planting for bush types and 60 to 70 for pole types. The bean inside should barely show as a bump through the pod wall.
Here is the answer to the question everyone eventually asks: a pod that got away and grew fat, lumpy, and a little tough is not ruined, it is just past its best texture for fresh eating. It is still fine for shelling out the beans inside or for the compost pile, but it will not snap crisp on a plate anymore.
Pick every 2 to 3 days once production starts. Beans left on the vine too long signal the plant to slow down and stop setting new pods, so regular picking is what keeps a bush variety productive for its full 2 to 3 week window and keeps a pole variety going for months.
Snap or cut pods off rather than yanking, since pulling can damage the brittle stems.
Everything you need to remember is right below, saved in one place.
Green Beans at a Glance
- When to plant: outdoors once soil is 60 to 65°F, about 1 to 2 weeks after last frost, no earlier.
- Depth and spacing: 1 inch deep, bush beans 2 to 4 inches apart in rows 18 to 24 inches apart, pole beans 4 to 6 inches apart at each support.
- Sun and soil: full sun, 6 to 8 hours minimum, well-drained soil with pH 6.0 to 7.0, light on nitrogen.
- Water: about 1 inch per week at the soil line, steady through flowering and pod set.
- Days to harvest: 50 to 60 days for bush types, 60 to 70 for pole types.
- Harvest cue: pods firm and about pencil-thick, picked every 2 to 3 days to keep production going.
- Watch for: Mexican bean beetles, aphids, powdery mildew, and blossom drop above 90°F daytime heat.
Get the soil temperature and spacing right at planting and green beans mostly grow themselves from there.
The only real discipline required after that is picking often, because a plant left to hold pods will always stop making new ones.