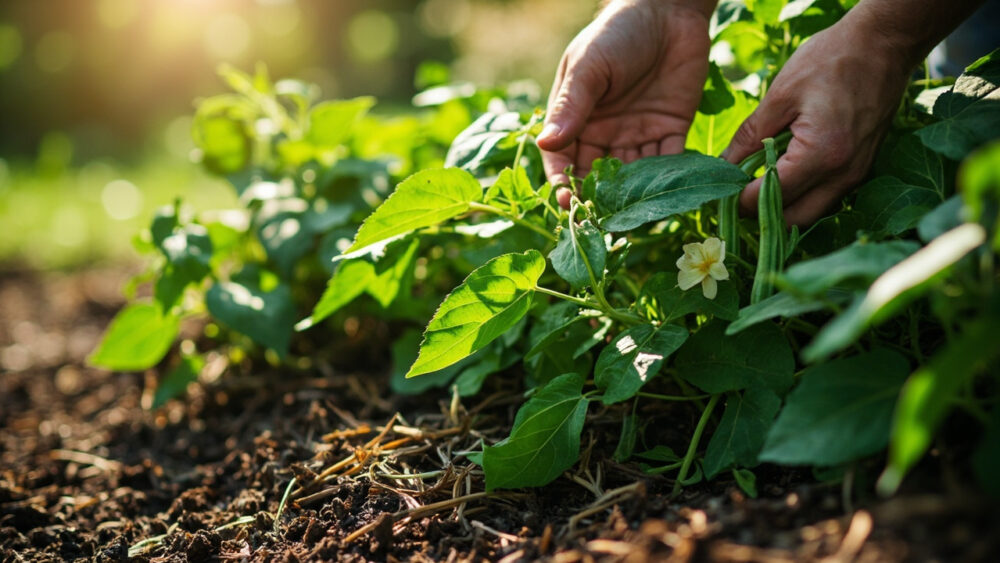
Bush beans go in the ground after your last frost, once soil hits about 60 to 65 F, planted an inch deep and 2 to 4 inches apart in rows 18 to 24 inches apart, and they will hand you a picking-ready crop in 50 to 60 days. That is the whole arc of how to grow bush beans, start to plate. No staking, no trellising, no fuss, which is exactly why they get treated as a throw-and-forget crop.
That casual attitude is also why so many bush bean patches disappoint. One planting-week mistake quietly caps your entire harvest before the plants are even six inches tall. There is a sign on the leaves that panics new gardeners for no reason, and a completely different sign that means real trouble. And there is a question every bush bean grower eventually asks about a second planting that nobody answers plainly.
I will walk through all of it, and at the bottom there is a save-to-your-phone Bush Beans at a Glance card with the numbers you will actually want standing in the garden.
When to Plant Bush Beans
Bush beans are frost-tender through and through. Wait until all frost danger has passed and soil has warmed to at least 60 F, ideally 65 to 70 F, measured a couple inches down. Cold, wet soil rots the seed before it ever sprouts, which is the single most common reason a “bad seed batch” gets blamed for what was really a timing problem.
In most of the country that lands two to three weeks after your last spring frost date. Gardeners in zones 3 to 5 are often waiting into late May or even early June. Zones 7 and up can get away with mid to late April.
Because bush beans mature fast, you can succession plant every 2 to 3 weeks through early summer for a steady harvest instead of one huge flush.
Here is that second-planting question answered honestly: stop new plantings about 60 to 65 days before your first fall frost, so the beans have time to mature before cold shuts them down.
Choosing the Spot and Prepping the Soil
Full sun is non-negotiableat least 6 hours a day, or you get lush leaves and a sad, sparse pod set. Beans also want soil that drains well; they sulk and rot in anything soggy.
Skip the nitrogen-heavy fertilizer at planting time. This is the mistake that quietly caps yields before you even see it happen.
Beans fix their own nitrogen through a partnership with soil bacteria, and a nitrogen-rich bed pushes them to grow enormous green foliage at the direct expense of flowers and pods. Work in an inch or two of compost instead, and if your soil is very poor, a light dose of a low-nitrogen, phosphorus-and-potassium-leaning fertilizer is plenty.
Aim for a soil pH around 6.0 to 6.8; beans are not fussy beyond that range.
Get the bed right once and you barely have to touch it again all season, which brings you to the actual planting.
Planting Bush Beans Step by Step
- Skip the indoor head start. Bean roots hate being disturbed, so direct-sow outdoors rather than starting seeds in trays.
- Plant seeds 1 inch deep in average soil, or 1.5 inches deep if your soil runs sandy and dries out fast.
- Space seeds 2 to 4 inches apart within the row, with rows 18 to 24 inches apart.
- Water immediately after planting to settle soil around the seed, then keep the top inch consistently moist until sprouts appear, usually 8 to 14 days depending on soil temperature.
- Thin if needed once seedlings are a couple inches tall, so plants end up about 3 to 4 inches apart for good air circulation.
Do not soak bean seeds before planting. It often splits the seed coat and invites rot rather than speeding germination.
Once seedlings are up, the real work shifts to watering and feeding through the season.
Watering and Feeding Through the Season
Bush beans want about 1 inch of water a week, more in real heat or sandy soil. The critical window is flowering and pod set: let the soil dry out hard during that stretch and the plant drops blossoms rather than turning them into pods.
Water at the soil line rather than overhead when you can. Wet foliage, especially in the evening, is an open invitation to fungal disease.
Now for that leaf sign that panics people for nothing. If the lower leaves turn a bit pale yellow-green after a heavy rain, that is usually just temporary nitrogen leaching, and the plant bounces back within a week as the soil dries and the nitrogen-fixing nodules catch back up.
Skip heavy nitrogen feeding altogether for the reason covered above. A single light side-dress of compost or a balanced fertilizer partway through flowering is enough for most beds.
Mulch with a couple inches of straw or shredded leaves to hold moisture and keep soil temperature steadier through hot afternoons.
Water and feeding are the easy part. Knowing what’s actually attacking your plants is where most gardeners lose confidence.
Problems Most Likely to Strike
The leaf sign that actually matters is different from the pale-yellow rain response above. Look for yellowing that starts between the leaf veins while the veins themselves stay green, paired with stunted growth. That pattern points to a nutrient deficiency or root stress worth investigating rather than rain runoff.
Mexican bean beetles and Japanese beetles chew ragged holes in leaves and can skeletonize a stand if ignored. Hand-pick what you can, and if populations are heavy, treat with an appropriately labeled insecticide, following the product label exactly.
Bacterial blights and fungal issues like rust or powdery mildew show up as spotted, streaked, or powdery-coated leaves, almost always worse after overhead watering or a run of humid weather.
- Prevention that actually works: water at the soil line, space plants for airflow, rotate where you plant beans each year, and pull and discard infected plants rather than composting them.
- Aphids and spider mites cluster on leaf undersides and stems. A strong water spray or insecticidal soap handles light infestations.
Most bush bean problems trace back to wet leaves and crowded plants, so fix those two things first before you reach for any product.
Get past the pests and disease, and the only decision left is when to actually start picking.
When and How to Harvest Bush Beans
Bush beans are ready roughly 50 to 60 days from planting for snap types, and the visual cue matters more than the calendar. Pick when pods are firm, snap cleanly, and are about the thickness of a pencilbefore the seeds inside bulge and the pod turns tough or stringy.
Check plants every day or two once flowering finishes. Beans left on the vine too long turn fibrous fast and signal the plant to stop producing new flowers.
Pick with two hands, one holding the stem, so you don’t rip the whole branch off the plant. Frequent picking is what keeps a bush bean plant producing for its full 3 to 4 week window instead of shutting down early.
If you want dry beans instead of snap beans, let pods stay on the plant until they rattle and the pods turn tan and brittle, then pull entire plants to finish drying somewhere airy.
All of that condenses down to one card, and here it is.
Bush Beans at a Glance
- When to plant: after last frost, once soil is at least 60 to 65 F, direct-sown outdoors, never started indoors.
- Depth and spacing: 1 inch deep, 2 to 4 inches apart, thinned to 3 to 4 inches, rows 18 to 24 inches apart.
- Sun and soil: full sun, well-drained soil, pH 6.0 to 6.8, light on nitrogen fertilizer.
- Water needs: about 1 inch a week, never let soil dry out during flowering and pod set.
- Watch for: between-vein yellowing with stunted growth, chewed leaves from beetles, spotted or powdery leaves from wet foliage.
- Days to harvest: 50 to 60 days, pick pods pencil-thick and snapping crisp.
- Succession planting: replant every 2 to 3 weeks, stopping about 60 to 65 days before first fall frost.
Get the timing and the nitrogen restraint right, and bush beans genuinely take care of themselves from there.
Pick often, and the plant keeps working for you all season long.