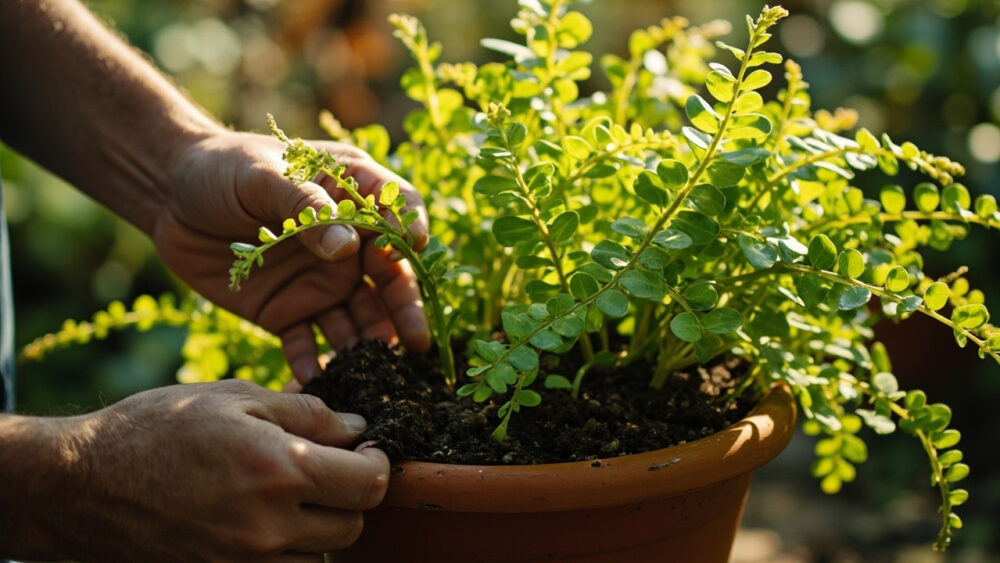
Lemon button fern care comes down to three things this plant will not compromise on: bright indirect light, soil that stays evenly moist but never soggy, and humidity above what most living rooms naturally offer. Give it those three, in a small pot with light, fast-draining mix, and it grows into a tidy mound of round, crinkled little leaflets that actually do smell faintly of lemon when you brush them. Skip any one of the three and it sulks fast, usually within a week.
Here is the part nobody tells you before they buy one: this is not the tough, ignore-it fern. It looks delicate because it is delicate. It drops fronds over mistakes that a Boston fern would shrug off, and the most common cause of a “dying” lemon button fern is not underwatering, it is the opposite, plus a pot with nowhere for that water to go.
Below I will walk through light, watering, feeding, the maintenance rhythm, the specific problems this fern is prone to, and the real signs of a plant that is actually happy, not just surviving. Save-able specifics are waiting at the bottom in the Lemon Button Fern at a Glance card, so you can screenshot it and stop guessing every time you walk past the pot.
Light, Placement, and Temperature
Lemon button ferns want bright, indirect light, the kind you get a few feet back from an east or north-facing window, or filtered through a sheer curtain on a brighter exposure. Direct sun scorches the fronds into crispy brown patches within a day or two. Too little light and growth just stalls, fronds stay sparse and pale green instead of that rich, glossy color.
Room temperature is fine, ideally between 60 and 75°F. It does not tolerate cold drafts well, so keep it away from drafty windows in winter and away from heating vents that blast hot dry air. That heating vent, honestly, causes more damage over a winter than a cold windowsill does.
If you assumed a dim corner is safer than a bright window because ferns “like shade,” that guess is what produces the leggy, thin specimens you see struggling on office desks. This fern wants light, just not direct sun hitting the leaves.
Get the placement right first, because no amount of careful watering fixes a plant sitting in the wrong spot.
Watering: How Much, How Often, and How to Tell
Water when the top inch of soil feels just barely dry to your finger, then water thoroughly until it runs from the drainage holes. In an average indoor room that is roughly every 5 to 8 days, faster in a warm dry room, slower in a cool humid one. There is no fixed schedule that works everywhere, the soil has to tell you.
Here is the mistake that ruins most attempts at this plant: people see the fronds droop and assume it needs more water, so they water again on top of already-wet soil. Droop from underwatering looks limp and dry-tipped. Droop from overwatering looks limp too, but the soil underneath is dark and wet and the crown often smells faintly off. Same symptom, opposite cause, and guessing wrong here is what kills the plant.
Check the soil with your finger before you decide, every time. Never let the pot sit in a saucer of standing water for more than a few minutes after you water it.
Humidity matters as much as watering schedule. This fern is native to humid tropical understories, and dry indoor air (especially in winter with heating running) will brown the frond tips even in perfectly moist soil. A pebble tray, a nearby humidifier, or grouping it with other plants all help. Bathrooms with a bright window are, unglamorously, one of the best spots in the house for this exact reason.
Get the moisture and humidity both right and the next thing to sort out is what it is actually rooted in.
Soil, Potting Mix, and Feeding
Use a light, fast-draining mix, a standard peat-free or peat-based potting mix cut with perlite works well, or a mix marketed for ferns or African violets. The goal is soil that holds moisture without staying waterlogged. Straight garden soil or heavy potting mix suffocates the fine, shallow roots.
The pot matters almost as much as the mix. Lemon button ferns have shallow root systems and genuinely prefer being slightly snug in their pot, so do not jump it into something oversized. A pot with drainage holes is non-negotiable, this plant cannot handle sitting in trapped water.
Feed lightly during the active growing months, roughly spring through early fall, with a diluted balanced liquid houseplant fertilizer at about half the label strength, once every 4 to 6 weeks. Skip feeding in fall and winter when growth naturally slows. Overfeeding causes leaf tip burn faster than it causes any visible benefit, so less is genuinely more here.
With the mix and feeding dialed in, the plant mostly runs itself, and the work shifts to routine upkeep.
Pruning, Repotting, and Cleaning: The Routine Tasks
Trim brown or dead fronds right at the base with clean scissors as they appear, anytime, there is no wrong season for this. It keeps the plant looking full and redirects energy to new growth instead of dead tissue.
Repot about once a year, or when you see roots circling tightly at the drainage holes or pushing up out of the soil surface. Spring is the easiest time, right as growth picks up. Move up just one pot size, not a dramatic jump, since an oversized pot holds excess moisture the roots cannot use fast enough.
Dust and grime block light from reaching the fronds over time. Wipe them gently or give the plant a lukewarm shower in the sink every month or so, letting it drain fully afterward. Never let it sit wet in a saucer or plant sleeve after that shower, that trapped water is exactly what tips healthy roots into rot.
Keep up that light rhythm of trimming, repotting, and cleaning, and you will rarely be caught off guard by the problems in the next section.
The Problems Most Likely to Strike, and the Real Fixes
Brown, crispy frond tips almost always mean low humidity or a buildup of mineral salts from tap water, not underwatering as most people guess first. Raise the humidity, and flush the pot thoroughly with plain water every couple of months to clear built-up salts.
Yellowing fronds that go soft and mushy at the base point to overwatering or a pot without real drainage. Let the soil dry out more between waterings and check that water is actually exiting the drainage holes, not just soaking in and sitting.
Sparse, pale new growth usually means insufficient light, not a feeding problem, even though feeding is most people’s first fix attempt. Move it brighter before you reach for fertilizer.
Pests to Watch For
Mealybugs and scale occasionally show up, appearing as small white cottony spots or tiny brown bumps along the stems and frond undersides. Wipe them off with a damp cloth or treat with an insecticidal soap, following the product label exactly. Isolate the plant from your other houseplants while you deal with it.
Most lemon button fern problems trace back to water, one way or another, which makes the fix easier than it first looks.
How to Tell It Is Genuinely Thriving
A thriving lemon button fern pushes out new fiddlehead-like curls of growth regularly through the warmer months, and the fronds sit full, dense, and deep green rather than sparse and yellowish. The rounded leaflets should look plump and slightly glossy, not thin or curled at the edges.
New fronds unfurling is the single best sign you are doing this right. A plant that is merely surviving holds steady with no new growth at all, which is worth noticing before it tips into decline.
Is lemon button fern toxic to pets? No, it is considered non-toxic to cats and dogs, which makes it a reasonably safe choice for households with curious animals. That said, any pet that eats a large quantity of plant material can still get an upset stomach, so if you notice vomiting, lethargy, or other concerning symptoms after ingestion, contact your veterinarian.
All of that boils down to a handful of numbers and cues worth keeping on hand, so here they are in one place.
Lemon Button Fern at a Glance
- Light: bright, indirect light, a few feet back from an east or north window or behind a sheer curtain, never direct sun.
- Watering: water when the top inch of soil feels barely dry, roughly every 5 to 8 days, always check with a finger before watering again.
- Humidity and temperature: keep humidity elevated with a pebble tray or humidifier, and hold room temperature between 60 and 75°F, away from vents and drafts.
- Soil and pot: light, fast-draining potting mix with added perlite, in a snug pot with real drainage holes.
- Feeding: diluted balanced liquid fertilizer at half strength, once every 4 to 6 weeks, spring through early fall only.
- Repotting: about once a year in spring, moving up just one pot size when roots crowd the drainage holes.
- Signs of trouble: crispy tips mean low humidity or mineral buildup, mushy yellow fronds mean overwatering, pale sparse growth means too little light.
If you remember one thing, remember this: check the soil with your finger before you water, every single time, and never let this plant sit in standing water.
Get those two habits right and the lemon button fern more or less takes care of itself.