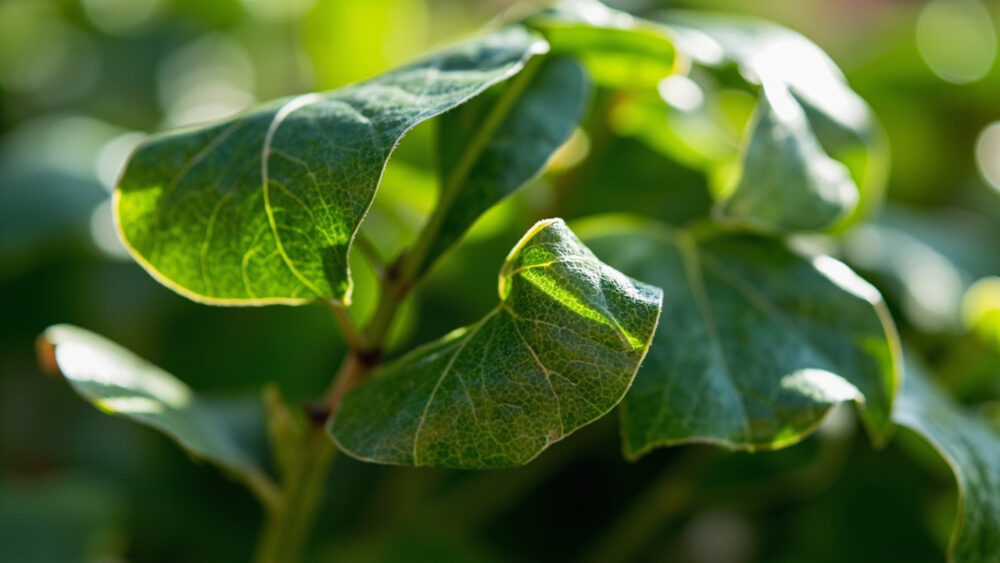
Curling leaves on a heartleaf philodendron almost always mean the plant is thirsty, either from underwatering or from roots that have rotted and can’t take up water anymore. Check the soil first: if it’s bone dry two inches down, water thoroughly and the curl usually relaxes within a day. If the soil is soggy and the curl comes with yellowing, you’re dealing with the other kind of thirsty, and that one takes longer to fix.
Most people blame low humidity the second they see curling, and sometimes that’s part of it, but dry air alone rarely curls a philodendron this dramatically. There’s usually a bigger driver working alongside it. The specific leaf or leaves affected, old growth versus new growth, curled edges versus curled tips, tells you almost exactly which of five or six causes you’re looking at, and I’ll walk through each one.
I’ll also give you the honest recovery timeline, because some of these fixes show results in 24 hours and others take a month, and it helps to know which one you’re in. Stick around for the two-minute diagnosis checklist at the bottom, it’s built so you can run it standing right at the pot.
Causes, Most to Least Likely
1. Underwatering
Confirm it: stick a finger two inches into the soil. If it’s dry and the pot feels light when you lift it, this is your cause. Leaves usually curl inward lengthwise, like a taco, and it hits older and newer leaves fairly evenly.
Fix: water thoroughly until it runs from the drainage holes, then let the top inch or two dry out before the next watering. Heartleaf philodendrons like a wet-to-dry-ish cycle, not constant moisture.
But if the soil’s already wet, don’t reach for more water, you’re in the next category.
2. Overwatering and Root Rot
Confirm it: soil stays wet for more than a few days, leaves feel limp and curl while also yellowing, and if you tip the plant out, roots look brown and mushy instead of white and firm.
This is the one everyone under-suspects because they assume curling means dry, and that guess kills more philodendrons than actual drought does. Wet, damaged roots can’t move water into the leaves any better than no roots at all.
Fix: let the soil dry out fully before watering again. If roots are visibly rotted, unpot the plant, trim away the black or mushy roots with clean scissors, and repot into fresh, fast-draining potting mix in a pot with real drainage holes.
Get this one wrong and every other fix on this page is wasted effort.
3. Low Humidity or Hot, Dry Air
Confirm it: the plant sits near a heating vent, a drafty window, or in a room that consistently reads under 30 percent humidity. Curling shows up mostly on newer leaves, and edges look slightly crispy or dry along with the curl.
Fix: move the plant away from vents and cold drafts, group it with other houseplants, or run a small humidifier nearby. A daily misting helps a little but doesn’t do much on its own.
Humidity is rarely the whole story, so check watering too before you credit it as the fix.
4. Too Much Direct Light or Heat Stress
Confirm it: the plant gets direct sun for several hours, especially afternoon sun through unfiltered glass, and the curling leaves also look pale, bleached, or have crispy brown patches facing the light source.
Fix: move it a few feet back from the window or add a sheer curtain to diffuse the light. Heartleaf philodendron wants bright, indirect light, not direct sun for more than an hour or two.
Leaves damaged this way won’t uncurl, but new growth will look normal once light is corrected.
5. Fertilizer Burn or Mineral Buildup
Confirm it: you’ve fertilized recently, or it’s been many months since the last repot, and you see white or yellow crust on the soil surface or pot rim along with curled, sometimes brown-edged leaves.
Fix: flush the soil with plain water, running several times the pot’s volume through the drainage holes to wash out excess salts. Cut fertilizer to half strength, and only feed during active growth in spring and summer.
If flushing doesn’t help within a couple weeks, look harder at the root ball itself.
6. Pests, Usually Spider Mites
Confirm it: flip the curled leaves over and check the undersides and stem joints for fine webbing, tiny moving specks, or a stippled, dusty look on the leaf surface.
Fix: isolate the plant from others immediately. Rinse leaves under lukewarm water, then treat with insecticidal soap or horticultural oil, following the product label exactly and repeating every five to seven days until you see no more activity.
Pest damage looks similar to environmental stress at a glance, which is exactly why the tell-apart guide below matters.
How to Tell the Causes Apart
Where the curling starts is your best clue. Underwatering and overwatering tend to hit the whole plant at once. Low humidity and light stress usually show up on new growth first. Pests often start on one leaf or one section before spreading.
Old leaves curling and yellowing together points to root rot. New leaves curling with crispy edges points to air that’s too dry or too hot. A single oddly curled leaf near webbing points straight to mites.
Texture matters too: a limp, soft curl is a water issue, a dry, brittle curl is an air or light issue.
Once you know where the symptom started, the prognosis gets a lot easier to call honestly.
Will It Recover?
Underwatering has the best odds. Curled leaves often relax within 24 to 48 hours of a good soak, and no lasting damage occurs if you caught it early.
Root rot is a real setback. If you catch it before more than a third of the roots are gone, trimming and repotting usually saves the plant, with new growth resuming in three to six weeks. If most of the root system is mush, cut your losses on that pot and try to save a healthy stem cutting instead.
Humidity and light damage don’t reverse on the leaves already affected, but they stop spreading once conditions are corrected, and new leaves grow in normal.
Fertilizer burn resolves gradually after flushing, usually over a couple weeks, though badly scorched leaf edges stay as they are.
Pest damage recovers well if you catch it early and treat consistently, but a heavy, established infestation can take a month or more of repeat treatments to fully clear.
Prevention is genuinely easier than any of these fixes, so let’s cover what actually stops this from repeating.
How to Keep It From Happening Again
Water on a check, not a schedule. Stick your finger in the soil before every watering instead of watering on a fixed number of days.
Use a pot with drainage holes and a potting mix that drains fast, this single change prevents more root rot than any watering habit ever will.
Keep the plant in bright, indirect light, a few feet from a sunny window rather than pressed against the glass.
Feed lightly during spring and summer only, skip it entirely in fall and winter when growth slows.
Inspect leaf undersides every few weeks, catching mites early is far easier than treating an established colony.
Run through the checklist below right now and you’ll know your exact cause before you put the phone down.
Diagnosis Checklist
- Feel the soil two inches down: if dry, water thoroughly and recheck the leaves tomorrow.
- If the soil is wet or soggy, stop watering and check for a musty smell, that points to root rot.
- Tip the plant gently from its pot if rot is suspected, and look for brown, mushy roots versus white, firm ones.
- Check which leaves are curling: old leaves together suggest root rot, new leaves alone suggest humidity or light.
- Look for crispy or bleached patches facing a window, that points to too much direct light.
- Check the soil surface and pot rim for white or yellow crust, that points to fertilizer buildup.
- Flip curled leaves over and check for webbing or tiny specks, that points to spider mites.
- Match your findings to the matching cause above and start that fix today, not next week.
Most curling philodendrons bounce back once you match the fix to the actual cause instead of guessing.
Give it a few weeks of steady, correct care before you judge whether it worked.