Yes, you can freeze brussels sprouts, and done right they come out of the freezer tasting almost as good as fresh for six to twelve months. The catch is that raw sprouts tossed straight into a freezer bag turn grey, mushy, and bitter within weeks. The fix is a quick blanch first, and that one step separates a freezer full of good sprouts from a freezer full of regret.
Most people who lose a batch make the same mistake, and it is not skipping the blanch entirely. It is blanching wrong, either too briefly to stop the enzyme activity or too long so the sprouts turn to soup once thawed.
There is also a sizing issue nobody warns you about, and a storage-container choice that quietly ruins texture over months in the freezer. Stick with me and you will get the exact timing, the signs a batch has gone bad, and a save-able at-a-glance card at the bottom you can pull up on your phone next time you are standing over a cutting board full of sprouts.
The Method That Actually Works: Blanch, Shock, Freeze
Start by trimming the stem end and pulling off any loose or yellowed outer leaves. Sort sprouts by size, since this matters more than people think.
Bring a large pot of water to a rolling boil. Drop sprouts in for 3 minutes if small (under 1 inch across), 4 to 5 minutes if medium to large. Immediately transfer them to a bowl of ice water for the same amount of time you blanched them. This stops the cooking instantly and locks in color.
Drain thoroughly and pat dry. Wet sprouts going into the freezer means ice crystals and freezer burn later.
The blanch is not optional, but the size sort is the part almost everyone skips.
Why Sorting by Size Is the Step Everyone Skips
If you assumed all your sprouts can go in the pot together, that guess is exactly what produces a mixed bag of mush and undercooked cores. Small sprouts finish blanching in 3 minutes. Large ones need closer to 5. Blanch them together at one timing and you either overcook the small ones or leave the big ones raw in the center, and a raw center means the enzymes that cause spoilage never got deactivated.
Cut any oversized sprouts in half so they cook evenly with the rest of the batch. It looks like extra work at the cutting board, but it is the difference between a freezer bag of uniform, firm sprouts and one with random soft spots that ruin the whole batch by association once freezer burn starts spreading.
Sorted and blanched right, the next question is how you actually pack them.
Packing and Freezing: Get the Air Out
Spread the dried, blanched sprouts on a baking sheet in a single layer and freeze for 1 to 2 hours before bagging. This flash-freeze step keeps them from clumping into one solid brick later, which matters if you only want to cook a handful at a time.
Once frozen solid, transfer to a freezer bag or airtight container. Press out as much air as you can, or use a straw to suck excess air from a zip bag before sealing. Label with the date.
Lay bags flat in the freezer rather than stacking them loosely, which saves space and helps them freeze evenly.
How long that bag actually stays good depends on more than the calendar.
How Long Brussels Sprouts Actually Keep
Fresh, unwashed sprouts still on the stalk keep 3 to 5 days at room temperature or up to 2 weeks in the crisper drawer of the fridge. Loose sprouts in a perforated bag in the fridge run closer to 1 week before quality drops.
Properly blanched and frozen sprouts hold good quality for 10 to 12 months in a standard freezer, and are still safe to eat well beyond that, though texture and flavor fade after about a year. Freezer burn becomes noticeable around the 6 to 8 month mark if the bag was not sealed tightly.
Skip the blanch and freeze raw sprouts anyway, and you are looking at usable quality for maybe 4 to 6 weeks before bitterness and mushiness set in.
Knowing the timeline is only half the picture, you also need to know what spoiled actually looks like.
The Signs a Batch Has Turned
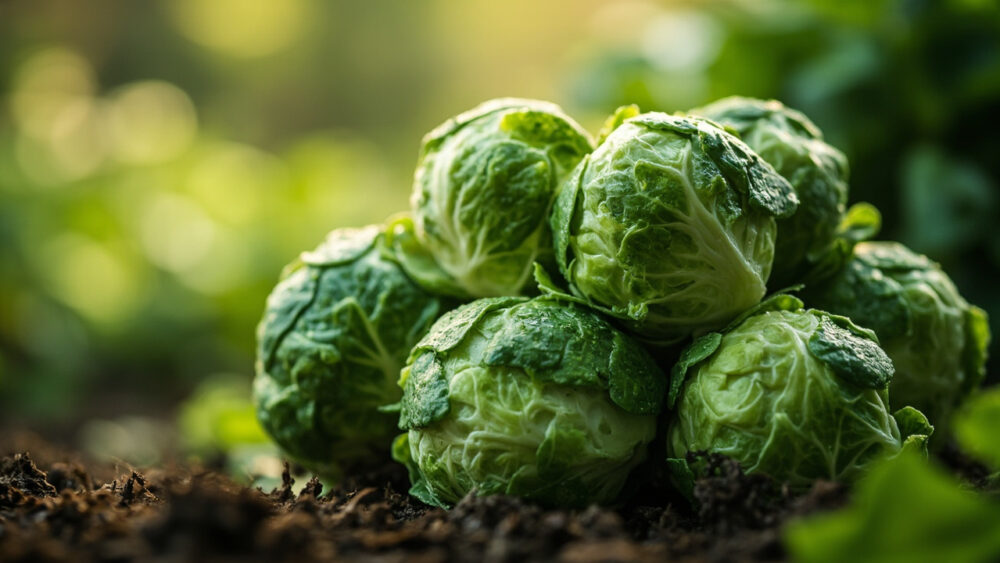
Fresh sprouts should be tight, firm, and bright green with no yellowing between the leaves. A little loosening at the outer leaves is normal with age, but a sprout that feels soft or slightly slimy when you squeeze it has crossed the line.
In the freezer, watch for a dull, greyish cast to the color and visible ice crystals inside the bag, which signal freezer burn rather than spoilage in the food-safety sense. They are still safe but will taste flat and cottony.
A sour or distinctly off smell after thawing, rather than the normal mild cabbage smell, means bacterial spoilage and that batch should be discarded rather than cooked and tasted to check.
Most of these problems trace back to a small handful of avoidable mistakes.
The Mistakes That Ruin a Batch
- Skipping the blanch: raw-frozen sprouts turn bitter and mushy within weeks because the enzymes that break down the vegetable never get deactivated.
- Under-blanching: less than 3 minutes leaves those enzymes active enough to keep degrading quality in the freezer.
- Over-blanching: past 5 to 6 minutes and you have essentially pre-cooked them, so they turn to mush the moment you reheat.
- Skipping the ice bath: residual heat keeps cooking the sprouts after you drain them, softening the texture before freezing even starts.
- Bagging them wet: extra moisture becomes extra ice crystals, and ice crystals mean freezer burn and a grainy texture later.
- Loose, air-filled bags: trapped air is what actually causes freezer burn over months of storage, more than the freezer’s temperature swings.
Get those six right and there is really only one decision left, which is what to actually do with them once thawed.
Cooking From Frozen: No Need to Thaw
Do not thaw frozen sprouts before cooking. Thawing first releases water and guarantees a mushy result. Roast them straight from frozen at 400 to 425°F, adding 5 to 10 minutes to your usual roasting time, or drop them straight into a pan for a stir-fry or sauté.
Boiling or steaming from frozen works too, just cut the cooking time roughly in half since they are already partially cooked from the blanch.
That is the whole process, now here is everything worth saving in one place.
Brussels Sprouts at a Glance
- Fresh storage: 3 to 5 days at room temperature, up to 2 weeks in the fridge crisper if left on the stalk.
- Blanch time: 3 minutes for small sprouts under 1 inch, 4 to 5 minutes for medium to large, halve oversized ones first.
- Ice bath: same amount of time as the blanch, this stops cooking and locks in color.
- Dry before freezing: pat completely dry, wet sprouts cause freezer burn.
- Flash freeze first: spread on a tray for 1 to 2 hours before bagging to keep them from clumping.
- Freezer life: 10 to 12 months at best quality, safe longer but texture and flavor fade.
- Cooking from frozen: never thaw first, roast at 400 to 425°F adding 5 to 10 minutes, or boil and steam at roughly half the fresh cooking time.
The blanch is what makes freezing work, and skipping it is the mistake that ruins almost every batch.
Get that one step right, sort your sprouts by size, and a bag from your freezer in February will taste like it came off the stalk yesterday.