Learning how to grow bromeliad plants comes down to three things: bright indirect light, a loose fast-draining potting mix, and keeping water in the central cup instead of drowning the roots. Get those right and a bromeliad will hold its color and shape for a year or more with almost no fuss. Get them wrong and the plant rots from the base up while looking, right up until the end, like it’s doing just fine.
That last part is the trap. Most bromeliad failures do not show obvious symptoms early, so by the time the center pulls loose or the leaves go mushy, the damage is already done. There is also a bloom question nearly everyone asks eventually and gets a half-answer to: your bromeliad’s colorful flower spike is not going to happen twice, and what you do after it fades matters more than anything you did to get there.
I will walk through timing, siting, planting, feeding, and the pup-and-bloom cycle in order, including the mistake that kills more bromeliads than any pest does. Save the Bromeliad at a Glance card at the bottom for quick reference once yours is potted and settled.
When to Plant or Repot a Bromeliad
Bromeliads are tropical houseplants in most of the US, hardy outdoors only in USDA zones 10 and 11, so for nearly everyone this is a container plant year-round. The best time to pot or repot one is spring through mid-summerwhen longer days and warmer indoor temperatures help roots establish quickly.
If you bought yours already potted, there is no rush. Bromeliads have small root systems that exist mainly to anchor the plant, not to feed it, so repotting is optional and mostly about giving it a nicer container.
Outdoors in zones 10 and 11, plant or move containers out once nighttime temperatures stay reliably above 55°F. Below that, growth stalls and cold damage starts showing as translucent, water-soaked patches on the leaves.
Timing solved, the next question is where this plant actually wants to live.
Choosing the Spot and Preparing the Mix
Bromeliads want bright, indirect light, the kind you get a few feet back from an east or west window. Direct hot afternoon sun through glass will scorch the leaves; too little light gives you a plant that survives but never colors up or blooms.
If you assumed regular potting soil would work fine, that assumption is the single biggest killer of houseplant bromeliads. Dense soil holds water around the base and roots rot within weeks. Bromeliads evolved growing on tree bark and rock ledges with almost no soil at all.
Use a chunky, fast-draining mix: a bark-based orchid mix on its own, or a mix of standard potting soil cut with orchid bark, perlite, and coarse sand at roughly equal parts. The goal is a mix that water runs through in seconds, not one that holds a puddle.
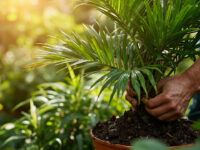
Pick a pot with drainage holes only slightly larger than the plant’s root ball. Bromeliads like being a little snug.
Soil sorted, planting itself is quick, but the technique matters more than the depth.
Planting a Bromeliad Step by Step
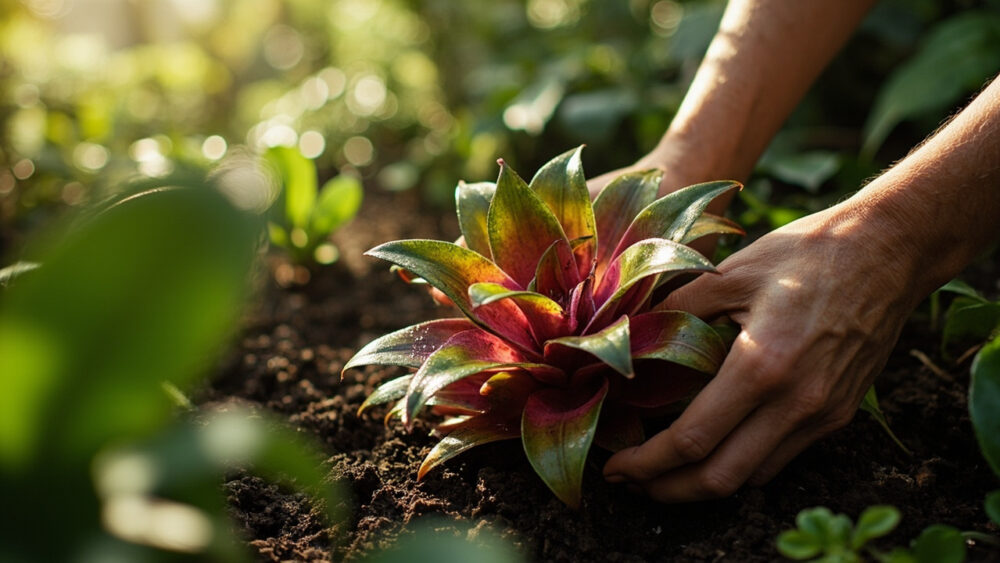
- Depth: set the plant so the base of the leaves sits right at the soil surface, no deeper. Burying the stem invites rot.
- Anchoring: since roots are mostly for stability, pack mix firmly around the base rather than deep. A loose plant will tip.
- Spacing: for multiple plants in one container, allow 8 to 12 inches between centers so mature rosettes, which often span 12 to 24 inches, don’t crowd each other out.
- Settling: water lightly right after potting to settle the mix around the roots, but don’t fill the central cup yet if the plant is freshly disturbed.
- Placement: move it into bright indirect light immediately rather than a dim spot “to recover.” Bromeliads don’t need a recovery period like a transplanted vegetable does.
Once it’s in place, watering is where most people either win or lose this plant.
Watering and Feeding Through the Season
Most bromeliads, especially the tank types like Guzmania and Vriesea, hold water in the cup formed by their overlapping leaves. Fill that cup a quarter to half full and let it stay there, flushing it out and refilling with fresh water every one to two weeks so it doesn’t stagnate or grow algae.
Water the soil itself sparingly. Let the top inch or two dry out between waterings, and in winter, cut back to watering the mix every two to three weeks. Soggy mix combined with a full cup is exactly how the base rots.
Skip fertilizer for the first couple months. After that, feed lightly, a quarter-strength balanced liquid fertilizer once a month during spring and summer, applied to the cup or the mix. Bromeliads are light feeders; heavy fertilizing pushes soft, weak growth and can actually delay blooming.
Humidity matters more than most houseplant guides admit. Dry indoor air, especially near heating vents, causes brown leaf tips even when watering is correct.
Get the water routine right and most of the problems below never show up at all.
Problems That Actually Show Up
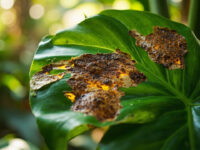
Crown rot is the big one: the central leaves pull loose with almost no resistance and the base smells sour or looks brown and mushy. It is caused by water sitting in the cup or soil of a plant kept too cool, and it is not fixable once it starts. Prevention, meaning a well-drained mix and not overfilling the cup in cool weather, is the only real defense.
Scale and mealybugs show up as small brown bumps or cottony white clusters tucked in leaf axils. Wipe them off with a cloth dipped in isopropyl alcohol, or treat with insecticidal soap or horticultural oil following the label exactly.
Brown leaf tips point to low humidity or a fertilizer buildup, not underwatering. Flush the soil with plain water occasionally to clear mineral salts.
Bromeliads are considered non-toxic to cats, dogs, and people by most poison-control references, though a curious pet chewing on the stiff, sometimes serrated leaf edges can still cause mouth irritation or mild digestive upset. If your pet shows ongoing vomiting, drooling, or discomfort after chewing on one, call your veterinarian rather than waiting it out.
Dodge these and the plant coasts along fine until it does the one thing every owner is waiting for.
When a Bromeliad Blooms, and What Happens After
Here’s the honest answer nobody leads with: a mature bromeliad rosette blooms exactly once, and that flower spike, whether it’s the red star of a Guzmania or the pink plume of a Vriesea, can last anywhere from a few weeks to several months before fading. The plant does not rebloom from the same rosette after that.
Maturity to first bloom typically takes one to three years from a young plant, depending on the type and how much light it’s gotten. There’s genuinely nothing you can do to force an immature plant to flower faster.
Once the bloom fades and the mother plant starts browning and dying back, don’t panic and don’t toss it. It’s producing offsets, called pups, at its base.
The mistake most people make here is pulling pups too early. Wait until a pup is roughly a third to half the size of the parent, usually two to four months after it appears, before separating it.
Cut the pup free with a clean knife, keeping any roots it has, pot it in the same fast-draining mix, and treat it exactly like a new plant. That pup is your harvest, and it will bloom on its own timeline, usually a year or two out.
The mother rosette can then be discarded once it’s fully brown and spent.
Bromeliad at a Glance
- When to plant or repot: spring through mid-summer indoors, or once nights stay above 55°F outdoors in zones 10 and 11.
- Light: bright, indirect light. Direct hot sun through glass scorches the leaves.
- Soil: a chunky, fast-draining mix, bark-based orchid mix or potting soil cut with perlite and bark.
- Planting depth: base of the leaves at soil level, packed firmly for anchoring, not buried.
- Watering: keep the central cup a quarter to half full, refreshed every one to two weeks. Let the soil dry between waterings.
- Feeding: quarter-strength balanced fertilizer once a month in spring and summer only.
- Bloom and harvest: one bloom per rosette, lasting weeks to months. Separate pups once they’re a third to half the parent’s size.
The plant lives or dies on drainage and a clean cup, not on attention.
Get the water routine right once, and a bromeliad practically takes care of itself for years.