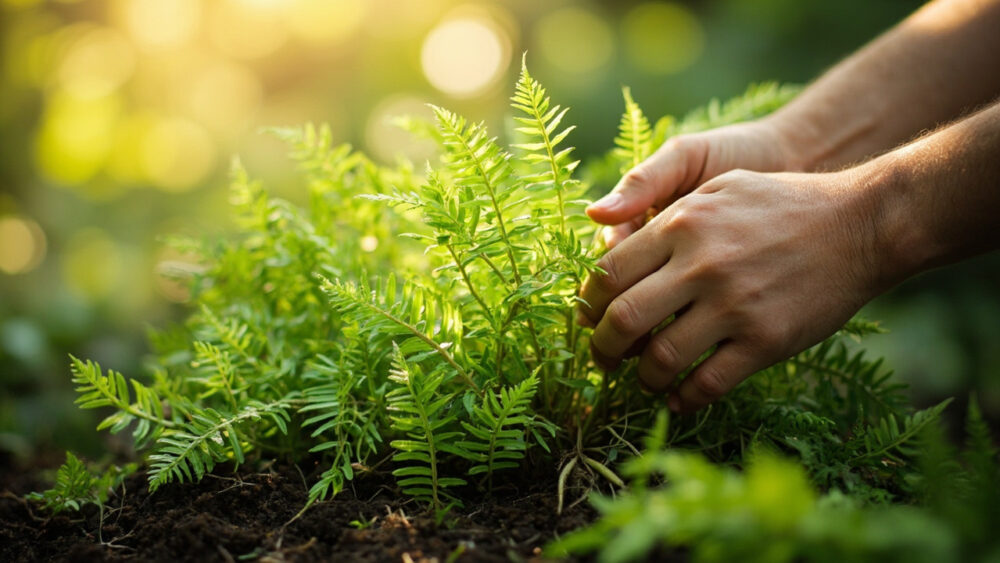
Asparagus fern wants bright, indirect light, weekly watering that never lets the roots sit bone dry for long, and a humid spot away from cold drafts and heat vents. Learning how to care for asparagus fern really comes down to those three things done consistently, not any single trick. Get the light and water rhythm right and this plant will fill a hanging basket with feathery green in a single season.
Here is what most people get wrong first: they treat the yellowing, needle-drop, or crispy fronds as a sign of underwatering and drown the plant in response. That guess is wrong more often than it is right, and it is the single mistake that kills more asparagus ferns than neglect ever does. There is also a sign of genuine thriving that has nothing to do with how green the plant looks, and most owners never notice it.
Stick with me through the sections below and you will know exactly what to check today, what to ignore, and what to fix first. At the bottom you will find a save-able Asparagus Fern at a Glance card with the numbers you actually need to remember.
Light, Placement, and Temperature
Asparagus fern wants bright, indirect light, several hours a day of it, from an east or west window or a few feet back from a south-facing one. Direct midday sun through glass scorches the foliage; deep shade makes growth thin and sparse. Outdoors in summer it does well on a covered porch or under high tree canopy, out of full afternoon sun.
Temperature range is comfortable and forgiving: 60 to 75°F is the sweet spot, and the plant will sulk below 50°F. It is not frost hardy and needs to come inside well before your first fall frost if it has been summering outdoors.
What it hates more than cold is dry air and drafts, the kind that comes off a heating vent, a cold windowpane in winter, or an air conditioner blowing directly on the foliage. That draft sensitivity, more than light, is often the real reason a plant that looks fine one week is dropping needles the next.
Get the spot right and watering gets a lot more forgiving too.
Watering: How Much, How Often, and How to Tell
Water when the top inch of soil feels dry to the touch, which in a bright spot with average humidity usually lands around once a week, sometimes twice in a hot dry summer. Soak thoroughly until water runs from the drainage holes, then let the pot drain fully. Never let it sit in a saucer of standing water.
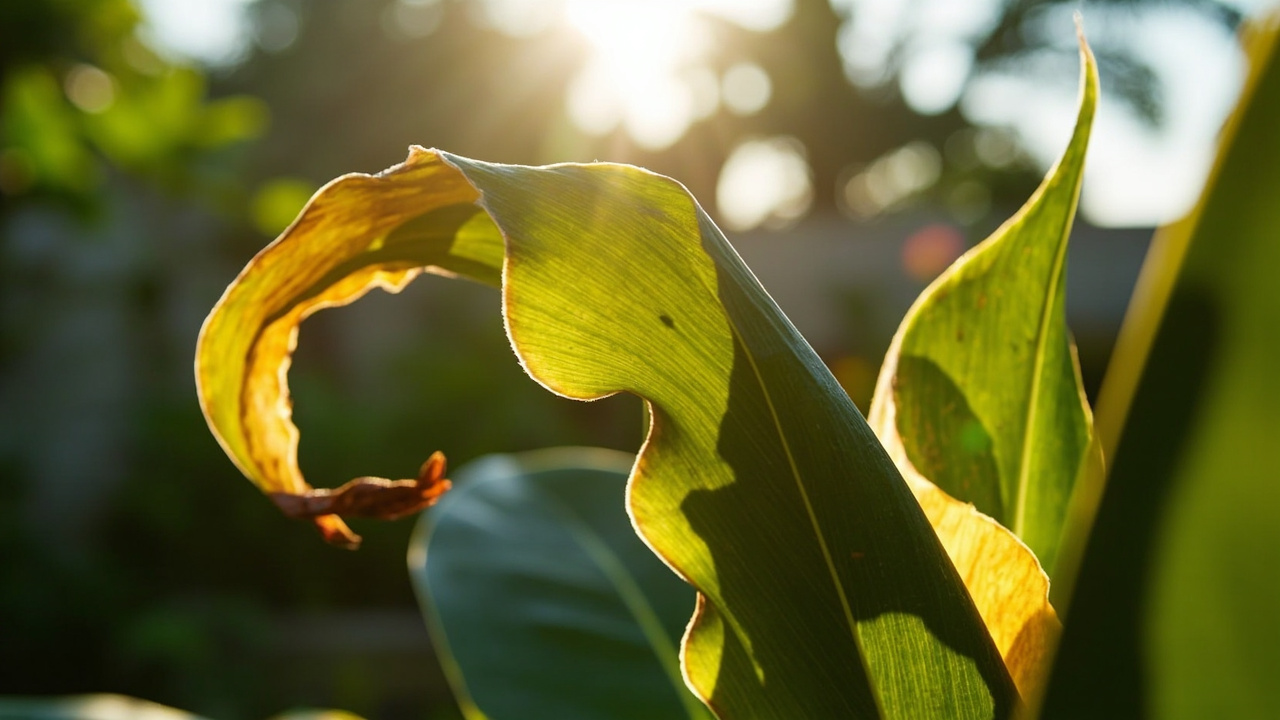
This is where the guessable answer falls apart. Yellowing fronds and needle drop look like thirst, so the instinct is to water more. But asparagus fern drops needles from both overwatering and underwatering, and from simple stress like a draft or a light change, so the leaves alone do not tell you which one it is.
The soil does. Stick a finger an inch down. If it is still damp and the plant is dropping needles, you are overwatering and likely dealing with root stress, not thirst. If it is dry and crumbly, that is genuine drought and a good soak will fix it within a few days.
Underwatering is actually the more common cause of crispy, straw-colored fronds, since the tuberous roots store some water but the fine feeder roots dry out fast in a small pot. Overwatering shows up more as yellowing and a sour, damp smell at the soil surface.
Once you know which one you are dealing with, the fix is fast, but the potting mix underneath it matters just as much.
Soil, Potting Mix, and Feeding
Use a well-draining potting mix, a standard peat or coir-based houseplant mix with some perlite worked in. Asparagus fern has fleshy, tuberous roots that rot fast in mix that stays soggy, so drainage matters more here than with a lot of other houseplants.
Feed monthly during spring and summer with a balanced, diluted liquid houseplant fertilizer, and stop entirely from late fall through winter when growth naturally slows. Overfeeding in winter is a common way to push soft, weak growth right when the plant has no light to support it.
A plant that has been in the same pot for two or three years and is pushing roots out the drainage holes is telling you it is done with that container, and that is the next thing to handle.
Pruning, Repotting, and Cleaning: When and How
Prune anytime a frond turns yellow, brown, or bare, cutting it back to the base rather than snipping the tip. This plant does not regreen a damaged frond, so trimming the whole stem clears space for new growth instead of leaving a half-dead one in place.
Repot every one to two years, in spring, moving up one pot size when you see roots circling the surface or emerging from the drainage holes. The tuberous root mass is often bigger than people expect and can crack a thin plastic pot from the inside.
Dust builds up fast on the fine needles and blocks light the plant needs. A gentle rinse in the shower or sink every month or so, or a light shake outdoors, keeps the foliage doing its job.
Most of what goes wrong after this point is one of a short, predictable list.
The Problems Most Likely to Strike
- Yellowing fronds with damp soil: overwatering or poor drainage. Let the pot dry out fully before the next watering and check that excess water is actually draining away.
- Crispy, dry needles with dry soil: underwatering or low humidity. Water more consistently and consider a pebble tray or nearby humidifier, especially in winter with the heat running.
- Sudden all-over needle drop: usually shock from a big change, a repot, a cold draft, or a move to a new spot. The plant typically recovers within a few weeks once conditions stabilize.
- Spider mites: look for fine webbing between stems and stippled, dull foliage, common in dry winter air. Increase humidity and treat with insecticidal soap or a horticultural oil, following the product label exactly.
- Mealybugs and scale: small white cottony clusters or brown bumps along stems. Wipe off what you can and treat with insecticidal soap, repeating as the label directs.
Worth knowing if you have pets: asparagus fern is considered toxic to cats and dogs, and the berries it occasionally produces are the most concerning part. If a pet eats any part of this plant, call your veterinarian rather than waiting to see what happens.
Handle the pests and the poison risk, and what is left is simply watching for the good signs.
How to Tell It Is Actually Thriving
Healthy green fronds are the obvious sign, but the real tell is new growth: thin, wiry, almost translucent pale shoots pushing up from the base or arching over the pot’s edge. If you see several of those in a growing season, the plant is not just surviving, it is actively expanding its root mass underground too.
A thriving asparagus fern will also fill in fast enough that you notice the pot looking crowded within a year, and it may send up small white flowers followed by berries, which is a sign of a mature, well-fed plant rather than a problem.
That new-shoot signal is the one most owners never learn to look for, and it will tell you the plant is happy well before the foliage would.
Asparagus Fern at a Glance
- Light: bright, indirect light for several hours daily, no direct midday sun through glass.
- Temperature: 60 to 75°F, bring indoors well before first frost if kept outside in summer.
- Watering: when the top inch of soil is dry, roughly weekly, soak fully and let it drain.
- Soil: well-draining, peat or coir based mix with added perlite.
- Feeding: balanced liquid fertilizer monthly in spring and summer, none in fall and winter.
- Repotting: every one to two years in spring, up one pot size when roots crowd the container.
- Watch for: yellowing means too wet, crisping means too dry, new pale shoots mean it is thriving.
If you remember one thing, remember to check the soil before you water, not the leaves.
The needles lie to you, the finger test never does.