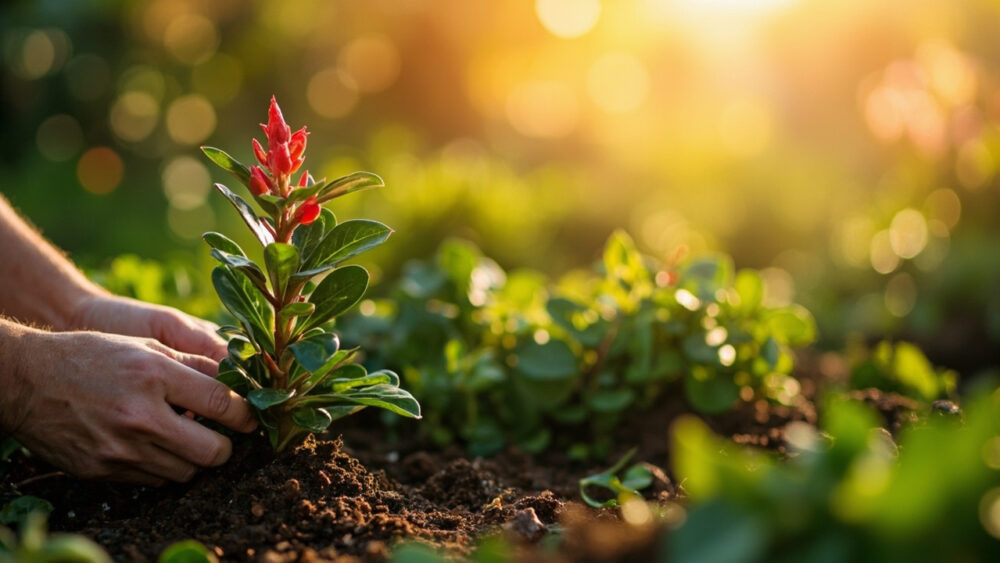
The method that actually works for lipstick plant (Aeschynanthus radicans) is a simple stem cutting rooted in water or damp perlite, taken from a healthy vine with at least two or three leaf nodes. Skip the leaf-only cuttings you see suggested elsewhere; lipstick plant will not root from a leaf alone, it needs a node with actual stem tissue to throw roots. Get that one detail right and this plant roots faster and more reliably than most people expect.
Here is where most attempts actually go wrong, and it is not the part people worry about. It is not the rooting medium, and it is not some secret hormone trick.
It is cutting length and where you cut it. Cut too short, too woody, or from a stem with no visible node, and you get a cutting that sits there doing nothing for weeks before it quietly rots. There is also a sign everyone misreads: new red or bronze growth on a cutting looks like progress, but it can appear before any roots exist at all, and it is not proof the cutting has taken.
Stick with this and by the end you will have the full week-by-week timeline, the potting-up point, the honest failure list, and a save-able Lipstick Plant at a Glance card at the bottom with every number in one place.
Why Stem Cuttings Beat Every Other Method
Lipstick plant is an epiphytic vine, related to African violets and goldfish plant, and it roots from stem nodes the same way most gesneriads do. Division works too if your plant has multiple crowns growing from the soil, but most houseplant lipstick plants are single vines trained around a hoop or left to trail, so division is rarely an option.
Air layering is possible but it is slow and fussy for a plant this easy to just cut and root. Seed propagation exists but named cultivars rarely come true from seed, and germination is inconsistent.
Stem cuttings are faster, more reliable, and let you take several cuttings from one prune without hurting the parent plant.
The parent plant actually benefits from the haircut, which brings us to timing.
When to Take the Cutting
Take cuttings in spring through mid summer, while the plant is actively growing and light levels are strong. Rooting during active growth cuts your wait time roughly in half compared to a cutting taken in the dead of winter, when the plant is resting and has little energy to spare on new roots.
Indoors this is less strict than it is for outdoor plants tied to frost dates, but a cutting taken in November under weak light will sit and sulk far longer than one taken in May.
If you are propagating because your plant is leggy and bare at the base, this is also the right moment for a shaping prune, since you need to cut it anyway.
Now for the part that actually determines success or failure: how you take the cutting.
Step 1: Taking the Cutting
Look for a healthy, flexible stem, not the oldest woody growth near the base and not a brand-new soft tip that will wilt fast. Cut a 4 to 6 inch section that includes at least two or three leaf nodes, using clean, sharp scissors or a snips.
Cut just below a node, at a slight angle. Remove the lowest one or two leaves so you have at least one bare node to submerge or bury.
That bare node is where roots will actually emerge, so do not skip this step.
Step 2: Rooting Medium
Water works well for lipstick plant and lets you watch root progress, which is satisfying and useful for beginners. Put the cutting in a small jar with the bare node or two submerged, leaves staying dry above the waterline.
Damp perlite or a mix of perlite and peat or coco coir roots just as well and often produces sturdier roots that transition to soil with less shock. Bury the bare node an inch or so deep and firm the medium around the stem so it does not flop over.
Either medium works, so pick water if you want to watch, and perlite if you want an easier transplant later.
Step 3: Conditions While Rooting
Bright, indirect light is what you want, never direct sun through glass, which will cook a leafless cutting fast. Room temperature between 68 and 78°F speeds things along considerably, so keep the jar or pot off a cold windowsill.
If rooting in water, change it every 4 to 5 days to keep it from going cloudy or growing algae. If rooting in perlite, keep it consistently moist but never soggy, and a loose plastic bag or clear dome over the pot holds humidity without you having to mist constantly.
Get the light and temperature right and the timeline below is realistic, not optimistic.
Week by Week: What Actually Happens
Weeks 1 to 2: Nothing visible happens below the waterline or soil line, and this is normal, not failure. Above ground you may see that bronze or reddish flush on new growth, which is the plant redirecting energy, not proof of roots yet.
Weeks 3 to 4: This is when actual white root threads usually appear at the submerged node, often a quarter inch to an inch long by week four. In perlite, you will not see this directly, so gently tug the cutting; resistance means roots have formed.
Weeks 5 to 6: Roots thicken and multiply, reaching an inch or two, and new leaf growth at the tip becomes more convincing and no longer just color, but actual leaf expansion.
By week six most healthy cuttings are ready for soil, which is the next decision point.
When and How to Pot Up
Pot up once roots reach about 1 to 2 inches long, usually 5 to 7 weeks in, and ideally once you can see two or three separate root strands rather than just one thread. Potting too early, while there is only a single fragile root, is a common way to lose a cutting during the move.
Use a small pot3 to 4 inches, with a well-draining mix, a standard peat or coco based houseplant mix with extra perlite works fine. Lipstick plant does not want to sit in a pot that is much bigger than its root system. Oversized pots hold excess moisture and invite rot.
Keep the newly potted cutting in bright indirect light and slightly higher humidity for the first 1 to 2 weeks while roots adjust to soil, then treat it as a mature plant: let the top inch or so of soil dry between waterings.
Most of the remaining failures happen right here, at the transition, so it is worth knowing exactly what causes them.
Why Attempts Actually Fail
The single biggest cause of failure is a cutting with no node submerged or buried, just bare stem with no growth point to root from. Check this before you ever put the cutting in medium, because no amount of patience fixes it afterward.
The second cause is rot from a cutting sitting in water that never gets changed, or perlite that stays waterlogged instead of just moist. Cloudy water or a sour smell means change it now, not tomorrow.
The third, and the one tied to that earlier warning sign, is giving up too early because the leaves have not grown yet, or transplanting too early because a color change looked like success. Neither of those is the actual signal.
- No node submerged or buried: the cutting cannot root, full stop.
- Stale water or soggy perlite: causes stem rot at the base.
- Direct sun on a leafless cutting: scorches or dehydrates it fast.
- Potting up before real roots exist: the move itself kills the cutting.
- Judging progress by leaf color instead of root length: leads to both of the above.
Avoid those five things and this is genuinely one of the easier houseplants to propagate.
Lipstick Plant at a Glance
- Best method: stem cuttings with two or three nodes, rooted in water or damp perlite.
- Best time to cut: spring through mid summer, during active growth.
- Cutting size: 4 to 6 inches long, with at least one bare node exposed for rooting.
- Ideal conditions: bright indirect light, 68 to 78°F, humidity if using perlite.
- Rooting timeline: visible roots by weeks 3 to 4, ready to pot by weeks 5 to 7.
- Pot up when: roots reach 1 to 2 inches with two or more strands, into a 3 to 4 inch pot.
- Most common failure: no node submerged, or a too-early transplant before real roots exist.
Get the node underwater and the light right, and lipstick plant more or less roots itself. Everything else on this page is just making sure you do not pull it too soon.