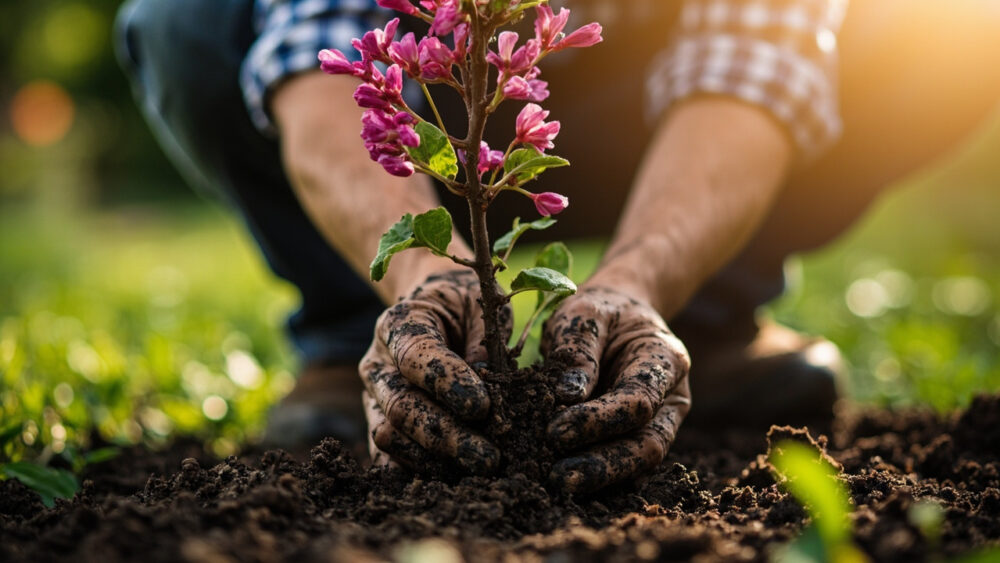
Learning how to grow redbud trees comes down to three things: plant a young tree in early spring or fall while it’s dormant, give it well-drained soil and at least a half day of sun, and don’t baby it with too much water once it’s established. Redbuds are tough native trees, hardy in zones 4 through 9 depending on species, and they forgive a lot. But they don’t forgive everything.
Most first attempts fail for one specific reason that has nothing to do with watering or fertilizer, and it happens before the tree ever goes in the ground. There’s also a bloom-timing mistake that makes people think their tree died over winter when it’s actually fine, and a root habit redbuds have that catches container-tree buyers off guard every single time.
Stick with me through the planting steps, the feeding schedule, and the problems that actually show up on these trees, and I’ll give you a save-able Redbud Trees at a Glance card at the bottom with everything worth remembering in one place.
When to Plant a Redbud
Plant redbuds in early spring after the ground has thawed and become workable, or in fall once temperatures cool but before the ground freezes, roughly six weeks before your first hard frost. Both windows let roots establish while the tree isn’t fighting summer heat or pushing new leaves.
Soil temperature matters more than the calendar. If you can dig a hole without fighting frozen clumps and the soil crumbles rather than compacts into a mud ball, you’re good to plant.
Spring planting is safer in colder zones (4 and 5), since a young tree gets a full growing season to root in before winter. In zones 7 and warmer, fall planting often works better because the tree skips the stress of a hot first summer.
Timing gets the tree in the ground right, but where you put it decides whether it thrives or sulks for a decade.
Choosing the Spot and Prepping the Soil
Redbuds want at least 4 to 6 hours of sun a day. Full sun works too, but in hot southern climates a little afternoon shade keeps leaves from scorching in July and August.
Drainage is the real deal-breaker. Redbuds root shallow and hate sitting in soggy soil. If water pools in a spot for more than an hour after rain, pick a different spot or build a raised planting mound 8 to 12 inches high.
Soil pH is flexible, these trees handle slightly acidic to slightly alkaline ground without complaint. What they won’t tolerate is heavy, compacted clay that never drains. Work compost into the top 12 inches of a wide area, not just the planting hole, if your soil is dense.
Give the tree room to spread. Mature redbuds reach 20 to 30 feet wide, so plant at least 15 feet from structures and other trees.
Good soil prep is half the job, but how you actually get the tree in the ground is where most people lose the season.
Planting a Redbud Step by Step
This is the mistake that ruins most attempts: planting too deep. Redbuds are notoriously sensitive to having their root flare buried, and a tree planted even 2 to 3 inches too deep can decline slowly for years before anyone figures out why.
Steps
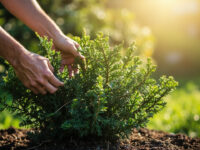
- Dig the hole wide, not deep. Make it two to three times the width of the root ball but no deeper than the root ball itself.
- Find the root flare. That’s the point where the trunk widens into roots. It needs to sit at or slightly above the surrounding soil line, never below it.
- Loosen the roots. If the tree is container-grown, check for circling roots around the outside of the root ball and slice through them vertically in three or four spots. Redbuds are notorious for girdling roots that eventually strangle the trunk if left wound around it.
- Backfill with native soil mixed with a bit of compost, tamping gently to remove air pockets without compacting it hard.
- Water in slowly right after planting, enough to settle the soil around the roots.
- Mulch 2 to 3 inches deep, keeping it a few inches back from the trunk itself.
Space multiple redbuds 15 to 20 feet apart if you’re planting a row or grouping, since crowded trees stay spindly and bloom less.
Get the tree in straight and at the right depth, and the next challenge is knowing how much attention it actually wants.
Watering and Feeding Through the Season
If you assumed a young tree needs frequent watering to establish, that’s the right instinct for the first few months, but it turns into the second-biggest killer of redbuds once people don’t back off.
For the first growing season, water deeply once or twice a week, enough to soak the root zone 8 to 10 inches down, then let the top few inches dry before watering again. Stick a finger or a screwdriver into the soil to check rather than guessing.
Once established, usually by the second year, redbuds are genuinely drought-tolerant and only need supplemental water during extended dry spells. Overwatering an established tree causes root rot far more often than drought kills it.
Skip heavy feeding. Redbuds are light feeders, and a yearly inch of compost worked into the soil surface in early spring is usually plenty. Too much nitrogen pushes soft, leafy growth at the expense of blooms and makes the tree more attractive to pests.
A tree that’s watered right and fed lightly still has to survive its own list of problems, and redbuds have a specific one.
Problems That Actually Show Up on Redbuds
Verticillium wilt is the big one. It shows as sudden branch dieback or whole sections of the canopy wilting and browning in summer, often on an otherwise healthy-looking tree. It’s a soil-borne fungus with no cure once established, and severely affected trees usually need to be removed. The best prevention is avoiding stress: don’t overwater, don’t wound the trunk with mowers or string trimmers, and don’t plant redbuds in ground where a previously infected tree grew.
Canker is the second common issue, showing up as sunken, discolored patches on branches or the trunk that eventually girdle and kill the limb above them. Prune out affected branches well below the canker during dry weather, and disinfect your pruning tools between cuts.
Leafhoppers, scale, and caterpillars visit redbuds occasionally but rarely cause serious damage. Treat only if infestations are heavy, and follow any pesticide label exactly rather than guessing at rates.
Most of these problems trace back to stress, which is why a tree planted at the right depth in well-drained soil sidesteps the majority of them.
Handle the tree well and the payoff is the part everyone’s actually waiting on: the bloom.
When Redbuds Bloom and What “Harvest” Actually Means
Redbuds don’t produce a harvest in the food-crop sense, but they do have a very specific payoff moment: the spring flush of pink to purple flowers that appears directly on bare branches before the leaves emerge.
Here’s the timing mistake almost everyone makes: because redbuds flower so early, often two to three weeks before other trees leaf out, a tree that looks bare and lifeless in late winter isn’t dead. It’s just waiting for soil and air temperatures to climb into the 50s Fahrenheit consistently.
A young tree planted from a nursery pot may take 2 to 3 years to bloom heavily, sometimes flowering lightly the first spring and building from there. Mature trees, typically 4 years and older, bloom reliably every year unless stressed by drought, disease, or a late hard freeze that kills open buds.
The flowers themselves are edible and sometimes used as a garnish or tossed in salads, with a mild, slightly sweet, pea-like flavor, since redbuds are legumes. If you’re foraging flowers from a tree you didn’t plant yourself, be certain of the identification before eating anything, since general appearance alone isn’t enough for a confident ID in the wild.
Once that first real bloom hits, you’ll understand why people plant these trees in the first place, and the care that got you there is worth keeping close at hand.
Redbud Trees at a Glance
- When to plant: early spring after the ground thaws, or fall about six weeks before first hard frost.
- Where to plant: 4 to 6 hours of sun minimum, well-drained soil, at least 15 feet from structures and other trees.
- Planting depth: root flare level with or slightly above the surrounding soil, never buried.
- Watering: deep soak once or twice a week the first season, then only during dry spells once established.
- Feeding: light, an inch of compost worked in each spring is enough, skip heavy nitrogen fertilizer.
- Main threat: verticillium wilt, sudden summer branch dieback with no cure, prevented by avoiding stress and trunk wounds.
- Bloom timing: early spring before leaves emerge, light bloom the first 2 to 3 years, full bloom by year 4 and beyond.
Get the planting depth right and go easy on the water, and this tree does almost everything else itself.
Everything after that is just waiting for that first bare-branch spring bloom to remind you why you planted it.