If you want to know how to grow snow peas, here’s the short version: plant them two to four weeks before your last spring frost, in loose soil that drains well, spaced 1 to 2 inches apart along a trellis, and you’ll be eating flat, crisp pods 55 to 70 days later. Snow peas are a cool-season crop, and almost every failure with them traces back to planting too late or letting them dry out once they start flowering.
That sounds simple, and mostly it is. But there are a few places this crop quietly falls apart on people. The mistake that wastes most of a season is treating snow peas like a warm-weather vegetable and waiting for the soil to feel springy warm before planting. The sign almost everyone misreads is the plant’s own flowering, they think more flowers means more pods coming, when really the pod window is shorter and less forgiving than that. And the honest answer to the question you’re probably about to ask, can I still plant these right now, depends entirely on how many warm weeks are left before your area’s real heat sets in.
Stick with me through the sections below and I’ll cover timing, soil, planting depth and spacing, feeding, the pests that actually show up on peas, and exactly when to pick. The save-it-to-your-phone Snow Peas at a Glance card is waiting at the bottom once you’ve got the full picture.
When to Plant Snow Peas
Snow peas want cold soil, not warm. Get seed in the ground as soon as soil can be worked in spring, generally two to four weeks before your last expected frost, once soil temperature is at least 40°F and ideally climbing toward 50 to 60°F. They germinate slower in cold soil but the seedlings shrug off light frost just fine.
In zones 3 to 6, that’s a straightforward early spring planting. In zones 7 and warmer, you actually get two windows: one in late winter or very early spring, and a second in late summer for a fall crop, since peas stall and turn bitter once daytime temperatures push consistently past 80°F.
If you missed the spring window entirely, don’t force it in June. Wait for the days to shorten and temperatures to drop back into the 60s, then plant again for fall.
Timing is the whole game with this crop, and the next thing to get right is where you put it.
Choosing the Spot and Prepping the Soil
Snow peas need full sun to light afternoon shade, six or more hours of direct light, though in hot climates a little afternoon shade actually extends your harvest window by keeping roots cooler.
Soil should be loose, well-drained, and only moderately fertile. Work in an inch or two of compost, but skip heavy nitrogen fertilizer at planting. Peas fix their own nitrogen through bacteria on their roots, and too much nitrogen in the soil buys you huge leafy vines and almost no pods.
Aim for a soil pH between 6.0 and 7.5. If your soil is heavy clay, raise the bed a few inches or peas will sit in cold, wet soil and rot before they sprout.
Get the trellis or support structure up before you plant, not after, so you’re not disturbing young roots later.
Planting Snow Peas Step by Step
1. Set up support first
Even short varieties climb 2 to 3 feet, and taller types reach 5 to 6 feet. Install a trellis, netting, or a row of brush stakes before seed goes in the ground.
2. Sow the seed
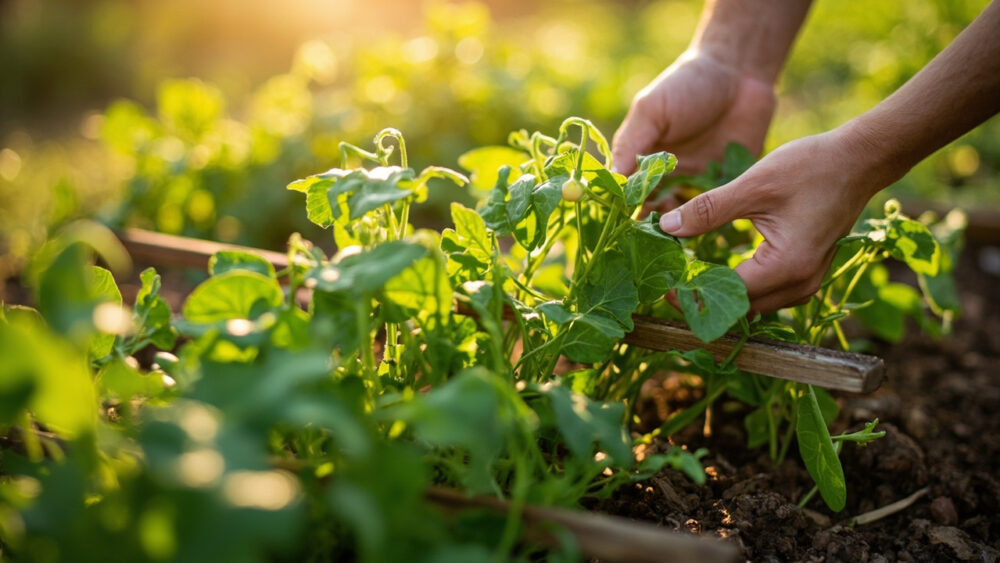
Plant seeds 1 to 1.5 inches deep, 1 to 2 inches apart, in rows spaced 18 to 24 inches apart, or in a double row flanking either side of your trellis.
3. Skip the thinning stress
Peas don’t mind being crowded the way carrots or beets do. You can let them grow close and lean on each other and the trellis for support.
4. Water them in
Water right after planting to settle soil around the seed, then hold off until you see germination unless the soil surface is bone dry, usually 7 to 14 days depending on soil temperature.
Once seedlings are up and reaching for something to grab, the season’s real work shifts to watering and watching.
Watering and Feeding Through the Season
If you assumed peas need constant watering the way tomatoes do, that guess will actually overwater a plant that’s genuinely pretty drought-tolerant early on. Young pea plants do fine on rainfall alone in most spring climates. The moment that changes is flowering.
Once flowers appear, snow peas need consistent moisture, about 1 inch of water per week, because this is when pods are forming and a dry spell here means thin, tough, or stunted pods. Water at the soil line, not overhead, to keep foliage disease down.
Skip nitrogen-heavy fertilizer. A light dose of compost or a low-nitrogen, phosphorus-and-potassium-leaning feed at flowering is plenty. Mulch with straw or shredded leaves to keep roots cool once temperatures start climbing, since heat stress is what ends a spring pea crop more often than any pest does.
Keep that moisture steady, because the next thing waiting for a stressed pea plant is disease and insects.
Problems That Actually Show Up on Snow Peas
The big three are powdery mildew, aphids, and root rot, and all three trace back to the same root causes: heat, poor airflow, or soggy soil.
- Powdery mildew: a white, dusty coating on leaves, usually shows up as the weather warms. Improve airflow, water at the base, and pull badly infected plants at season’s end. A sulfur-based fungicide labeled for edible crops can slow it if you catch it early, follow the label exactly.
- Aphids: clusters of small soft-bodied insects on new growth and pod tips. A strong water spray knocks most off, and insecticidal soap handles the rest, follow the product label for edible plants.
- Root rot and damping off: seedlings that collapse at the soil line or seeds that never sprout usually mean soil stayed too wet and cold too long. There’s no fixing it after the fact, only replanting in better-drained soil.
- Pea weevil and pod borers: small holes in leaves or pods. Row covers early in the season keep most of these off without any spray at all.
Head off heat and wet soil and you’ve dodged most of what actually threatens this crop.
Get through those threats and you’re on the clock for the part everyone clicked for: picking at the right moment.
When and How to Harvest Snow Peas
The sign most people misread is the flower. A plant loaded with blossoms looks like it’s about to explode with pods, but snow peas move fast from flower to pickable pod, often in just 5 to 7 days, and the ideal harvest window is narrower than most people expect.
Pick snow peas when the pod is flat, with only the faintest bump of seeds visible inside, usually 2 to 3 inches long depending on variety. This is the whole difference between snow peas and snap peas: you’re harvesting before the peas inside swell up, not after.
Wait too long and the pods turn tough, stringy, and starchy, still edible but not the crisp, sweet snow pea you’re after. Check plants every day or two once flowering starts, because a missed pod today is a fibrous one tomorrow.
Pick often. Regular harvesting signals the plant to keep producing, while a few pods left to mature will shut vine production down early.
Use two hands, one to hold the vine and one to pull the pod, or you’ll snap the whole stem off the trellis.
That’s the full arc from seed to harvest, and here’s the whole thing condensed for your phone.
Snow Peas at a Glance
- When to plant: two to four weeks before your last frost, once soil hits at least 40°F, with a second fall window in warmer zones once temperatures drop back into the 60s.
- Sun and soil: full sun to light afternoon shade, loose well-drained soil, pH 6.0 to 7.5, light on nitrogen.
- Planting depth and spacing: 1 to 1.5 inches deep, 1 to 2 inches apart, rows 18 to 24 inches apart, trellis set up before planting.
- Water needs: light watering until germination, then about 1 inch per week once flowering starts.
- Watch for: powdery mildew, aphids, and root rot, all worsened by heat and wet soil.
- Days to maturity: roughly 55 to 70 days from seed to first harvest.
- Harvest sign: pods flat with only a faint seed bump, picked every 1 to 2 days once flowering begins.
Get the timing right and the trellis up early, and this crop mostly takes care of itself.
The only real risk left is picking too late, so check your vines daily once the flowers open.