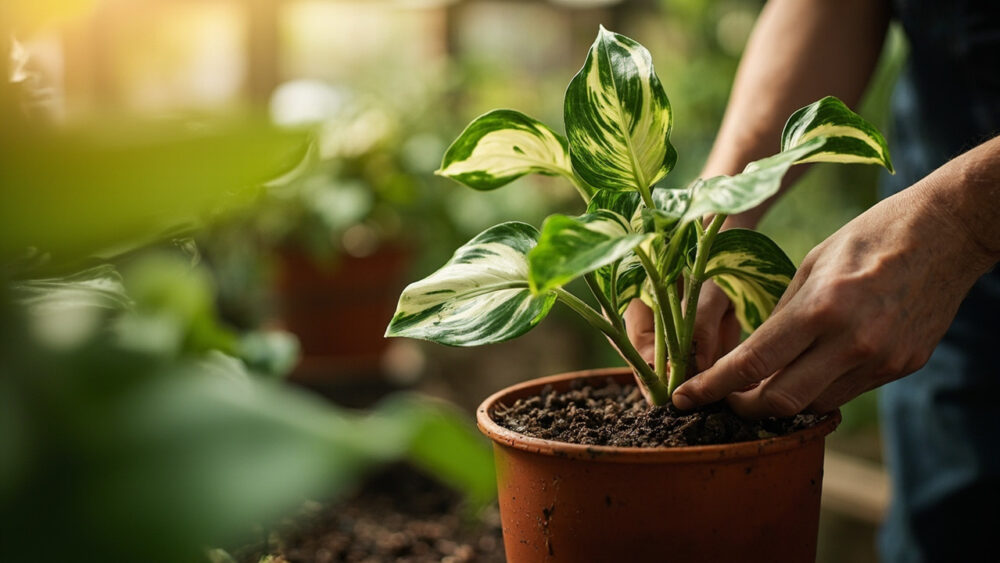
The method that actually works for how to propagate dieffenbachia is stem cuttings rooted in water or damp perlite, taken just below a leaf node, with at least one node buried or submerged. Cane cuttings from bare, leafless stem sections work too, and honestly root faster than you’d expect. Skip leaf-only cuttings entirely, they look promising for a week and then rot, because dieffenbachia roots from stem tissue and nodes, not from a leaf blade alone.
Most attempts fail for one of two boring reasons: the cutting had no node in contact with the medium, or it sat in water that never got changed and rotted from the bottom up before roots ever formed. There’s also a sign people misread constantly, a cutting that droops in the first few days looks like it’s dying when it’s usually just adjusting, and the ones that actually panic you by turning translucent and mushy are the ones already gone.
Stick with this, because at the bottom you’ll find the full Dieffenbachia at a Glance card, the kind of thing worth screenshotting before you make your first cut.
Why Stem Cuttings Beat Every Other Method
Dieffenbachia stores water and energy in its thick cane-like stem, and every node along that stem carries dormant buds capable of producing both roots and new shoots. That’s why florists and growers have propagated it by cane cuttings for decades, it’s a plant practically built for this.
Division works too, if your plant already has multiple stems coming from the soil, but it’s really just separating an already-rooted piece, not creating a new plant from scratch.
Leaf cuttings without stem tissue simply don’t have the bud structure to regenerate, no matter how healthy the leaf looks. That single misunderstanding wastes more cuttings than any other mistake in dieffenbachia propagation.
Next comes the part where technique actually matters: making the cut.
Step by Step: Taking and Rooting the Cutting
Taking the Cutting
Choose a healthy stem with at least two or three nodes, the slightly raised rings or bumps where leaves attach or once attached. Using a clean, sharp knife or pruning shears, cut a 4 to 6 inch section straight across.
You can take a top cutting with leaves still attached, or a bare cane section from lower on the stem with no leaves at all. Both root, cane sections just take a bit longer to show visible growth since there’s no foliage giving you early clues.
Wear gloves for this step. Dieffenbachia sap is irritating to skin and eyes, and the plant is toxic if chewed or ingested by pets or people, causing mouth and throat irritation, swelling, and drooling. If a pet or child chews on a cutting or the parent plant, call a veterinarian or poison control rather than waiting to see what happens.
Choosing the Rooting Medium
Water works well for leafed top cuttings, place the bottom node or two below the surface and change the water every 4 to 5 days to prevent rot and algae buildup. Damp perlite or a mix of perlite and coarse sand works better for bare cane sections, since it holds moisture without waterlogging the cut end.
Lay cane sections horizontally, half-buried, node side down or facing sideways, rather than standing them upright. That horizontal placement is the detail most people skip, and it’s the difference between a cane that sits dormant for a month and one that sprouts in two to three weeks.
Setting the Conditions
Keep the cutting somewhere warm, 70 to 80 degrees Fahrenheit at the root zone if you can manage it, since dieffenbachia is tropical and cold roots stall completely below the mid 60s. Bright, indirect light is right, direct sun will scorch a leafed cutting that has no root system yet to support recovery.
A loose plastic bag or a humidity dome over the setup helps a lot, especially with leafed cuttings that lose moisture through their foliage faster than bare roots can replace it.
Get the setup right and the waiting becomes the easy part.
What to Expect, Week by Week
In week 1, expect nothing dramatic, maybe some drooping on leafed cuttings as they adjust to no root system. This is the stage everyone misreads as failure, and it usually isn’t.
By weeks 2 to 3, you should see small white or pale root buds forming at the submerged or buried node, sometimes visible through clear water, sometimes only found by gently checking perlite. Cane sections often show a small green or pink shoot bud pushing up before roots are even substantial.
Weeks 4 to 6 bring root systems of an inch or more in water propagation, and in perlite you’ll feel resistance when you tug gently on the cutting, a sign it’s anchored. Leafed cuttings may push new growth from the top around this time too.
The honest timeline runs 4 to 8 weeks total before a cutting is truly ready for soil, faster in summer warmth, slower in low light or cool rooms. Rushing this stage is exactly how a lot of otherwise good cuttings get set back.
Once roots hit that inch-plus mark, potting decisions come next.
Potting Up: When and How
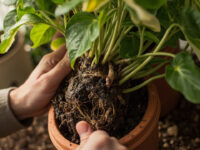
Move a water-rooted cutting to soil once roots are 1 to 2 inches long and there are several of them, not just one thin strand. A single root is fragile and often doesn’t survive the transition to soil on its own.
Use a well-draining, peat-based potting mix in a pot just slightly larger than the root mass, oversized pots hold excess moisture that rots new roots fast. Plant at the same depth the cutting was rooted, burying the original node an inch or so under the soil line.
Water thoroughly after potting, then let the top inch of soil dry before watering again, this is the single biggest adjustment period for a new plant and overwatering here undoes weeks of successful rooting. Keep it out of direct sun for the first week or two while it settles in.
Even with good potting technique, some cuttings still stall, and that’s where most of the real troubleshooting happens.
Why Attempts Fail, and the Honest Fixes
The number one killer is a node that never touched water or medium, cuttings placed too shallow or upright when they needed to lie flat simply never trigger root growth. Check your cutting’s node placement before blaming anything else.
Rot is the second biggest issue, showing as a soft, dark, mushy stem base with a sour smell, usually from stagnant water or overly wet perlite. If you catch it early, recut above the rot line into healthy white tissue and restart.
Low temperatures stall dieffenbachia hard, root growth essentially pauses below 60 degrees Fahrenheit, which is why a cutting on a cold windowsill in winter can sit unchanged for two months. Moving it somewhere warmer often restarts growth within a week or two.
The follow-up question everyone has once a cutting finally roots is whether it will look like the parent plant. It will, dieffenbachia doesn’t revert or produce weaker offspring from cuttings, a well-rooted piece grows into a full, identical plant over the following year or two.
Once you know what’s sabotaging a cutting, the whole process gets a lot more forgiving.
Dieffenbachia at a Glance
- Best method: stem or cane cuttings with at least one node, rooted in water or damp perlite, not leaf-only cuttings.
- Cutting size: 4 to 6 inches long, including two to three nodes, cut with a clean, sharp blade.
- Rooting conditions: 70 to 80 degrees Fahrenheit, bright indirect light, humidity dome or loose plastic bag for leafed cuttings.
- Water changes: every 4 to 5 days for water propagation to prevent rot and algae.
- Timeline: root buds in 2 to 3 weeks, ready to pot in 4 to 8 weeks depending on warmth and light.
- Potting depth: same depth as rooted, original node buried about an inch under the soil line.
- Safety note: sap irritates skin and eyes, wear gloves, and the plant is toxic if chewed by pets or people, so call a vet or poison control for any suspected ingestion.
Get a node into contact with moisture and keep the setup warm, that’s really the whole trick.
Everything else is just patience while the plant does what it’s built to do.