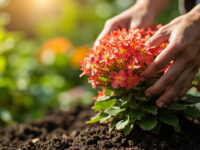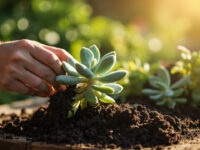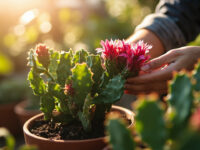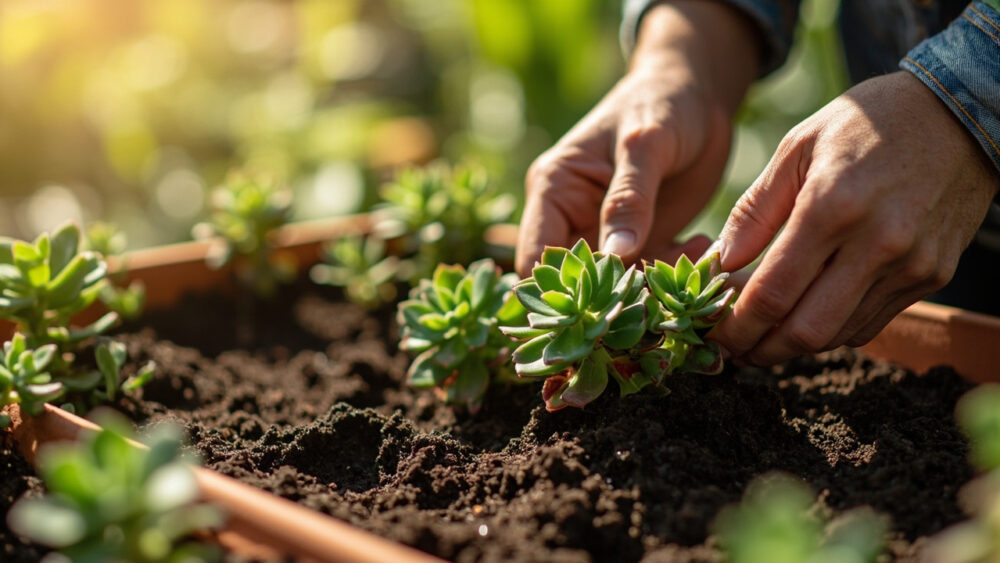
The fastest, most reliable way to propagate kalanchoe is a leaf or stem cutting left to callus for two to three days, then set on top of (not buried in) a gritty, fast-draining medium kept barely moist. Roots show up in one to three weeks, and you will have a plant sturdy enough to pot up in about six. That is the whole method, but knowing how to propagate kalanchoe successfully depends on getting a few details right that most people skip.
Here is what trips people up: the mistake that kills most cuttings has nothing to do with light or temperature, it is water touching the wound too soon. There is also a sign on the cutting itself that tells you it has rooted before you ever see a root, and most people either miss it or misread it as trouble. And if you are wondering whether those little plantlets on kalanchoe leaf edges (on some varieties) are a shortcut, the honest answer is not quite what you’d hope.
Stick with this and you will get the full method, a week-by-week timeline, the real reasons attempts fail, and a save-able Kalanchoe at a Glance card at the bottom with every number in one place.
Why Cuttings Beat Every Other Method
Kalanchoe roots from stem or leaf cuttings faster and more reliably than from seed, and seed is not even a realistic option for named varieties since they rarely come true. Division works if your plant already has multiple crowns at the soil line, but most kalanchoe grow as a single clump, so there is nothing to divide.
That leaves cuttings, and stem cuttings root faster and more dependably than single leaves. A stem cutting already has a growth point (a node) ready to push roots. A bare leaf has to generate a whole new plant from scratch, which is slower and has a lower success rate.
If you have a leggy, overgrown kalanchoe that needs cutting back anyway, that pruning is your propagation material.
Step by Step: From Cutting to Rooted Plant
Taking the Cutting
Snip a stem tip 2 to 4 inches long, just below a leaf node, using a clean blade. Choose a firm, healthy stem, not a soft or stretched one. Strip the bottom one or two sets of leaves so you have bare stem to sink into the medium.
Now for the step almost everyone gets wrong: set the cutting somewhere warm, dry, and out of direct sun for two to three days before you plant it. This lets the cut end callus over, forming a dry seal. Plant it wet and unhealed, and that open wound sits in damp grit and rots before it ever roots.
Rooting Medium and Placement
Use a mix that drains fast: a cactus and succulent potting mix, or your own blend of potting soil cut with perlite or coarse sand, roughly half and half. Poke the callused end in about half an inch to an inch deep, just enough for it to stand upright.
Water very lightly right after planting, then hold off until the top inch of medium is fully dry before watering again.
Light and Temperature
Bright, indirect light suits a rooting cutting best. Direct hot sun stresses a plant with no roots yet to pull moisture. Room temperature, roughly 65 to 75°F, is ideal; kalanchoe rooting slows down hard below 60°F.
Get the callus and the medium right and the timeline below plays out almost on schedule.
Week by Week: What Actually Happens
Week one looks like nothing. The cutting sits there, maybe looking slightly wilted, and this is normal, not failure.
By week two, give the stem a gentle tug. Resistance means roots have started, even though you cannot see them yet. That gentle resistance is the sign most people miss, they keep waiting for visible roots or new leaves and assume nothing is happening when the plant has already committed.
Weeks three to four bring the visible payoff: new leaf growth at the tip, a plant that stands firmer, and if you tip it out of the medium, a small web of white roots.
By week five or six, you have a small but independent plant ready for its own pot.
That firmness test in week two is worth remembering, because it is the difference between patience and giving up too early.
Leaf Cuttings and Those Plantlet Babies
Some kalanchoe, particularly the “mother of thousands” types, produce tiny plantlets along their leaf edges. If you assumed those are a faster shortcut than stem cuttings, that guess is only half right. They root even easier since they arrive with roots already forming, but they are also how these varieties turn into a runaway groundcover fast, both indoors and out. Handle them the same way as any small cutting: let them sit on dry soil, keep it barely moist, and thin out the ones you do not want. They are not a shortcut so much as a different problem, too many volunteers rather than too few.
Plain leaf cuttings (no plantlets) are slower and less reliable than stem cuttings. Lay the leaf flat on the medium with the cut end just touching the soil, and expect a lower success rate and a longer wait, often four to six weeks before you see a new plantlet forming at the base.
Either way, the next real decision point is when to move that rooted piece into its own home.
Potting Up and Moving Outdoors
Pot up once you see a cluster of roots an inch or so long, or once new top growth makes it obvious the cutting has taken. Use a small pot, just an inch or two wider than the root ball, with the same fast-draining succulent mix.
Kalanchoe is not frost hardy and is generally grown as a houseplant or, outdoors, in USDA zones 10 to 12. If you want to move a rooted cutting outside for the season, wait until night temperatures are reliably staying above 45 to 50°F, and harden it off over a week, giving it a few more hours of direct sun each day so it does not scorch.
Bring it back in well before your first fall frost, since a hard frost will kill it outright.
Get it through this transition and the plant is basically established, which makes it worth knowing exactly what usually goes wrong before then.
Why Most Attempts Actually Fail
Rot is the number one killer, almost always from skipping the callus step or watering too often before roots exist. A cutting that goes soft, mushy, or black at the base is not coming back; that one is compost, not a comeback story.
Low light is the quieter failure. A cutting kept in dim indoor light will sit stalled for months, using up its stored energy instead of rooting.
Overwatering “just to be safe” is the third trap. Kalanchoe stores water in its leaves and stems, so a rooting cutting can go a week or more between waterings without stress. Treat it like a thirsty seedling and you will rot it before it roots.
Avoid those three things and the odds swing heavily in your favor, which is really all this method comes down to.
Kalanchoe at a Glance
- Best method: stem cuttings 2 to 4 inches long, cut just below a leaf node.
- Before planting: let the cut end callus in a dry, warm spot for two to three days.
- Rooting medium: fast-draining cactus and succulent mix, or potting soil cut half with perlite or sand.
- Planting depth: half an inch to one inch, just deep enough to stand upright.
- Ideal conditions: bright, indirect light, 65 to 75°F, water only when the top inch is fully dry.
- Timeline: gentle root resistance by week two, visible roots and new growth by weeks three to four, pot-up ready by week five or six.
- Outdoor timing: only after nights stay above 45 to 50°F, and only in zones 10 to 12 for year-round outdoor growth.
If you remember one thing, let the wound dry before it ever touches soil. That single pause prevents more failed cuttings than any other step in this whole process.