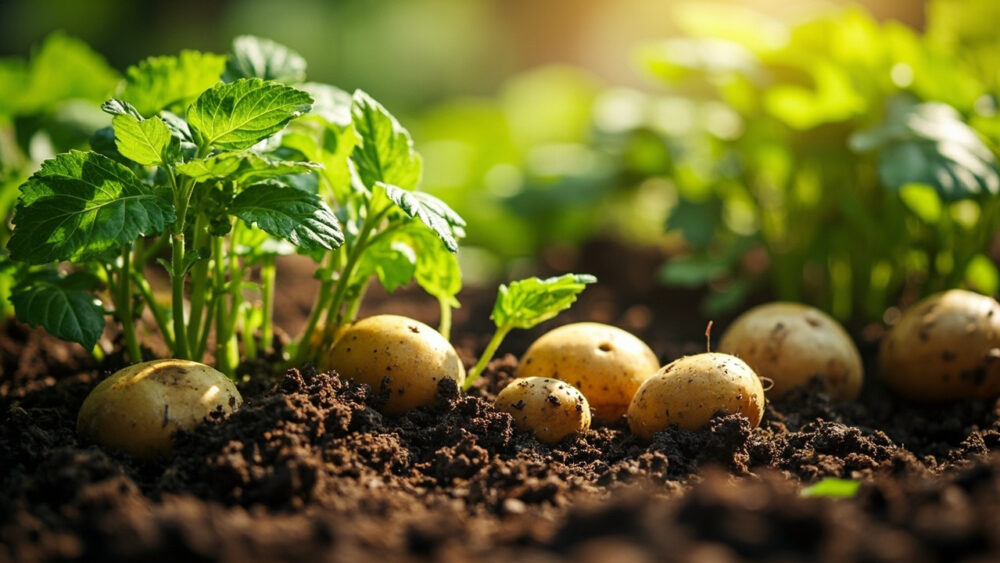
Potatoes move through five distinct growing stages over roughly 90 to 120 days: sprouting, vegetative growth, tuber initiation, bulking, and maturation. Each stage has its own look and its own job for you, and missing the cues at the wrong stage is what costs people their harvest. If you know what a potato plant is doing underground at each point, you stop guessing and start managing.
Here is the honest part most guides skip: the stage where people lose their crop is not planting and it is not harvest. It is the quiet middle stretch when the plant looks fine on top and you have no idea what is happening below the soil line.
There is also a sign almost everyone misreads as trouble when it is actually right on schedule, and a real stall that looks identical to normal slow growth unless you know where to dig. Stick with me through each stage and I will flag both. The full Potatoes at a Glance card is at the bottom, save it before you head out to the garden.
Stage 1: Sprouting, Week 0 to 2 to 3 After Planting
Plant seed potatoes once soil temperature is consistently above 45 to 50°F, usually 2 to 4 weeks before your last frost date for early varieties. Cut pieces should have at least one or two eyes and be planted 3 to 4 inches deep, 10 to 12 inches apart, rows 24 to 36 inches apart.
Underground, sprouts push upward from the seed piece before you see any green. This takes 2 to 3 weeks in cool soil, faster in warm soil. Nothing to do yet but wait and resist the urge to dig around and check.
A light frost after emergence will blacken leaf tips but rarely kills the plant, it usually recovers and resprouts from below.
Once that first green breaks the surface, the plant shifts into fast top growth.
Stage 2: Vegetative Growth, Week 2 to 5
The plant now grows into a bushy clump of compound leaves, 8 to 15 inches tall, all energy going into foliage and root development. No tubers are forming yet, this stage is pure engine-building.
This is when you hill: mound 3 to 4 inches of soil around the stems once plants reach about 6 to 8 inches tall, and again 2 to 3 weeks later. Hilling matters more than most new growers realize because tubers form above the seed piece, not below it, and any that get exposed to light turn green and bitter.
Green potatoes develop solanine, a compound that is toxic if eaten in quantity. Cut away and discard any green portions, and when in doubt about a large green potato, just don’t eat it.
The next stage is the one nobody can see happening, and it decides your whole harvest.
Stage 3: Tuber Initiation, Week 5 to 7
This is the stage where most things go wrong, and it happens entirely out of sight. As days lengthen and the plant reaches a certain size, it starts forming small tubers at the tips of underground stems called stolons.
Consistent moisture right now determines tuber count more than anything else you’ll do all season. Drought stress during initiation, even just one hard dry week, causes the plant to set fewer tubers than it otherwise would, and that number is locked in. You cannot fix a low tuber count later by watering more once bulking starts.
Aim for about 1 to 2 inches of water per week, from rain or irrigation combined, keeping soil evenly moist but not waterlogged.
If you assumed the danger stage was harvest time because that’s when things can rot or get dug up wrong, that guess misses the real damage, which already happened weeks earlier and just hasn’t shown up yet.
Stage 4: Bulking, Week 7 to 12 (or Longer for Late Varieties)
Tubers that were initiated now swell in size. This is the longest stage and the one where your potatoes actually put on the bulk of their weight, often 70 to 80 percent of final size happens here.
Flowering often happens right around this time, and this is the sign everyone misreads. Growers assume flowers mean the potatoes are ready or nearly ready. They are not related in any reliable way, some varieties barely flower at all and still produce a full crop.
Flowering just means the plant has matured enough to reproduce above ground, it tells you almost nothing about tuber size below. Keep watering consistently and keep hilling if stems are still growing taller. This is also when potato beetles and their larvae do the most damage, check the undersides of leaves weekly and handpick or treat according to the product label if numbers climb.
Eventually the plant’s energy shifts one more time, and that shift is your real countdown clock.
Stage 5: Maturation, Week 12 to Harvest
The lower leaves yellow first, then the vine gradually dies back from the bottom up. This is the plant telling you it has stopped bulking tubers and started thickening their skins instead.
For new potatoes, thin-skinned and best eaten fresh, you can dig any time after flowering, sacrificing some size for flavor. For storage potatoes, wait until the vines have died back 50 to 100 percent, then hold off another 10 to 14 days before digging to let skins set and toughen.
Dig on a dry day, soil should be workable but not muddy, and handle tubers gently since bruised skin invites rot in storage.
Knowing the difference between a plant that’s finishing on schedule and one that’s stalled early saves a lot of guessing, so let’s separate the two.
Healthy Progress Versus a Real Stall
Normal, on-schedule potatoes show steady, if unglamorous, changes: leaves darken and fill in during vegetative growth, growth slows visibly once flowering starts, and yellowing begins from the bottom of the plant upward, gradually, over 2 to 3 weeks.
A real stall looks different. Whole plants yellowing uniformly and quickly, wilting despite moist soil, or stems collapsing at the base point to disease (often blight or a soil-borne rot) rather than normal maturity.
If you’re unsure, dig gently near one plant and check the tubers. Firm, clean tubers mean you’re just watching normal senescence. Soft, dark, or foul-smelling tubers mean disease, and those plants should come out to protect the rest of the row.
Once you’ve confirmed which one you’re looking at, you’ll know exactly how much longer to wait.
Potatoes at a Glance
- When to plant: 2 to 4 weeks before your last frost date, once soil hits 45 to 50°F, seed pieces 3 to 4 inches deep, 10 to 12 inches apart.
- Sprouting: takes 2 to 3 weeks underground before you see any green growth.
- Hilling schedule: mound soil when plants reach 6 to 8 inches tall, repeat 2 to 3 weeks later.
- Critical watering window: tuber initiation, around week 5 to 7, needs steady moisture, about 1 to 2 inches per week, since low water here permanently limits tuber count.
- Flowering: a sign of plant maturity, not a signal that tubers are ready.
- New potatoes: can be dug any time after flowering for smaller, thin-skinned tubers.
- Storage potatoes: wait until vines die back fully, then dig 10 to 14 days later for cured skins.
Watch the tuber initiation stage more closely than any other, since that’s where a dry week quietly shrinks your whole harvest weeks before you’d ever notice it. Everything after that is mostly patience and a shovel.