You prune irises in two separate moves, not one. Right after bloom, cut the spent flower stalk down near the base, and through the growing season trim any leaf that’s gone brown, yellow, or slimy. The big cutback, where you chop the whole fan of leaves down to a 4 to 6 inch fan, only happens in fall once the foliage has died back on its own, and that timing is where most people mess up.
If you clicked this looking for “how to prune irises” because your bearded iris just finished blooming and the whole clump looks ragged, you’re in the right place. There’s one mistake that costs people their entire flower show next year, and it involves cutting at exactly the wrong time for exactly the wrong reason.
There’s also a sign nearly everyone misreads on the leaves, and an honest answer about whether you should cut irises back hard every single fall or leave them alone in some climates. Stick around for the save-able Irises at a Glance card at the bottom, it’s the thing you’ll actually want pulled up on your phone the next time you’re standing in front of the bed with pruners in hand.
When to Prune Irises, and When to Leave Them Alone
There are three separate windows, and confusing them is where most iris trouble starts. Right after flowering, cut the bloom stalk itself, not the leaves. In midsummer, remove individual leaves only as they yellow or brown, not on a schedule. In fall, after a hard frost has killed the foliage back, do the full cutback.
Do not prune healthy green leaves in spring or early summer just to tidy the bed. Those leaves are still photosynthesizing and feeding the rhizome for next year’s bloom. Cutting them early is the single most common way people accidentally starve their own irises.
The next question is what tools actually make this job clean instead of messy.
Tools and the One Prep Step That Matters
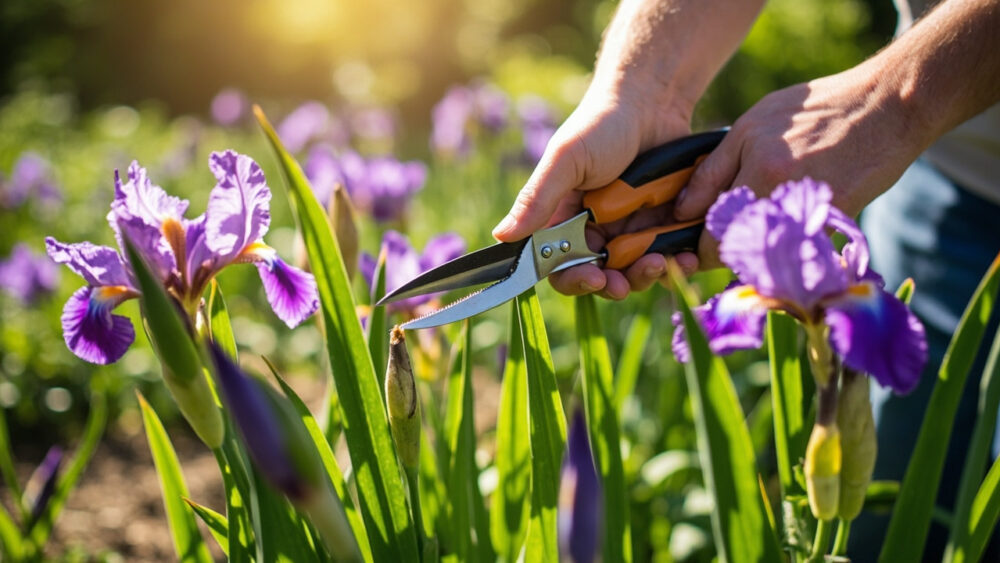
A pair of sharp bypass pruners or clean garden scissors is all you need. Skip anvil-style pruners on soft iris foliage, they tend to crush rather than slice, and a crushed cut heals slower and invites rot.
The prep step everyone skips is wiping your blades with rubbing alcohol between plants, or at minimum between any plant that showed leaf spot or soft, mushy tissue. Iris leaf spot and bacterial soft rot both spread easily on dirty blades. This takes ten seconds and it’s the difference between pruning your irises and infecting them.
Once your blades are clean, the actual cutting is simple, but where you cut matters more than most guides let on.
How to Prune Irises Step by Step
Step 1: Cut the bloom stalk after flowering
Once the last flower on a stalk has faded, cut the stalk down to where it meets the leaves, or down into the leaf fan if it’s a tall bearded type. Don’t yank it, a sharp clean cut prevents tearing into the rhizome below.
Step 2: Remove individual damaged leaves through summer
Any leaf that’s gone brown at the tip, yellow along its length, or streaked and mushy gets cut off at its base, following the natural curve of the fan. Leave every green, firm leaf alone. This is the part people get wrong: they see one bad leaf and cut the whole fan, when the fix is removing that one leaf only.
Step 3: The fall cutback, after frost has done its job
Wait until foliage has browned from a hard frost, then cut the entire fan down to a fan-shaped stub about 4 to 6 inches tall. Cutting the leaves at an angle in a shallow fan shape, mimicking the plant’s natural growth, sheds water better than a flat cut and helps prevent rot over winter.
That fall cutback is also where the biggest guessable mistake lives, and it’s not the one you’d expect.
What Everyone Assumes About Fall Cutback, and Why It’s Wrong
Most people assume cutting irises back hard every fall is universally correct, the tidier the better. That’s not quite right. The real reason for the fall cutback isn’t neatness, it’s pest control. Iris borer moths lay eggs on dead foliage in autumn, and removing and disposing of that foliage breaks their life cycle before it starts.
If borers have never been a problem in your area, a lighter trim is fine, and some gardeners in mild, dry climates leave more foliage over winter as cold protection. But if you’ve ever seen borer damage, ragged, water-soaked streaks tunneling into a leaf, the hard fall cutback stops being optional. Bag and trash that foliage, don’t compost it.
Knowing why you’re cutting changes how aggressive you should be, and it also changes what you should expect to see next.
What Happens After You Prune
Expect new leaf growth to push up from the rhizome within a couple of weeks of any cut, as long as the plant is otherwise healthy. After the fall cutback specifically, don’t expect to see much at all until spring, that stub of foliage is dormant, not dead.
One honest note: a properly pruned iris clump can still look a little rough for a week or two after the post-bloom stalk removal. That’s normal, not a sign you did it wrong. The leaves are doing their job storing energy even while the bed looks less than photogenic.
The mistakes below are the ones that actually cost you next year’s flowers, not just this year’s looks.
The Mistakes That Cost You Next Year’s Blooms
- Cutting leaves short in spring or summer: removes the plant’s food-making tissue before the rhizome has stored enough energy for next year’s bloom stalk.
- Leaving the spent bloom stalk in place: lets the plant waste energy trying to set seed instead of building the rhizome.
- Composting borer-damaged or diseased foliage: reintroduces the exact pest or fungus you just cut away back into your garden.
- Cutting leaves flat and square: flat cuts hold water in the fold and rot faster than an angled fan cut.
- Skipping the fall cutback where borers are common: leaves eggs sitting in dead foliage right through winter, waiting to hatch in spring.
Get the timing and the cut right, and the only thing left to remember is the quick-reference version.
Irises at a Glance
- When to prune bloom stalks: immediately after the last flower on that stalk fades, cut it down to the leaf fan.
- When to remove leaves: anytime through the growing season, but only individual leaves that have browned, yellowed, or gone mushy.
- When to do the full cutback: in fall, only after a hard frost has killed the foliage back on its own.
- How much to cut in fall: down to a fan-shaped stub about 4 to 6 inches tall, cut at an angle, not flat.
- Tools: sharp bypass pruners or clean scissors, blades wiped with rubbing alcohol between plants.
- Biggest mistake to avoid: cutting healthy green leaves in spring or summer just to tidy the bed.
- Disposal rule: bag and trash any leaf with borer damage or disease signs, never compost it.
Prune the dead and the spent, and leave the green alone until frost tells you otherwise.
That single rule solves nearly every iris pruning question you’ll ever have.