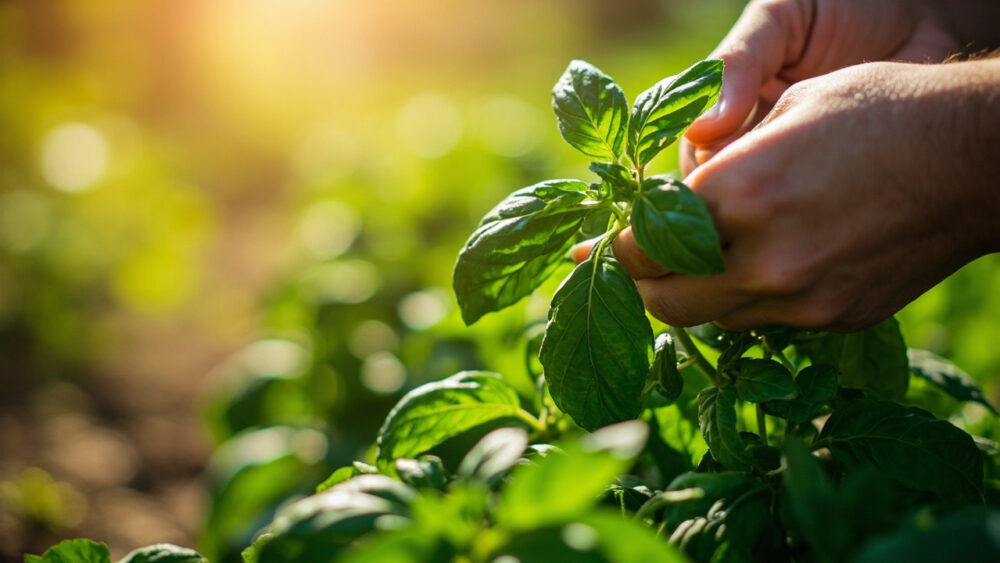
The right way to harvest basil is to cut whole stems, not single leaves, snipping just above a pair of side leaves once the plant has at least six to eight leaves on it. Do that from the top down, and the plant branches into two stems where you cut one. Do it wrong, picking leaves off the bottom or stripping a plant down to bare stalks, and you get a leggy, slow, flowerless mess instead of the bushy plant you were hoping for.
Most people learn how to harvest basil the hard way, after their plant bolts to flower in July and turns bitter. That is fixable, but only if you catch it early, and I will show you exactly what to look for.
There is also a habit almost every new grower has, picking leaves from the bottom because they look biggest. It feels efficient. It is actually the single fastest way to stunt the plant. Stick with me and I will explain why, plus give you a save-able Basil at a Glance card at the bottom with every number you need on your phone in the garden.
The Real Ready Signs
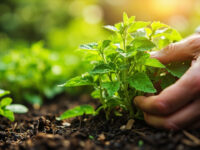
Basil is ready for its first harvest once it has three to four sets of true leaves and stands roughly 6 to 8 inches tall, which usually happens 4 to 6 weeks after transplanting into warm soil. That is the earliest point, not the only point. After that first cut, it is ready again every 1 to 2 weeks all season as long as you keep cutting it back.
Height and leaf count
Count leaf pairs, not days on a calendar. A stem with four or more pairs has enough energy stored to recover fast from a cut.
Stem firmness
Young basil stems are soft and a little floppy. Once a stem feels firm and slightly woody near the base, that stem is maturing toward flowering and should be harvested soon rather than left.
Height and leaf count tell you when to start, but there is a warning sign that tells you when you are running out of time.
The Sign Everyone Misses: Flower Buds
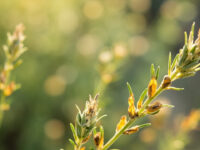
Look at the very tip of each stem. If you see small, tight, bud-like clusters forming instead of a flat pair of leaves, that stem is about to bolt.
Once basil flowers, the leaves nearby turn more bitter and the plant shifts its energy into seed production instead of leaf growth. The plant is not ruined, and the flowers are not toxic, but flavor drops and growth slows noticeably.
This is the mistake that costs people their whole basil season. They see the pretty little white or purple flower spikes and assume the plant is thriving. It is actually finishing up.
Pinch those flower buds off the moment you spot them, cutting the stem back to a leaf pair below the bud. That single habit, checking stem tips every few days, keeps a plant productive for months instead of weeks.
Catching bud formation early is only half the job, timing the actual cut matters just as much.
Timing: Too Early, Too Late, and the Window That Works
If you cut a basil plant before it has at least three leaf pairs, it does not have enough leaf area left to photosynthesize well and recovery slows to a crawl. That is going early.
Going late means letting it flower and go to seed, after which leaf production drops off hard and the plant starts dying back, especially as nights cool in fall.
The sweet spot is a plant that is actively growing, has no flower buds yet, and has more leaf pairs than you plan to remove. As a rule of thumb, never take more than a third of the plant’s total leaf mass in one cut, and give it a week to ten days to recover before cutting that hard again.
Time of day matters too. Harvest in the morning after dew dries but before the heat of the day, when leaves are fully hydrated and their essential oils, the source of basil’s flavor and scent, are most concentrated.
Get the timing right and the actual cutting technique is what determines whether this plant keeps producing for you.
How to Cut Basil the Right Way
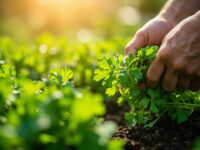
Skip individual leaf-picking except for a pinch here or there in cooking. For real harvests, cut whole stem tips.
- Find a leaf node: look down the stem for a spot where two leaves grow directly across from each other, with two tiny leaf buds tucked in the notches just below them.
- Cut about a quarter inch above that node using clean scissors or pruning snips, angling the cut slightly so water does not pool on the stem end.
- Take 4 to 6 inches of stem per cut on an established plant, never more than a third of the whole plant at once.
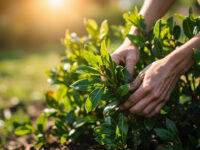
- Work from the top down and outward, shaping the plant into a bush rather than stripping any one section bare.
Cutting above that node is what triggers the two dormant buds below it to grow into two new stems, doubling your yield from that spot within a couple of weeks. Pull single leaves off the bottom instead, and you get no branching, just a taller, leggier plant with fewer leaves overall.
That difference, one cut location versus another, is most of what separates a bushy basil plant from a sad one.
Right After the Cut
Get harvested basil out of direct sun immediately, since wilting starts within minutes on a hot day. Basil bruises easily and bruised spots turn black fast, so handle stems by the woody part, not by squeezing the leaves.
For same-day use, stand the cut stems in a glass of water on the counter like a small bouquet, out of direct sun. They will hold well for several days that way and some will even root.
Do not refrigerate fresh basil loose in the crisper drawer. Cold temperatures below about 50°F cause the leaves to blacken and turn slimy within a day or two, which is the opposite of what most people expect from produce.
Once you have handled the fresh harvest, the next question is always how to keep the plant producing more of it.
Keeping the Harvest Coming
Basil rewards frequent, moderate cutting far more than one big harvest. Plan on trimming a productive plant every 7 to 10 days through the growing season.
Feed lightly, since basil grown in rich soil with regular light feeding pushes new stems faster after each cut. Keep soil evenly moist but not soggy, checking the top inch of soil by feel before watering.
For storage beyond a few days, two methods hold flavor well:
- Freezing: blend leaves with a little olive oil or water and freeze in ice cube trays, then transfer cubes to a freezer bag.
- Drying: hang small bundles in a warm, dark, airy spot, or use a dehydrator on low heat, then store dried leaves in a sealed jar out of light.
Drying is easy but loses some of basil’s bright flavor compared to fresh or frozen, so use dried basil more for cooked dishes than for anything meant to taste fresh.
Everything above is what you need in the garden this week, and here is the short version to save.
Basil at a Glance
- When to start harvesting: once the plant has three to four leaf pairs and stands 6 to 8 inches tall, usually 4 to 6 weeks after transplanting into warm soil.
- Where to cut: a quarter inch above a leaf node, taking 4 to 6 inches of stem, never more than a third of the plant at once.
- Best time of day: morning, after dew dries, before the day heats up.
- Warning sign to watch: tight bud clusters at stem tips, meaning the plant is about to flower and turn bitter, pinch these off immediately.
- How often to cut: every 7 to 10 days on an actively growing plant.
- Right after cutting: keep stems out of direct sun, store fresh-cut basil in a glass of water on the counter, never in the fridge loose.
- For long-term storage: freeze leaves blended with oil or water, or air-dry small bundles in a warm, dark spot.
Cut above the node, cut a little often, and pinch every flower bud the moment you see it.
Get those two habits right and one basil plant will feed you all season long.