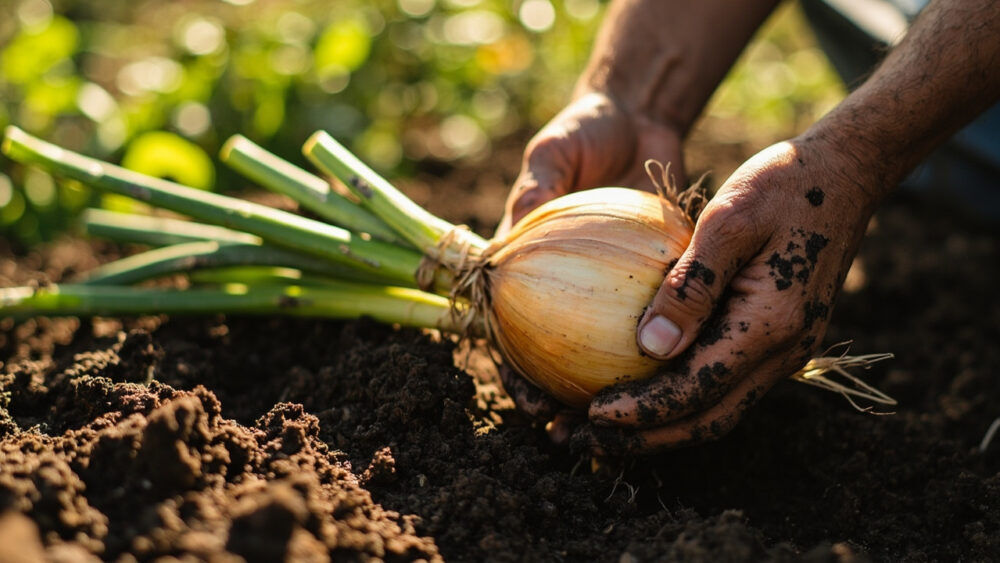
If you want to know how to grow Walla Walla onions, here’s the core of it: these are long-day sweet onions that go in the ground as young transplants or overwintered sets, need a spot with full sun and loose, rich soil, and take roughly 100 to 125 days from transplant to a softball-sized bulb with papery, mild-flavored layers. They are not a plant-and-forget crop. Get the timing wrong by even a few weeks and you will end up with small bulbs or onions that bolt to seed before they ever size up.
Most people who fail with Walla Wallas make one of two mistakes, and both happen before the onion ever shows a problem above ground. One is planting at the wrong time for their climate. The other is starving the bed of nitrogen right when the bulb needs it most, then wondering why everything stayed the size of a golf ball.
There is also a sign almost everyone misreads at harvest time, and a bolting problem that catches gardeners who did everything else right. Stick with me through the sections below and I will walk you through all of it, timing, spacing, feeding, trouble spots, and harvest signals. The save-able Walla Walla Onions at a Glance card is waiting at the bottom once you’ve got the full picture.
When to Plant Walla Walla Onions
Walla Wallas are a long-day variety, meaning they start forming bulbs once daylight stretches past 14 to 16 hours. That single fact drives almost everything about timing.
In mild-winter regions (roughly zone 7 and warmer, think the Pacific Northwest where this onion originated), plant in fall, about 4 to 6 weeks before your first hard frost, so the young plants overwinter as pencil-thin seedlings and resume growth in spring. This is the traditional method and it gives the biggest bulbs.
In colder zones (6 and colder), skip the fall gamble. Start seed indoors 8 to 10 weeks before your last frost, or buy transplants, and set them out 2 to 4 weeks before that last frost date once soil has thawed and can be worked. Soil temperature matters more than the calendar: aim for at least 45 to 50°F at planting depth.
Get this window wrong in either direction and the plant either bolts early or never bulks up.
Choosing the Spot and Prepping the Soil
Full sun is non-negotiable, at least 6 to 8 hours a day. Onions grown in partial shade put energy into leaves and never build much bulb.
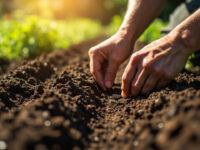
Soil texture matters as much as sun. Walla Wallas want loose, well-drained, fertile soil free of heavy clay clumps and rocks, since anything that resists the swelling bulb will deform it or stunt it outright. Work in 2 to 3 inches of compost or aged manure before planting, and aim for a pH between 6.0 and 6.8.
If your soil is heavy clay, raised beds or mounded rows solve the drainage problem fast and are worth the extra effort here.
A bed prepped loose and rich now is doing half the work your onion would otherwise struggle to do itself.
Planting Walla Walla Onions Step by Step
1. Choose transplants or sets, not seed sown direct
Direct-seeding outdoors works in theory but rarely gives Walla Wallas enough season length. Start from purchased transplants (thin, dormant-looking seedlings sold in bunches) or grow your own indoors and harden them off for a week before setting out.
2. Set depth correctly
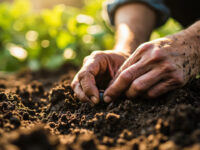
Plant transplants so the roots and about half an inch of white stem are buried, no deeper. Bury the whole seedling and it rots; leave it too shallow and it topples or dries out.
3. Space generously
Give each plant 4 to 6 inches of space within the row, and 12 to 18 inches between rows. Crowded onions stay small no matter how well you feed them, since bulb size is largely a function of room to expand sideways.
4. Water in immediately
Soak the row right after planting to settle soil around the roots and eliminate air pockets.
Spacing feels wasteful in April and looks exactly right by July, when the payoff shows up as bulb size.
Watering and Feeding Through the Season
Onions have shallow, sparse root systems, so they need consistent moisture, not deep soaking followed by drought. Aim for about 1 inch of water a week from rain or irrigation, more in hot, dry stretches, keeping the top few inches of soil evenly damp rather than soggy.
Here’s the part most guides skip: nitrogen timing decides bulb size. Feed with a balanced or slightly nitrogen-heavy fertilizer every 3 to 4 weeks through the first two-thirds of the season, then stop nitrogen entirely once bulbs start visibly swelling and pushing soil aside. Continued nitrogen at that point delays bulbing and produces soft, poorly-storing onions.
Mulch lightly to hold moisture and suppress weeds, but keep mulch pulled back from the immediate crown once bulbs begin to swell, since trapped moisture there invites rot.
Weeds are the other silent yield-killer, and that’s exactly where most seasons quietly go sideways.
Problems That Actually Take Down a Walla Walla Crop
Weed competition is the number one yield thief. Onion leaves are narrow and don’t shade out competitors, so weeds steal water and nutrients unchecked unless you hand-weed or hoe shallowly every week or two, being careful not to disturb the shallow bulbs.
Bolting (the plant sending up a flower stalk instead of building a bulb) happens when young plants hit a cold spell below about 45 to 50°F after they’ve already grown past pencil thickness, or when transplants are set out too early. A bolted onion will not develop a usable bulb; harvest and eat it fresh, it just won’t store.
Onion maggot and thrips are the most common pests, showing as wilting seedlings or silvery streaks on leaves. Crop rotation, floating row covers early in the season, and cleaning up garden debris in fall are your best cultural defenses. If an infestation takes hold, an insecticidal soap or labeled pesticide product applied exactly per its label is the next step.
Fungal issues like downy mildew or neck rot show up in wet, poorly-drained soil or overcrowded rows, another reason drainage and spacing aren’t optional extras.
Handle those threats early and the rest of the season is mostly just watching the bulbs get bigger, which brings us to the moment everyone gets wrong.
When and How to Harvest Walla Walla Onions
If you assumed you harvest onions once the tops look tall and healthy, that guess costs people their whole crop’s storage life. The actual signal is the opposite: wait for the tops to fall over and start yellowing or browningusually when 50 to 80 percent of the tops in a row have flopped down on their own.
That typically lands 100 to 125 days after transplanting, often mid to late summer depending on your planting date. Stop watering a week or so before you expect this to reduce rot risk at harvest.
Once most tops have fallen, pull the bulbs on a dry day and let them cure. Lay them out in a single layer somewhere warm, dry, and shaded (a garage floor or covered porch works) for 1 to 2 weeks, until the outer skins and necks are fully dry and papery.
One honest caveat: Walla Wallas are prized for sweetness precisely because they have low sulfur content, and that same trait makes them poor keepers. Even cured well, expect them to last only 4 to 8 weeks in storage, not the 6 months you’d get from a pungent storage onion.
Plan to eat or preserve your Walla Wallas relatively soon after harvest, and save the everything-you-need card below for next season’s planting.
Walla Walla Onions at a Glance
- When to plant: fall (4 to 6 weeks before first frost) in zone 7 and warmer, or transplants set out 2 to 4 weeks before last frost in zone 6 and colder, once soil hits 45 to 50°F.
- Sun and soil: full sun, 6 to 8 hours minimum, loose fertile soil with pH 6.0 to 6.8, amended with 2 to 3 inches of compost.
- Depth and spacing: transplants set with roots and half an inch of stem buried, spaced 4 to 6 inches apart in rows 12 to 18 inches apart.
- Watering: about 1 inch per week, kept consistent. Stop irrigating roughly a week before expected harvest.
- Feeding: balanced or nitrogen-rich fertilizer every 3 to 4 weeks early on, cut off entirely once bulbs start swelling.
- Days to harvest: roughly 100 to 125 days from transplant, signaled by tops yellowing and flopping over on their own.
- Storage life: short for an onion, only 4 to 8 weeks even after proper curing, since sweetness comes at the cost of keeping quality.
Get the planting window and spacing right, and Walla Wallas mostly grow themselves.
Just don’t expect them to last in storage the way a pungent yellow onion would.