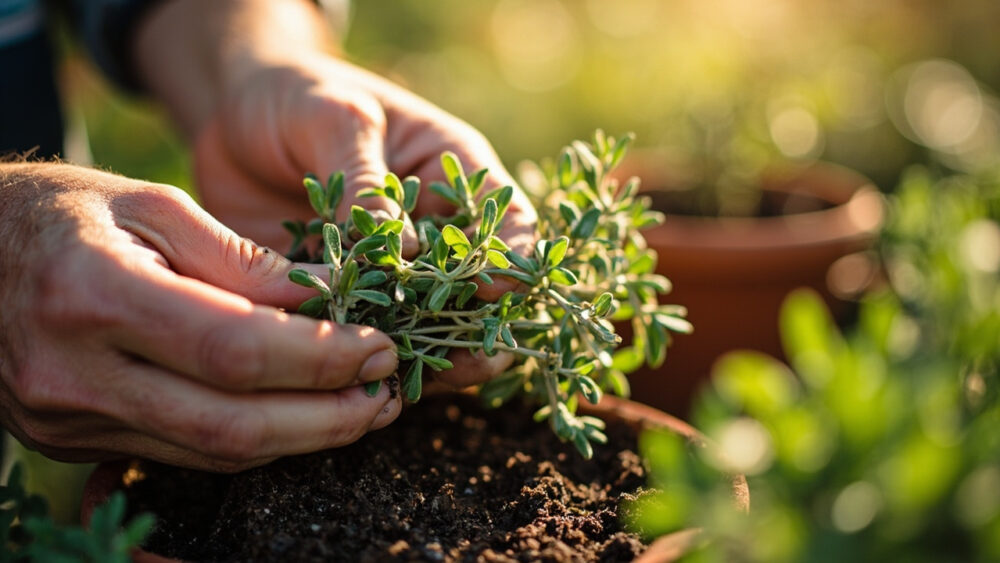
The method that actually works for thyme cuttings is simple: snip 3 to 4 inch pieces of new, non-flowering growth, strip the bottom half, and stick them in a gritty, fast-draining rooting medium kept barely moist, not wet. Learning how to grow thyme from cuttings really comes down to controlling one thing: moisture. Too much water rots the stem before it ever forms a root, which is the single mistake that kills more thyme cuttings than any other factor.
Most people also misread the sign that tells them rooting has actually started. New top growth looks encouraging, but it is not proof of roots, and potting up too early based on that alone sets you back weeks.
There is also the honest answer to the question you are about to ask: can you skip all this and just divide an established plant instead? Sometimes, yes, and I will tell you exactly when that is the smarter move. Stick with this and you will get the full timeline week by week, plus a save-able “Thyme at a Glance” card at the bottom with every number in one place.
Why Cuttings Beat Seed for Thyme
Thyme seed is slow, uneven, and the seedlings take a full season to bulk up into anything usable. Cuttings skip all of that. A rooted cutting from a healthy plant is genetically identical to its parent, so you know exactly what flavor, growth habit, and cold tolerance you are getting, which matters a lot with named varieties like English, French, or lemon thyme.
Cuttings also root fast for a woody herb, typically 3 to 6 weeks, and you can take several from one plant without hurting it.
Division works too, but only on thyme that has been in the ground at least two years and has visible separate crowns.
Next up: the exact steps, in order, starting with the cut itself.
Step by Step: Taking and Rooting the Cutting
Taking the cutting
Choose new growth, the soft, green tips rather than the woody base, taken in late spring to mid summer when the plant is actively growing. Avoid any stem with flower buds, since energy going into flowers is energy not going into roots. Cut a 3 to 4 inch piece just below a leaf node using clean, sharp snips.
Strip the leaves off the bottom half to bottom two-thirds of the stem, leaving just a few sets of leaves at the tip. Those bare nodes are where roots will form.
Rooting medium and conditions
Use a mix that drains fast: half perlite and half potting soil, or straight coarse sand, works well. Thyme rot is almost always a drainage problem, not a watering-frequency problem, so this step matters more than people expect.
Dip the stripped end in rooting hormone if you have it, though thyme roots reliably without it. Poke it into the medium about 1 to 1.5 inches deep, water once to settle the mix, then let the surface dry slightly between waterings from here on.
Keep cuttings in bright, indirect light, not direct sun, at 65 to 75°F. A loose plastic bag or dome helps early on but should be vented daily so moisture does not pool on the leaves.
Now the part almost nobody gets right: knowing when it has actually worked.
Week by Week: What Actually Happens
Week 1: The cutting looks unchanged, maybe slightly wilted for the first day or two. This is normal. No roots yet.
Week 2 to 3: Here is the guessable mistake. New leaf growth at the tip looks like success, but a cutting can push new growth using stored energy alone, with zero roots underneath. Do not pot up based on this sign.
The real tell is resistance. Give the stem a very gentle tug around week 3. If it resists slightly, roots have formed. If it lifts freely, it needs more time.
Week 4 to 6: Visible white roots, often through the drainage holes or the clear side of a container if you used one. This is your actual green light.
Once you feel that resistance and see roots, it is time to talk about moving it.
Potting Up and Planting Out
Pot rooted cuttings into a 3 to 4 inch container with regular well-draining potting soil once roots are at least an inch long. Water it in, then let it dry out noticeably between waterings, more than you’d think for most seedlings.
Let it grow on for another 2 to 3 weeks, building a fuller root system, before planting outside.
Plant out only after your last frost has passed and soil temperature has warmed to at least 60°F. Thyme planted into cold, wet spring soil sulks or rots outright regardless of how well-rooted it was.
Space plants 8 to 12 inches apart in full sun, in soil on the lean and sandy side. Thyme grown too rich and too wet gets leggy and loses the concentrated flavor it’s known for.
That covers timing, but timing is not actually where most people lose their cuttings.
Why Most Attempts Fail (and the Fix)
Overwatering is the top killer, by a wide margin. A stripped, wounded stem sitting in soggy medium rots at the cut before it can callous over and root. Water to settle the mix once, then back off and let the top layer dry between waterings.
Second most common failure: taking cuttings from flowering or old woody stems. Woody growth roots slowly and unreliably. Always choose soft, new tips.
Third: too much heat and direct sun cooking a cutting that has no roots yet to pull up water. Bright and indirect beats hot and sunny every time at this stage.
And if your thyme plant is already two-plus years old with distinct woody crowns, division in early spring is honestly faster and easier than cuttings, no rooting wait required.
Get these few things right and thyme is actually one of the more forgiving herbs to propagate.
Thyme at a Glance
- Best time to take cuttings: late spring through mid summer, from new, non-flowering growth.
- Cutting size: 3 to 4 inches, cut just below a leaf node, bottom leaves stripped off.
- Rooting medium: half perlite and half potting soil, or coarse sand, kept barely moist.
- Rooting conditions: bright indirect light, 65 to 75°F, vented cover to prevent soggy leaves.
- Time to root: 3 to 6 weeks, confirmed by gentle tug resistance, not by new top growth.
- When to plant out: after last frost, once soil hits at least 60°F, spaced 8 to 12 inches apart.
- Soil preference: lean, sandy, well-draining, full sun.
Root the cutting slow and dry, not fast and wet, and thyme does the rest of the work itself.
Save the card above, and check it before you reach for the watering can.