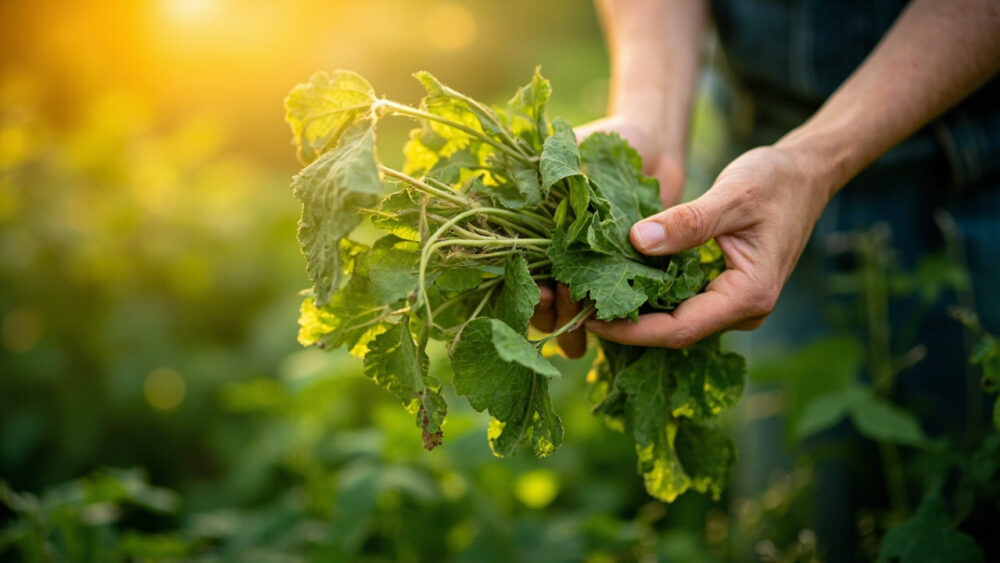
Cut catnip in the morning after the dew dries, once the plant is flowering or about to flower, and hang it upside down in small loose bundles somewhere dark, dry, and airy for one to two weeks. That’s the whole job in one sentence. But how to dry catnip well, so it stays fragrant and potent instead of turning into green dust your cat ignores, comes down to a few details most people skip.
Here’s what trips people up: harvesting too late, drying it flat where it molds from the inside out, and storing it before it’s actually done. There’s also a timing window most guides never mention, tied to when the oils in the leaves peak rather than when the plant just looks big and healthy.
Stick with me through the how and why, because the save-able Catnip at a Glance card at the very bottom gives you the exact numbers for cutting, drying, and storing so you can check it again next time without rereading all of this.
The Real Sign Catnip Is Ready
Most people assume bigger leaves mean more potency. That’s the guess that wastes a harvest.
Catnip’s essential oil, nepetalactone, peaks right as the plant starts flowering, not before and not long after. You’re looking for the first spikes of small white or pale lavender flowers opening on top of the stems, with the plant standing 12 to 18 inches tall and looking a little scraggly rather than lush.
The Smell Test
Crush a leaf between your fingers. If you get that sharp, minty, slightly musky smell immediately, the oils are strong and it’s ready.
A faint or grassy smell means you’re early. Wait another week and check again.
That smell test matters more than the calendar sitting on your wall.
Timing: The Window Is Narrower Than You’d Think
In most climates catnip hits this flowering stage anywhere from 60 to 90 days after transplanting, often by early to mid summer, with a second flush possible in late summer if you cut it back hard the first time. That’s your real target window, not a fixed date.
Go too early and the leaves dry thin and pale with almost no scent, because the oils simply haven’t developed yet. Go too late, after the plant has fully flowered and started setting seed, and the leaves toughen, lose oil content, and taste bitter to cats who’d otherwise roll in it.
There’s also a frost consideration if you’re harvesting a fall flush: cut before the first hard frost blackens the foliage, since frost-damaged leaves dry limp and lose most of their punch.
Miss the window on one cutting and you’ve got weeks to wait for the next, which is the honest answer nobody likes hearing.
How to Cut Without Wrecking the Plant
Catnip is forgiving here, more forgiving than most herbs, which is the good news.
- Cut in the morning, after dew has dried but before the heat of the day pulls oils back down into the roots.
- Use clean shears and cut stems 4 to 6 inches above the soil line, never at ground level.
- Take no more than two-thirds of the plant at once, leaving enough leafy growth for it to bounce back.
- Bundle 4 to 6 stems per bunch with a rubber band, loose enough for air to move through the middle.
Cutting this way is also how you get a second harvest later in the same season.
Once it’s cut, what you do in the next hour matters more than people expect.
Right After the Cut: Don’t Rinse, Don’t Pile
The instinct to rinse dirty leaves under water is the second most common mistake, right behind harvesting too late.
Skip the rinse if you can. Wet leaves take far longer to dry and are far more likely to mold before they cure. If leaves are genuinely muddy from rain, shake them hard and let them air-dry on a towel for an hour before bundling, never longer.
Don’t pile cut stems in a basket or bag either. Piled, damp stems heat up and start composting instead of drying, and by the next morning you’ll have a slimy, sour-smelling mess instead of herb.
Get bundles hanging within thirty minutes of cutting if you can manage it.
The Actual Drying Method
Hang your loose bundles upside down, stems up, somewhere dark, dry, and out of direct sun, with decent air movement. A closet, a covered porch out of the weather, a garage with a fan on low, or a spare room all work.
Darkness matters more than most people realize, since direct sunlight bleaches the color and breaks down the volatile oils that make catnip worth drying in the first place. Air movement matters just as much, because still, humid air is exactly what mold wants.
How Long It Takes
Expect 7 to 14 days depending on humidity. Leaves are done when they’re crisp and crumble at a touch, and stems snap cleanly instead of bending.
The Faster Alternative
A food dehydrator on its lowest setting, around 95 to 110°F, will dry stripped leaves in 2 to 4 hours if you want to skip the wait. A very low oven with the door propped open works in a pinch but is easy to overdo.
Either way, don’t rush the check for doneness, because that’s where storage problems start.
How to Tell It’s Actually Done, Not Just Dry-Feeling
This is the sign everyone gets wrong. Leaves can feel dry on the outside while the thicker stem centers and leaf veins still hold moisture.
The real test is the crumble test, not the touch test. Take a leaf and crush it hard between your fingers. It should shatter into small flakes with no give, no bend, no slightly rubbery feel anywhere.
If you’re unsure, seal a small test batch in a jar for 24 hours and check for any fogging on the glass. Fogging means moisture is still escaping, and the whole batch needs more drying time before it goes into long-term storage.
Skip this check and you risk losing the entire jar to mold weeks later, which is the single most expensive mistake in the whole process.
Storing and Keeping the Harvest Coming
Once fully dry, strip leaves and flower buds off the stems, discarding the tougher stems entirely since they hold little oil.
Store in an airtight glass jar, out of direct light, in a cool cupboard rather than the fridge. Kept this way, dried catnip holds good potency for 6 to 12 months, though the scent will slowly fade over time, which is normal and not a sign anything went wrong.
Crumble a pinch fresh before use rather than crushing the whole jar at once, since intact leaves hold their oils longer than pre-crushed flakes.
In the garden, cutting back hard after flowering often triggers a second flush of fresh growth within a few weeks in warmer zones, giving you a second harvest before frost. Catnip is also a perennial in USDA zones 3 through 9, so a well-established plant will come back and give you another full harvest next year without replanting.
That second flush is the easiest extra harvest you’ll get all season, so it’s worth the light pruning.
Catnip at a Glance
- Best time to harvest: right as the plant begins flowering, usually 60 to 90 days after transplanting, in the morning after dew has dried.
- Readiness sign: a strong, sharp minty smell when you crush a leaf, plus the first white or lavender flower spikes opening.
- How to cut: stems 4 to 6 inches above the soil, taking no more than two-thirds of the plant at once.
- After cutting: skip rinsing if possible, hang bundles within 30 minutes to avoid heating and mold.
- Drying method: hang small bundles upside down in a dark, airy, dry spot for 7 to 14 days, or dehydrate stripped leaves at 95 to 110°F for 2 to 4 hours.
- Done test: leaves shatter into flakes and stems snap cleanly, no rubbery bend anywhere.
- Storage: airtight glass jar in a cool, dark cupboard, potent for 6 to 12 months.
Get the flowering stage right and the smell test right, and everything else about drying catnip is just patience.
Rush the harvest or rush the cure, and you’ll end up with green dust your cat walks right past.