Here is how to grow Swiss chard from seed without wasting a month wondering why nothing came up: sow seed direct in the garden about a half inch deep, two to three weeks before your last expected frost, into soil that has warmed to at least 50°F, then thin the seedlings to 6 to 12 inches apart once they get their second set of true leaves. Chard is one of the most forgiving vegetables you can start from seed, which is exactly why so many people still mess it up. They plant too deep, skip thinning, or panic when nothing shows up by day five.
There is one mistake that ruins more chard patches than anything else, and it has nothing to do with frost or fertilizer. It is about what people assume a chard “seed” actually is, and that assumption costs them a patchy, crowded row every single time.
Stick around and you will also get the honest read on why your seedlings look stalled at two weeks when the packet promised faster, plus a save-able Swiss Chard at a Glance card at the bottom with every number in one place.
When to Start Swiss Chard Seeds
Chard is a cool-tolerant crop, closely related to beets, and it germinates in soil as cool as 50°F, though it comes up faster and more evenly once soil hits 60 to 70°F.
Direct sowing outdoors is the standard method and works fine for most gardeners: start two to three weeks before your last frost date, and again in late summer for a fall crop, about 8 to 10 weeks before your first fall frost.
Starting indoors 3 to 4 weeks before transplanting works too, and it is worth doing if your springs are short or your soil stays cold and wet late into the season. Chard transplants easily, unlike some root crops, so indoor starts are not a gamble here.
Either path gets you to the same place, but the seed itself is where most people go wrong first.
Sowing Swiss Chard Step by Step
What most people don’t know: a Swiss chard “seed” is actually a small dried fruit that can contain more than one embryo, which is why a single planting spot sometimes sprouts two or three seedlings pressed together. That is not a sign you planted too many. That is just what chard does.
1. Depth
Sow seeds about 1/2 inch deep. Any deeper and cool spring soil will slow germination even further.
2. Spacing
Space seeds 2 to 3 inches apart in the row, with rows 18 to 24 inches apart. You will thin later, but starting closer than final spacing gives you insurance against gaps.
3. Medium and moisture
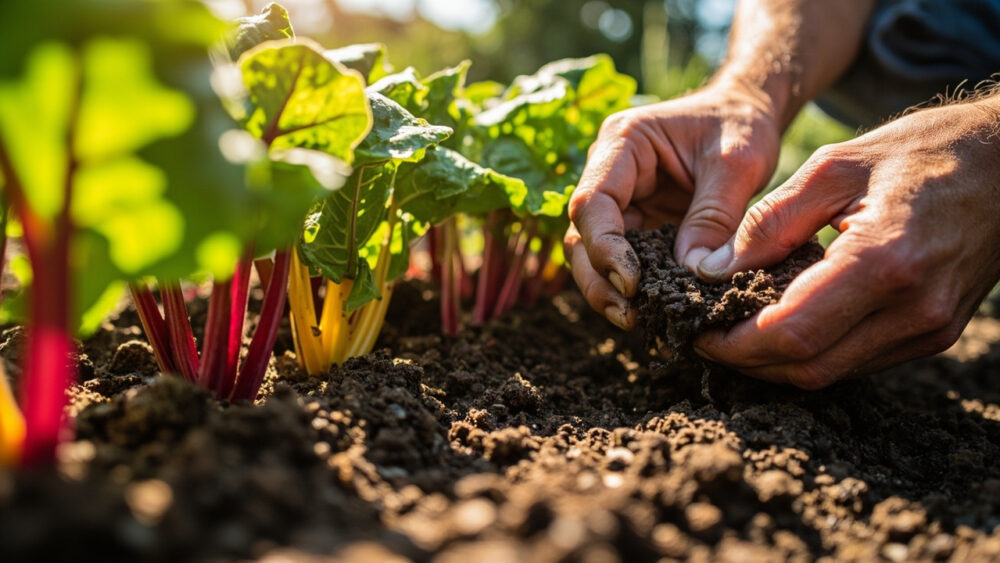
Loose, well-drained soil worked to a fine texture gives the best contact. Keep it consistently moist, never soggy, until seedlings emerge.
4. Temperature and light
Soil between 50 and 85°F works, with 60 to 70°F being the sweet spot for speed. Once seedlings are up, they want full sun, at least 6 hours a day.
Get the depth and spacing right and germination mostly takes care of itself.
Germination: What to Expect and When to Actually Worry
Expect seedlings in 7 to 14 days under decent conditions. In cold soil, closer to 50°F, it can stretch to 3 weeks, and that is where most people start panicking too early.
If nothing has emerged by day 21 and your soil has stayed reliably above 50°F, then it is fair to suspect old seed, a crusted soil surface, or seed that dried out at a critical moment. Reseed that section rather than waiting longer.
Because each seed cluster can sprout multiple seedlings, you will often see little bunches of two or three chard plants growing shoulder to shoulder within days of each other. Resist the urge to leave them all.
This is the thinning problem nobody warns you about, and it is the second biggest reason chard patches underperform.
Thinning: The Step Everyone Skips
Once seedlings have their first true leaves, thin each cluster down to one plant, and thin the row so plants stand 6 inches apart for baby leaf harvest or 12 inches apart if you want full-size plants that hold up all season.
Do not pull the extras if you can help it. Snip them at the soil line with scissors instead, so you do not disturb the roots of the seedling you are keeping.
Skipping this step is the single most common reason a chard row looks lush in June and collapses into thin, pale, undersized plants by July. Crowded roots simply cannot support big leaves.
Thin once, thin decisively, and the rest of the season gets much easier.
Hardening Off and Transplanting
If you started seeds indoors, harden off transplants over 5 to 7 days: a few hours outdoors in filtered light the first day, building up to a full day and night outside by the end of the week.
Transplant once nighttime temperatures reliably stay above 40°F, spacing plants the same 6 to 12 inches apart you would use for thinned direct-sown chard.
Water transplants in well and expect a few days of sulking as roots settle. That is normal transplant shock, not failure.
Once they are in the ground and perked back up, the real growing season begins.
Caring for Swiss Chard Through the Season
Chard wants consistent moisture, about 1 to 1.5 inches of water per week, and a soil surface that feels barely damp an inch down rather than dry and crumbly.
Feed once with a balanced fertilizer or a top-dress of compost around 4 to 6 weeks after planting, especially if leaves start looking pale green instead of deep green.
Mulch around plants to keep roots cool and moisture even, which matters more for chard than for most greens since it will bolt to seed in prolonged heat above the mid 80s combined with long daylight.
Watch for leaf miners and slugs, common on chard, and handle both at the cultural level first: remove affected leaves, use row covers to block miners before they lay eggs, and hand-pick slugs in the evening. If damage is heavy and cultural methods are not enough, follow the label instructions exactly on any product labeled for the pest.
Feed it, water it evenly, and it will keep producing for months without much fuss.
When Swiss Chard Is Ready to Harvest
Chard is a cut-and-come-again crop, not a one-time harvest. Start cutting outer leaves once they reach 6 to 8 inches long, usually 50 to 60 days after sowing for full-size leaves, or as early as 30 days for baby greens.
Always harvest the oldest outer leaves first, cutting an inch or so above the crown, and leave the inner young leaves to keep growing. Done this way, one planting can feed you continuously for 2 to 3 months, sometimes longer in mild climates.
The honest follow-up question is what happens when it bolts: chard sends up a tall, tough flower stalk in long, hot days, and once that happens the leaves turn bitter and the plant is winding down its life, not starting a new one. There is no bringing leaf quality back after a hard bolt.
Pull bolted plants and replant if your season allows, since chard is fast enough to fit a second round most years.
Swiss Chard at a Glance
- When to plant: direct sow 2 to 3 weeks before last frost, or start indoors 3 to 4 weeks before transplanting, with a second sowing in late summer for fall harvest.
- Soil temperature: germinates from 50 to 85°F, fastest at 60 to 70°F.
- Depth and spacing: sow 1/2 inch deep, 2 to 3 inches apart, then thin to 6 inches for baby leaves or 12 inches for full-size plants.
- Germination time: 7 to 14 days in warm soil, up to 3 weeks in cold soil.
- Light and water: full sun, 6 or more hours daily, with about 1 to 1.5 inches of water per week.
- Time to harvest: baby leaves in about 30 days, full-size leaves in 50 to 60 days, then continuous harvest for months.
- Harvest method: cut outer leaves an inch above the crown, oldest first, leaving the center to keep growing.
If you remember one thing, remember to thin. Everything else about chard forgives you, but crowded roots never do.