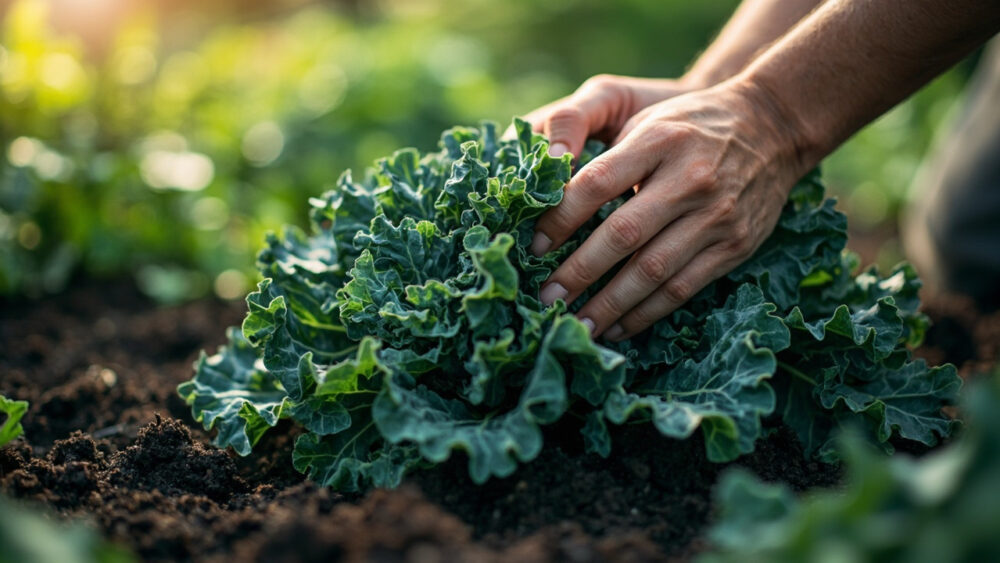
Here’s how to grow kale without overthinking it: sow or transplant it into cool soil, in a spot that gets at least six hours of sun, and give it room to spread its leaves. Kale wants temperatures between 55 and 75 degrees Fahrenheit to grow fast and taste good, which is why nearly every experienced gardener treats it as a spring and fall crop instead of a summer one. Get the timing right and this is one of the easiest vegetables you’ll ever grow.
But there are a few ways to lose a kale crop even though the plant itself is forgiving. The mistake that ruins most first attempts is planting it too late in spring and watching it bolt or turn bitter the moment real heat arrives. There’s also a sign on the leaves that half of gardeners misread as a nutrient problem when it’s actually something else entirely, and an honest answer about whether you should pull kale after a hard frost, because the instinct to protect it is usually wrong.
Stick with me through the sections below and you’ll get all of that, plus a save-able “Kale at a Glance” card at the very bottom with the numbers you’ll want on your phone next time you’re standing at the garden bed wondering what to do next.
When to Plant Kale
Kale is a cool-weather crop through and through, and timing it around your last frost date matters more than almost anything else you’ll do. For a spring cropdirect-sow or transplant 3 to 4 weeks before your last frost date, once soil temperature has climbed to at least 45 F. Kale seed germinates slowly below that, and seedlings just sit and sulk.
Spring kale has a short window before heat pushes it toward bitterness and bolting, so don’t wait for warm, settled weather to plant it. That instinct is exactly the mistake that costs people their crop.
For a fall cropwhich many growers actually prefer because cool weather sweetens the leaves, count backward from your first expected fall frost and plant 6 to 8 weeks ahead of it. In zones 7 and warmer, kale often overwinters and keeps producing right through mild winters.
Fall-planted kale tends to taste noticeably better, and the reason has to do with what frost actually does to the leaves.
Choosing the Spot and Prepping the Soil
Kale wants full sun, 6 hours minimum, though in hot climates a little afternoon shade during late spring buys you extra time before bolting. Soil matters more than most people expect. Kale is a heavy feeder, and thin, depleted soil gives you tough, pale leaves instead of the dark, tender ones you’re after.
Work 2 to 3 inches of compost into the top 6 to 8 inches of soil before planting. Kale prefers a pH between 6.0 and 7.5, and it genuinely dislikes soggy, poorly drained ground, so if water pools in the bed after rain, raise it or amend with coarse compost to open up drainage.
A rich bed gets you most of the way there, but how you actually put the plants in the ground decides the rest.
Planting Kale Step by Step
1. Decide seed or transplant
Direct-seeding works fine for kale and is often easier, since it dislikes root disturbance less than some brassicas but still transplants best when young. If starting indoors, begin seed 5 to 6 weeks before your planting date.
2. Sow or set at the right depth
Plant seeds 1/4 to 1/2 inch deep. Deeper than that and germination slows dramatically in cool soil.
3. Space for full-size leaves
Give plants 12 to 18 inches apart in rows spaced 18 to 24 inches apart. Crowded kale stays smaller and is far more prone to mildew because air can’t move through the leaves.
4. Thin seedlings early
If direct-sown, thin to one seedling per spot once they have two true leaves. Thin ruthlessly here; crowding now is the single biggest cause of stunted plants later.
5. Water in immediately
Give newly planted kale a deep watering right away to settle soil around the roots and cut down on transplant shock.
Once it’s in the ground, the plant’s needs shift toward steady moisture and feeding, and this is where a lot of decent starts go sideways.
Watering and Feeding Through the Season
Kale wants consistent moisture, about 1 to 1.5 inches of water a week between rain and irrigation. Uneven wateringlong dry spells followed by a flood, is what produces tough, bitter leaves even when temperatures are fine.
Check soil an inch down; if it’s dry there, water. Mulch with straw or shredded leaves to hold moisture and keep leaves clean and splash-free, which also cuts down on soil-borne disease.
Feed kale about every 3 to 4 weeks with a balanced fertilizer or a nitrogen-leaning one, since leafy greens pull nitrogen hard from the soil. A side-dressing of compost mid-season works just as well if you’d rather skip synthetic fertilizer.
Now here’s the leaf symptom almost everyone misdiagnoses, and it’s not a feeding problem at all.
Problems That Actually Strike Kale
If you saw purple or reddish tinges on the leaves and assumed a phosphorus deficiency, that’s the guess that sends people straight to fertilizer they don’t need. Most of the time, that purpling is just kale’s normal response to cold nights, especially once temperatures dip into the 40s. It often means the leaves are about to get sweeter, not that something’s wrong.
The real pest problems are more mundane. Cabbage worms and cabbage loopers chew ragged holes and leave dark droppings on the underside of leaves. Handpick what you find, and floating row cover over young plants stops the moths from laying eggs in the first place.
Aphids cluster on the undersides of leaves and stunt growth. A strong water spray knocks most colonies down, and insecticidal soap handles the rest if you follow the product label.
Flea beetles leave tiny shot-holes across the leaf surface, mostly a spring problem, and row cover again is your best defense.
Powdery mildew and other fungal issues show up as gray-white coating or dark spots, usually from crowding or overhead watering late in the day. Space plants properly and water the soil, not the leaves, and you’ll avoid most of it.
None of these problems are usually fatal to the whole planting if you catch them early, which brings us to the part everyone actually clicked for: knowing when to pick.
When and How to Harvest Kale
Kale is ready to start harvesting once leaves reach about 8 to 10 inches long, usually 55 to 75 days from seed depending on variety and conditions. But here’s the honest answer to the frost question everyone eventually asks: don’t pull your kale in after a light or even moderate frost.
Cold actually improves kale’s flavor by triggering the plant to convert starches to sugars, which is why so many gardeners consider frost-touched kale the best-tasting kale of the year. Kale reliably survives temperatures down into the low 20s F, and with some protection, colder still.
Harvest technique matters for keeping the plant productive. Pick the outer, lower leaves first, working around the base, and leave the central growing point untouched. A healthy plant will keep pushing new leaves from the center for months this way.
Avoid stripping more than a third of the leaves at once. Over-harvesting stresses the plant and slows regrowth. Leaves store fine in the fridge for a week or more, and flavor is best on younger, smaller leaves rather than the oldest, toughest ones near the bottom.
That steady, cut-a-little-at-a-time approach is really the whole secret to a kale patch that keeps feeding you long after the first harvest.
Kale at a Glance
- When to plant: 3 to 4 weeks before last frost for spring, or 6 to 8 weeks before first fall frost for a sweeter fall crop.
- Soil temperature needed: at least 45 F for good germination, ideal growth between 55 and 75 F.
- Spacing: 12 to 18 inches between plants, 18 to 24 inches between rows.
- Planting depth: 1/4 to 1/2 inch for seed.
- Watering: 1 to 1.5 inches per week, consistent, not feast-or-famine.
- Feeding: balanced or nitrogen-leaning fertilizer every 3 to 4 weeks, or compost side-dressing mid-season.
- Harvest window: 55 to 75 days from seed, pick outer leaves first, leave the center growing point intact.
Kale rewards patience with cold weather far more than it rewards babying in the heat.
Time it around frost instead of the calendar, and you’ll be harvesting long after most of the garden has quit for the season.