Chickpeas go in the ground two to three weeks before your last frost date, planted 1 to 1.5 inches deep and about 4 to 6 inches apart, and they need roughly 90 to 120 frost-free days to mature depending on the variety. If you’re learning how to grow chickpeas for the first time, the plant itself is easy. What trips people up is almost never the growing, it’s the timing and the harvest window.
Here’s what nobody tells you upfront: chickpeas are one of the few crops where overwatering and overfeeding are the mistake, not the fix. Most new growers treat them like beans or peas and drown them in nitrogen, and the plants respond by growing lush and green and producing almost no pods.
There’s also a harvest sign that fools people every single year, and a disease issue that shows up right when the weather turns humid and can wipe out a planting if you don’t catch it early. Stick with me through all of it, and grab the Chickpeas at a Glance card at the very bottom before you head out to the garden.
When to Plant Chickpeas
Chickpeas are a cool-season legume that actually tolerates a light frost once established, which surprises people who assume they’re as tender as green beans. The right window is two to three weeks before your average last frost date, once soil temperature has climbed to at least 50°F. Cold, wet soil rots the seed before it ever germinates.
In mild-winter regions, zones 8 and warmer, many gardeners plant in fall or midwinter for a spring harvest, since chickpeas actually prefer to mature in dry heat rather than push through it as seedlings. In colder zones, stick to the early-spring window and expect harvest in mid to late summer.
The one thing that ruins more plantings than frost ever does is waiting too long. Chickpeas need that long, mild ramp-up, and a late start just means small plants racing a summer heat wave with too few pods to show for it.
Get the timing right and the rest of this gets a lot easier.
Choosing the Spot and Prepping the Soil
Chickpeas want full sun, at least 6 to 8 hours, and soil that drains fast. Heavy clay that stays wet is the single biggest killer of young chickpea plants, full stop, so if your soil holds water after rain, work in compost or plant in a raised bed instead of fighting it.
They don’t need rich soil. In fact, soil that’s too high in nitrogen is the trap I mentioned earlier, it pushes leafy growth at the expense of flowers and pods. Skip the high-nitrogen fertilizer entirely before planting.
Aim for a soil pH between 6.0 and 7.5. Chickpeas, like most legumes, partner with soil bacteria to fix their own nitrogen from the air, so if you can find a pea or bean inoculant powder at planting time, dusting the seed with it before it goes in the ground gives you noticeably better nodulation and yield, especially in soil that hasn’t grown legumes before.
Once the bed is ready, it’s time to actually get seed in the ground.
Planting Chickpeas Step by Step
1. Direct sow, don’t transplant
Chickpeas have a taproot that resents disturbance. Starting them indoors and transplanting almost always sets them back hard enough that it’s not worth the head start.
2. Depth and spacing
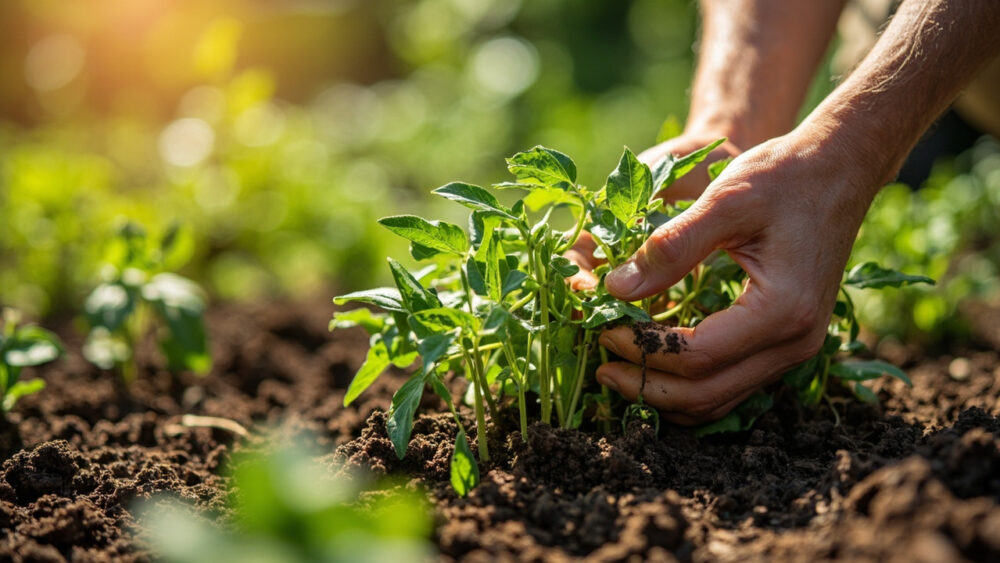
Sow seeds 1 to 1.5 inches deep. Space plants 4 to 6 inches apart within rows, with rows 18 to 24 inches apart to give you room to walk through at harvest.
3. Water in once, then back off
Water at planting to settle the soil around the seed, then let the top inch dry between waterings until germination, which takes 7 to 14 days depending on soil temperature.
4. Thin if needed
If you sowed heavier than 4 inches apart to hedge against poor germination, thin seedlings once they have two true leaves. Crowded plants get less air movement, which sets up the disease problem coming up next.
Seed in the ground is the easy part, keeping the plant balanced through the season is where attention actually pays off.
Watering and Feeding Through the Season
Chickpeas are genuinely drought-tolerant once established, more so than most vegetable crops you’ll grow. The instinct to keep them consistently moist like tomatoes is the wrong move and it’s the second-most-common way people sabotage a planting.
Water deeply but infrequently, letting the top 1 to 2 inches of soil dry out between waterings. The exception is flowering and early pod-set, when a dry spell can cause blossom drop, so give them a deep soak if you hit a stretch of hot, dry weather right when flowers open.
Skip nitrogen fertilizer altogether. If your soil is truly poor, a light dose of compost or a low-nitrogen, phosphorus-and-potassium-leaning feed at flowering is plenty. Anything more just grows leaves.
Get the water and feeding right and the plant will mostly take care of itself, but a couple of problems still show up on schedule.
Problems That Actually Show Up
The disease to watch for is Ascochyta blight, which appears as dark, sunken spots on leaves and stems during cool, wet, humid stretches. It spreads fast in crowded plantings, which is exactly why spacing and thinning matter as much as they do.
If you see it, remove affected foliage promptly and avoid overhead watering that splashes soil onto leaves. In a bad outbreak, a fungicide labeled for Ascochyta on legumes is the answer, and you should follow that product’s label exactly rather than guessing at rates.
Pests are usually minor. Aphids and leafminers show up occasionally; a strong water spray or insecticidal soap applied per the label handles most infestations without drama.
The bigger threat honestly isn’t a pest or disease at all, it’s misjudging the harvest, and that’s the sign almost everyone reads wrong.
When and How to Harvest Chickpeas
Here’s the guess almost everyone makes: they assume chickpeas are ready when the pods are still green and plump, the way you’d pick a green bean or a snap pea. That instinct is wrong, and picking then gets you underdeveloped, starchy peas.
The real signal is the opposite of green and plump. Let the whole plant dry down. Pods turn tan to brown, feel papery, and rattle slightly when the seed inside has hardened, usually 100 to 120 days after planting depending on variety and heat.
You can pull whole plants once most pods have browned and hang them upside down somewhere dry and airy for one to two weeks to finish curing. Then thresh by hand, crushing the dried pods to release the seed, or shell them straight from the pod if you only planted a small patch.
If you want a garbanzo you can actually cook with, patience at this last stage is what separates a real harvest from a disappointing one.
Chickpeas at a Glance
- When to plant: two to three weeks before your last frost, once soil hits at least 50°F, or fall through winter in zones 8 and warmer.
- Depth and spacing: sow 1 to 1.5 inches deep, 4 to 6 inches apart, in rows 18 to 24 inches apart.
- Sun and soil: full sun, fast-draining soil, pH 6.0 to 7.5, no heavy nitrogen fertilizer.
- Watering: deep and infrequent, letting the top 1 to 2 inches dry out, with extra water only during flowering dry spells.
- Days to maturity: roughly 90 to 120 days from seed to dry, harvest-ready pods.
- Watch for: Ascochyta blight in cool, wet, humid weather, and occasional aphids or leafminers.
- Harvest sign: pods turn tan or brown, papery, and rattle, not green and plump.
Get the timing and the dry-down right and chickpeas basically grow themselves.
The plant isn’t fussy, it’s just patient, and it’s asking you to be patient right back.