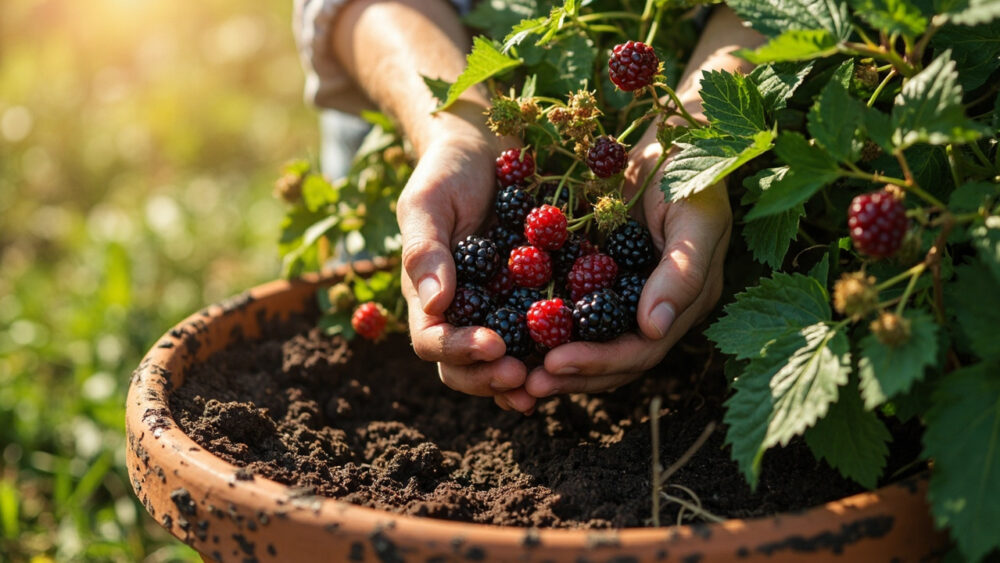
Growing blackberries in pots works best with a container at least 15 to 20 gallons in size, a thornless or semi-erect variety bred for compact growth, and a spot that gets six or more hours of direct sun. Plant a bare-root cane in early spring while it is still dormant, or move a potted nursery plant in any time the ground isn’t frozen. Get the container and variety right and you can pull two to three quarts of fruit off a single plant by its second summer.
Most people who try this make one mistake that costs them an entire season of fruit, and it has nothing to do with watering or fertilizer. There’s also a sign on the cane itself that tells you exactly when to prune, and almost everyone reads it backwards.
And there’s a question you’re probably about to ask right after this one: why did your blackberry grow like a monster all summer and then produce nothing. Stick with me through the sections below and you’ll have the full answer, plus a save-able Blackberries at a Glance card at the very bottom with the numbers you’ll want on hand at the nursery.
When to Plant Blackberries in Containers
Bare-root canes go in during early spring, three to four weeks before your last expected frost, as soon as the soil is workable and not waterlogged. In pots this matters less than in the ground since you control the soil, but cold nights below 20°F can still kill exposed roots in a container faster than they would in open ground.
If you’re starting from a nursery pot rather than a bare-root cane, you have far more flexibility. You can transplant it into its permanent container any time from spring through early fall, as long as you give it six to eight weeks before your first hard frost to settle in.
Gardeners in zones 5 and colder should plan to move potted blackberries into an unheated garage or against a sheltered wall for winter, since roots in containers freeze faster than roots in the ground.
Get the timing right and the next decision, the container itself, matters just as much.
Choosing the Pot and Mixing the Soil
Skip anything smaller than 15 gallons. Blackberry roots run deep and wide, and an undersized pot stunts the plant and dries out in a single hot afternoon.
A half whiskey barrel or a thick-walled 20-gallon nursery pot is the sweet spot. Make sure it has real drainage holes, not just one hole in the center; blackberries hate sitting in wet feet.
Fill it with a mix of about 60% high-quality potting soil and 40% compost. Skip garden soil entirely, it compacts hard in a container and suffocates roots within a season.
Blackberries want a soil pH between 5.5 and 6.5, slightly acidic. A basic soil test kit or even a pH meter from the garden center will tell you where you stand before you plant.
Pick a spot with six to eight hours of direct sun; less than that and you’ll get canes but not much fruit.
Soil ready, sun sorted, now the actual planting.
Planting Blackberries Step by Step
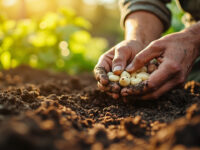
1. Soak bare-root canes
Submerge the roots in water for one to two hours before planting so they aren’t going into dry soil dehydrated.
2. Dig the hole
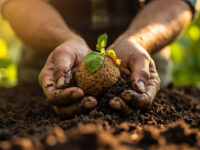
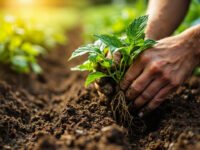
In the container, dig a hole deep enough that the crown, where roots meet cane, sits about an inch below the soil surface. Too deep and the crown rots. Too shallow and roots dry out.
3. Spread the roots
Fan them out rather than balling them into the hole. Backfill gently, firming as you go to remove air pockets.
4. Space for one cane per large pot
If you’re growing multiple plants, give each its own 15 to 20 gallon container rather than crowding two into one pot. Blackberries compete hard for root space.
5. Water immediately
Soak thoroughly right after planting until water runs from the drainage holes. This settles the soil around the roots better than any amount of firming by hand.
Once it’s in the ground, or the pot, the real work of the season is keeping it fed and hydrated without overdoing either.
Watering and Feeding Through the Season
Container blackberries dry out far faster than ones in open soil, sometimes needing water every day once summer heat sets in. Check moisture by pushing a finger two inches down. If it’s dry at that depth, water until it runs from the bottom.
If you assumed more water always means a healthier plant, that habit is what drowns more container blackberries than drought ever does. Consistent moisture matters more than sheer volume. Let the top inch dry between waterings so roots don’t sit in a swamp.
Feed with a balanced fertilizer, something like a 10-10-10 or an organic equivalent, once in early spring as new growth starts and again right after the first flush of berries sets. Skip heavy nitrogen late in the season. It pushes leafy growth at the expense of fruit and makes canes soft going into winter.
A two-inch layer of mulch on top of the soil helps container plants hold moisture between waterings.
Now, about that plant that grew huge all summer and gave you nothing.
The Pruning Mistake That Costs an Entire Harvest
Here’s the part almost everyone gets backwards. Blackberry canes are biennial: a cane grows leaves only in its first year (called a primocane), then flowers and fruits in its second year (called a floricane), then dies.
If you cut every cane down at the end of the season thinking you’re tidying up, you just removed next year’s entire crop. The floricanes that would have fruited are gone.
The fix: after a cane fruits in its second summer, it turns brown, brittle, and woody. That’s your signal to cut that specific cane to the ground. Leave the green, first-year canes standing. They’re next year’s fruit.
Thornless everbearing types complicate this further since some varieties fruit on first-year growth too, so check your variety’s tag before you prune anything.
Get the pruning right and most of what’s left is just watching for trouble before it starts.
Problems That Actually Show Up in Container Blackberries
- Spider mites and aphids: look for stippled, dull leaves or sticky residue. A strong water spray knocks back light infestations. For heavier ones, an insecticidal soap applied per the label works well.
- Cane blight and fungal spotting: shows up as dark, sunken lesions on canes, usually from poor airflow. Space canes so air moves through them and remove any infected cane immediately.
- Root rot: the top symptom is wilting despite wet soil. It’s almost always a drainage problem in containers, not a disease you can spray your way out of.
- Birds: they will strip a container plant of ripe fruit faster than almost any pest. Netting over the plant as berries start to color is the only reliable fix.
Handle drainage and airflow and you’ve already prevented most of this list before it starts.
Which brings us to the payoff you’ve been growing all this for: the berries themselves.
When and How to Harvest
Blackberries are ready when they turn fully black, pull off the cane with almost no resistance, and lose their glossy shine for a slightly duller, matte look. A berry that’s black but still shiny and firm needs another day or two. Blackberries do not ripen further once picked.
Depending on your variety and climate, harvest runs anywhere from early summer into early fall, with everbearing types giving you a second flush later in the season.
Pick every two to three days once berries start coloring. They go from perfect to overripe and mushy fast in warm weather.
A first-year container plant may give you a token handful of berries. Expect the real harvest, a couple of quarts or more per plant, starting in year two.
Everything you need to keep straight is right below, saved in one place.
Blackberries at a Glance
- When to plant: bare-root in early spring, three to four weeks before last frost, or transplant a potted nursery plant spring through early fall.
- Container size: at least 15 to 20 gallons, one plant per pot, with real drainage holes.
- Soil mix: about 60% potting soil, 40% compost, pH 5.5 to 6.5.
- Sun and spacing: six to eight hours of direct sun, one cane system per large container.
- Watering: check two inches down, water deeply when dry, more often in summer heat.
- Pruning: cut only brown, woody floricanes after they fruit, leave green primocanes standing for next year.
- Harvest window: berries fully black, dull rather than glossy, pulling free easily, typically early summer through early fall.
Get the pot size and the pruning timing right and blackberries basically grow themselves after that.
Everything else on this list is just protecting the harvest you already earned.