Growing blackberries from seed is slow and a little stubborn, but it works: you cold-stratify the seeds for 90 to 100 days to break dormancy, sow them shallow in a sterile seed mix, then wait anywhere from three weeks to three months for germination. The whole process from seed to first fruit takes two to three years, not one. That is the honest timeline nobody tells you when you buy a seed packet.
Here is what trips people up. Most gardeners skip or shortcut the cold stratification and wonder why nothing sprouts for months, if ever.
Others get lucky germination and then lose the whole batch during hardening off, because a tray of pampered seedlings does not forgive a sudden afternoon in full sun. And almost everyone underestimates how long it takes a seed-grown blackberry to actually fruit, which is the honest answer to the question you are about to ask: no, you will not be eating berries this summer.
Stick with this and you will get real timing, the exact sowing steps, and the mistakes that cost people a full season. The save-able Blackberries at a Glance card is waiting at the bottom once you have the full picture.
When to Start Blackberry Seeds
Start the cold stratification clock about 4 months before your last frost date, because the seeds need 90 to 100 days of cold, moist conditions before they will even consider sprouting. Mix the seeds into a small bag of damp sand or peat and refrigerate them at roughly 34 to 40 F.
Set a reminder, because it is easy to forget a bag in the back of the fridge for six months and lose viability.
Direct sowing outdoors works only if you let winter do the stratifying for you, scattering seed on prepared soil in late fall and letting it sit through the cold. Most gardeners get far more reliable results starting indoors under control.
Once that cold period is done, the real sowing work begins.
Sowing Blackberry Seeds Step by Step
This is the part everyone rushes, and rushing it is exactly why so many trays sit empty for months.
Step 1: Prep the medium
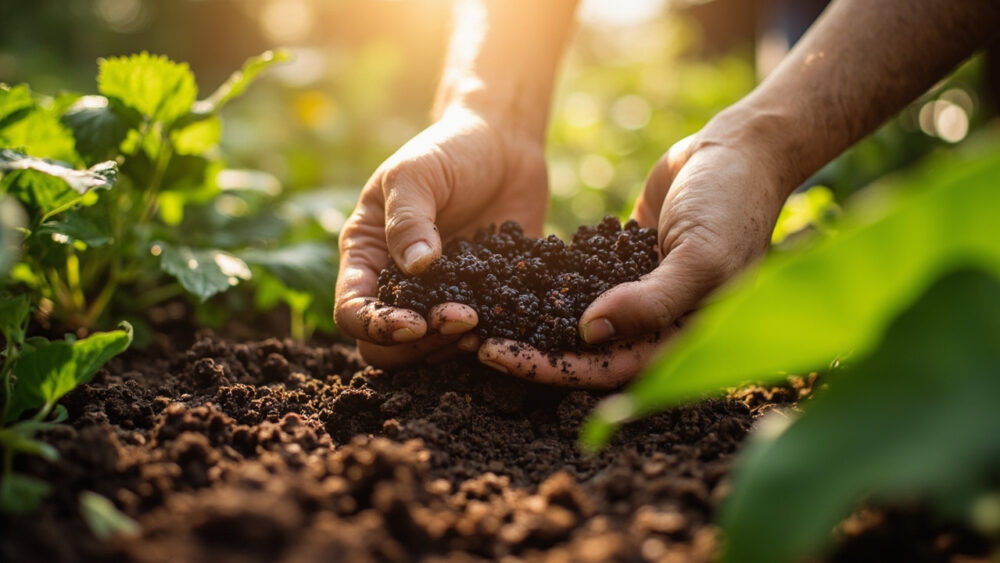
Use a sterile, well-draining seed-starting mix, not garden soil. Garden soil compacts and invites damping-off fungus that will kill seedlings before they even show a true leaf.
Step 2: Sow shallow
Press the stratified seeds onto the surface and cover with only about 1/8 inch of mix. Blackberry seeds need light to germinate, so burying them deep is one of the fastest ways to get nothing at all.
Step 3: Set the temperature
Keep the tray at 65 to 75 F. A seedling heat mat helps enormously if your house or greenhouse runs cooler than that.
Step 4: Keep it bright and damp
Place under grow lights or a bright window, and mist regularly so the surface never fully dries out. A humidity dome or plastic wrap over the tray holds moisture between waterings.
Now comes the hardest part of this whole process: waiting.
Germination: What to Expect and When to Actually Worry
If you assumed germination happens in a week or two like tomatoes, that guess is what makes people give up too early. Blackberry seeds are notoriously slow and uneven, sprouting anywhere from 3 weeks to as long as 3 months after sowing, even after proper stratification.
Do not toss the tray just because week six looks empty. Keep the medium consistently moist and warm and let it ride.
What you are watching for is a tiny pair of rounded seed leaves pushing up, often just a few seeds at a time rather than a flush all at once. Expect a germination rate well under 100 percent, even from a fresh, well-stratified batch; blackberry seed is simply not as reliable as buying a rooted cutting or bare-root plant.
The real warning sign is not slow germination, it is a moldy, sour-smelling surface, which means the mix stayed too wet without enough airflow.
Once you have true leaves, seedlings still have a rough transition ahead of them.
Hardening Off and Transplanting Seedlings
The mistake that costs people their whole tray happens right here, not at sowing. Seedlings raised indoors under gentle light get scorched or wilted fast if they go straight into full outdoor sun.
Harden off over 7 to 10 days, setting trays outside in shade for an hour or two the first day and gradually building up sun exposure and time each day after that.
Transplant into individual pots once seedlings have 2 to 3 sets of true leaves and are a few inches tall, generally not before they are several months old given how slow the whole process runs.
Move to the garden after your last frost has passed and soil has warmed, spacing plants 3 to 4 feet apart in rows 6 to 8 feet apart for trailing types, a bit tighter for upright or semi-erect types. Give them full sun and well-draining, slightly acidic soil, around pH 5.5 to 6.5.
Getting a seedling into the ground alive is a milestone, but the plant still has real growing up to do.
Season One and Two: Care While You Wait
This is where the seed-to-harvest timeline gets honest. Blackberries grown from seed typically need their second or even third growing season before they flower and fruit, since first-year canes (called primocanes) are mostly building roots and structure.
Water deeply, about 1 to 1.5 inches per week during the growing season, more during fruiting once you get there. Mulch 2 to 3 inches deep to hold moisture and choke out weeds, since young blackberry roots hate competition.
Put up a simple trellis or wire support for trailing varieties before the canes get long and sprawling, it is much harder to retrofit later. Feed lightly with a balanced fertilizer in spring once new growth starts, and avoid heavy nitrogen, which pushes leafy growth at the expense of the woody structure that will carry fruit.
Prune out any dead or winter-damaged cane tips in early spring, and by midsummer of the second year you are watching for the first real sign of progress.
When You Actually See Bloom and Harvest
Expect white to pale pink flowers in late spring to early summer of year two or three, on second-year canes called floricanes. That bloom is the real payoff signal after all this waiting, not the first true leaves back in the seed tray.
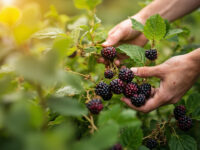
Berries follow bloom by roughly 45 to 60 days, ripening from green to red to a deep, dull black. The honest ripeness test is a gentle tug: a ripe berry releases easily, an unripe one holds on tight and tastes sour and hard.
Also worth knowing plainly since it comes up often: blackberries themselves are not toxic to pets or people, only unripe fruit tastes unpleasant and can cause mild stomach upset in animals that overindulge. If a pet eats something you are not sure about in the garden, call your veterinarian rather than guessing.
Once that first real harvest comes in, everything below is what you will want saved for next season.
Blackberries at a Glance
- When to start seeds: begin cold stratification about 4 months before your last frost, 90 to 100 days at 34 to 40 F, then sow indoors.
- Sowing depth: about 1/8 inch deep in sterile seed mix, since seeds need light to germinate.
- Germination window: 3 weeks to 3 months at 65 to 75 F, uneven and slower than most garden seed.
- Transplant timing: after last frost, once seedlings have 2 to 3 sets of true leaves and have been hardened off over 7 to 10 days.
- Spacing: 3 to 4 feet apart in rows 6 to 8 feet apart for trailing types, closer for upright types.
- Soil and sun: full sun, well-draining soil, pH 5.5 to 6.5.
- Time to harvest: flowering and fruiting typically wait until year two or three, with berries ripening 45 to 60 days after bloom.
Growing blackberries from seed is a genuine test of patience, not a quick way to fruit. If you want berries sooner, a rooted cutting or bare-root plant gets you there in half the time, but the seed route is the one worth bragging about when it finally works.