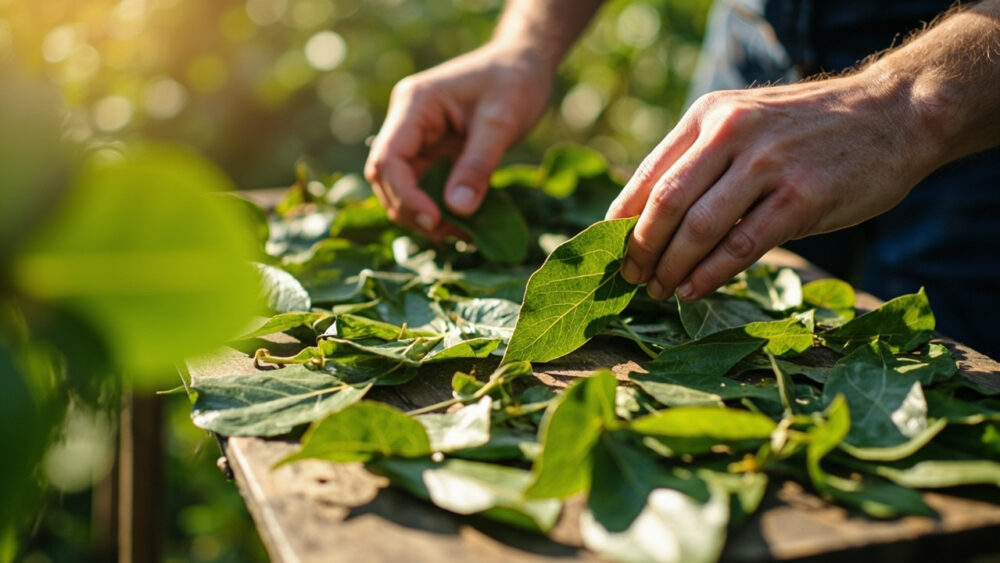
The fastest, most reliable way to dry bay leaf is to snip mature, dark green leaves from the plant and lay them flat in a single layer somewhere warm, dry, and out of direct sun for one to two weeks, until they feel stiff and snap instead of bend. No oven, no dehydrator required, though both work in a pinch if you watch them closely. Bay is one of the most forgiving herbs to dry, which is exactly why so many people still mess it up.
Here is the mistake that ruins most home-dried bay: pulling leaves too young, then wondering why the flavor is flat and grassy instead of that warm, slightly sweet, almost tea-like depth you get from store-bought bay. There is also a sign most people misread entirely, mistaking curled, dull leaves for “done” when they are actually just stressed. And there is a question you have not asked yet but will the moment your leaves are dry: how long do these actually stay potent, and how do you store them so they do not turn to dust or flavor-free confetti in six months.
Stick with this and you will get all of it, including the harvesting technique that keeps a bay plant producing for years instead of setting it back, and a save-able Bay Leaf at a Glance card at the very bottom with the numbers you will want on your phone the next time you are standing in front of the plant with scissors.
How to Tell a Bay Leaf Is Ready to Harvest
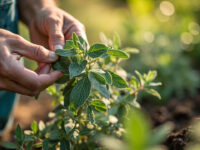
Ready leaves are fully mature: dark green, glossy, and firm, not the pale, floppy new growth at the branch tips. Color is your best clue. Young leaves are a lighter yellow-green and feel thin and soft between your fingers. Mature leaves have thickened up, deepened in color, and have a slight leathery stiffness even while still on the plant and full of moisture.
The Snap Test, Before Drying
Fold a leaf in half gently. A mature leaf resists a little and creases rather than tearing raggedly. An immature leaf just folds limp with no resistance at all. This ten-second check saves you from harvesting a whole batch of leaves that will dry into weak, curled scraps with barely any aroma.
Get the leaf selection right and the drying part almost takes care of itself.
The Timing Window: Why Rushing or Waiting Costs You Flavor
Bay leaves do not ripen on a calendar the way fruit does, so there is no single harvest date. What matters is leaf age and plant maturity. A bay plant grown from a small nursery pot typically needs one to two full growing seasons before it has enough mature foliage to harvest without stripping it bare.
Harvest too early and you get leaves that dry thin, pale, and nearly scentless, since the aromatic oils that give bay its flavor build up as the leaf ages on the plant. This is the part most people get backward: they assume any dry, crumbly leaf is “ready,” when a weak, papery leaf is often just an immature one that dried out fast with nothing in it.
Wait too long and leaves get tough and leathery, sometimes with a slightly bitter edge, though this is far more forgivable than harvesting early. If you are ever unsure, err toward older, darker leaves over young ones.
Once you have the timing sense down, the actual cutting is the easy part.
How to Harvest Bay Leaves Without Setting the Plant Back
Use clean scissors or small pruning snips rather than pulling leaves off by hand. Ripping leaves away can tear bark on young stems and leaves an open wound that invites disease, especially on potted bay plants kept indoors part of the year.
- Choose mature leaves from the interior and lower half of the plant, not the newest growth at branch tips.
- Snip individual leaves close to the stem, or cut a short branch tip if you want a batch at once.
- Take no more than a third of the plant’s total leaves at any one time.
- Spread the harvest out across the growing season rather than stripping it in one sitting.
A healthy, established bay tree, whether in the ground in a warm climate or overwintered indoors as a container plant, can tolerate repeated light harvesting all year. It is heavy, all-at-once harvesting that sets a plant back and slows new growth for months.
What you do in the first hour after cutting matters almost as much as the cutting itself.
Right After Harvest: Prep Before You Dry
Rinse leaves only if they are dusty or you see insect residue, then pat them completely dry with a towel. Any lingering moisture on the surface invites mold during drying, which is the number one reason home-dried herbs fail.
Lay leaves in a single layer, never piled or overlapping, on a clean towel, paper towel, or a wire rack. Piling leaves traps humidity between them and you will get spotty, moldy leaves in the middle of the stack within days.
Pick a spot that is warm, dark or dim, and has decent air movement. Direct sun bleaches color and burns off the aromatic oils you are trying to preserve, so a sunny windowsill is actually the wrong choice despite feeling intuitive.
Once they are laid out right, drying itself is mostly just waiting.
Drying Methods, Ranked by What Actually Works
Air Drying (Best for Flavor)
Lay leaves flat in a single layer somewhere warm and dry, 60 to 75°F, with good airflow and no direct light. This takes roughly one to two weeks depending on humidity. This method preserves the most flavor and color because low, slow drying protects the essential oils.
Dehydrator (Fastest Controlled Method)
Set a food dehydrator to its lowest setting, around 95 to 115°F, and check leaves every couple of hours. Most batches finish in four to eight hours. Watch closely, since bay leaves are thin enough to go from perfectly dry to overly brittle and flavor-faded faster than thicker herbs.
Oven Drying (Use Only If You Have To)
If you must use an oven, set it to its lowest possible temperature, ideally under 150°F, prop the door open slightly, and check every 15 to 20 minutes. This is the riskiest method for flavor loss and scorching, so treat it as a last resort, not a first choice.
You will know leaves are fully dry when they feel stiff, papery, and snap cleanly rather than bend or fold. If a leaf still has any flex or coolness to it, it is holding moisture and needs more time, since packing away a leaf that is not fully dry is the single fastest way to grow mold in your spice jar weeks later.
Dry leaves are only half the job, storage decides whether that flavor actually survives.
Storing Dried Bay: How Long It Actually Stays Potent
Here is the honest answer nobody tells you at the store: dried bay leaves stay visually intact for years but lose real aromatic punch within about one to two years, sometimes faster if stored poorly. The leaf will still look like a bay leaf; it just will not do much in the pot anymore.
Store leaves whole, not crumbled, in an airtight glass jar or tin, away from heat and light. Crumbling releases the oils faster and speeds up flavor loss, so keep leaves whole until the moment you toss one into a dish.
A cool, dark cabinet beats a spot near the stove every time. Heat is the enemy of stored herbs even more than time is.
If you want a steady supply, harvesting little and often keeps both the plant and your spice jar in good shape.
Keeping the Harvest Coming
Bay is a slow, woody perennial, unlike basil or mint that reward heavy cutting with a flush of tender new growth. Light, repeated harvesting spread across the year works far better than one big cutting session.
Feed the plant lightly during its active growing months and keep it out of prolonged drought stress, since a stressed bay plant slows leaf production noticeably before it shows any other visible symptoms.
Treat bay as a long-term relationship, not a one-time harvest, and you will have leaves to snip for a decade or more from the same plant.
Bay Leaf at a Glance
- Best leaves to pick: mature, dark green, glossy, and firm, never the pale new growth at branch tips.
- Ready test: fold a leaf gently, it should crease with resistance, not flop limp.
- How much to harvest at once: no more than a third of the plant’s total leaves per session.
- Air drying time: one to two weeks, 60 to 75°F, single layer, out of direct sun.
- Dehydrator time: four to eight hours at 95 to 115°F, checked often.
- Done sign: leaf feels stiff and papery and snaps cleanly instead of bending.
- Storage: whole leaves in an airtight jar, cool and dark, best flavor used within one to two years.
Get mature leaves, dry them slow and out of the sun, and store them whole in the dark.
Do that consistently and every batch will taste like the bay leaf you remember, not the dusty ones at the back of the spice rack.