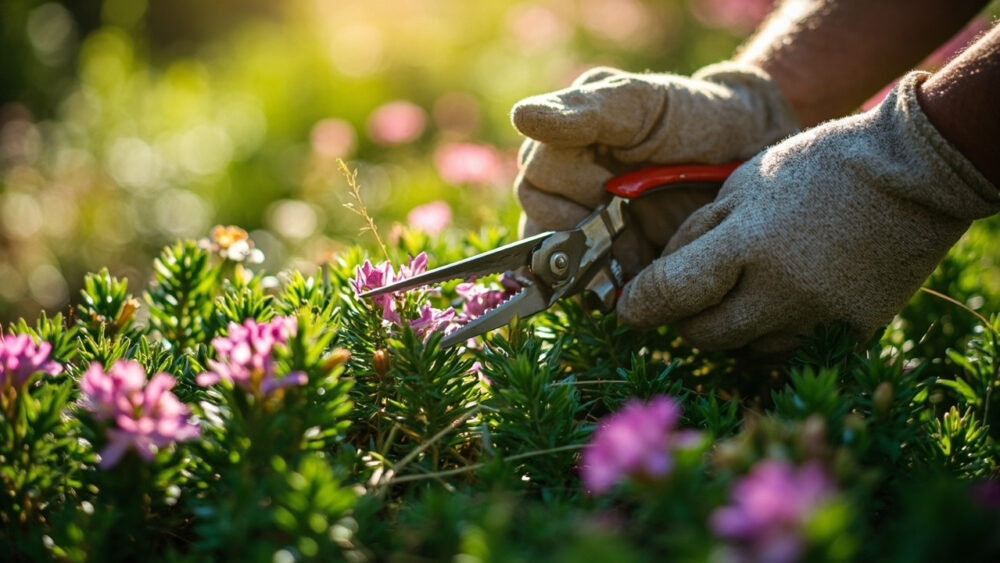
The short answer: shear creeping phlox back by about one-third to one-half right after it finishes blooming in late springusing hand shears or hedge shears, cutting the whole mat down evenly rather than snipping individual stems. Do it once a year, right after flowering, and skip any other major cutback for the rest of the season. That single haircut is what keeps the mat tight, floriferous, and from turning into a woody, bald-centered tangle.
But there is more to get right here than the timing. Most people either cut too early and lose flowers they didn’t have to lose, or they never cut at all and end up with a plant that blooms less every year. There’s also a fall question everyone asks once they’ve handled spring: do you cut it back again before winter, or leave it alone. And there’s a specific way the plant tells you it’s overdue for a hard renovation cut, a sign most gardeners misread as disease.
Stick around for all of that, plus the mistakes that quietly cost people their bloom the following spring. At the bottom you’ll find a save-able Creeping Phlox at a Glance card with the numbers in one place so you don’t have to hunt for them again.
When to Prune Creeping Phlox, and When to Leave It Alone
The window is right after bloom finisheswhich for most of the country lands somewhere in mid to late spring, roughly April into May depending on your zone and how warm the season ran. Watch the plant rather than the calendar. Once you see the flower show fading and mostly spent, with green foliage still healthy underneath, that’s your cue.
Do not prune while it’s still flowering, even if the display looks a little ragged. You will be cutting off buds that haven’t opened yet, and creeping phlox does not rebloom the way some perennials do. Once that flush is over, it’s over for the year.
The one exception is a light fall tidy, and that’s a very different job than the real prune.
The One Prep Step Almost Everyone Skips
You don’t need much gear for this. Hand pruners or hedge shears both work, sized to the mat you’re cutting; a small clump takes hand shears, a sprawling three-foot patch is faster with hedge shears.
The prep step that actually matters is checking soil moisture before you cutnot the tool you grab. Creeping phlox recovers fastest from a hard cutback when the soil underneath is evenly moist, not bone dry and not soggy. If it’s been a dry stretch, water the bed the day before you prune.
Cutting a stressed, drought-dry mat sets it back further and slows the regrowth you’re trying to encourage. A quick soak beforehand costs you nothing and buys the plant a much faster comeback.
Wet or dry, blade sharpness matters too, and that’s next.
How to Prune Creeping Phlox Step by Step
This is a shearing job, not a detail-pruning job. You’re not hunting for individual dead stems here, you’re taking the whole mat down at once, evenly, like giving it a haircut.
Step 1: Clean and sharpen your blades first
Dull shears crush stems instead of cutting them, which invites rot into the wound. A few strokes with a sharpening stone before you start is worth it, especially on a mat this dense.
Step 2: Cut the entire mat back by one-third to one-half
Take off about one-third of the total height for a plant that still looks tidyand go closer to one-half if the center looks woody, sparse, or the mat has sprawled well past its bed edges. Work across the whole patch in one pass rather than shaping section by section, so the cut line stays even.
Step 3: Cut just above where you see new green growth low on the stems
Look down into the mat before you commit to a cutting height. You’ll usually see fresh green growth starting an inch or two above the base. Cut just above that point, not into bare woody stem below it, since that older wood is far slower to push new shoots.
Step 4: Clear the clippings off the crown
Rake or shake the cut foliage off the plant rather than leaving it sitting on top. A mat smothered under its own trimmings holds moisture against the crown and invites fungal problems.
Cutting it right is only half the job, what happens next tells you whether you did it well.
What Creeping Phlox Looks Like After a Proper Cutback
Right after shearing, the mat will look thin and a little rough for one to two weeks. That’s normal and not a sign of damage.
New growth typically shows within two to three weekscoming in as fresh, tighter foliage that fills back in denser than what you cut away. By midsummer a well-timed cutback usually looks fuller than an unpruned mat of the same age.
If you see little to no regrowth after three to four weeks and the soil has stayed reasonably moist, check for matted dead thatch underneath blocking light and airflow from reaching the crown. Pull it back gently by hand; you likely don’t need to cut again this season.
One more thing people misread as a problem is actually a diagnosis.
The Sign Everyone Misreads: A Woody, Hollow Center
If you’ve assumed a bare, woody center means the plant is dying or diseased, that guess is wrong more often than it’s right. It’s usually just age.
Creeping phlox mats naturally build up woody growth in the middle as outer stems keep spreading and rooting while the core stops producing much new growth. This is normal for a mat that’s been in place three years or more, and it’s exactly what a hard cutback is meant to prevent from getting worse.
If the center is already hollow and woody despite regular annual shearing, a light cutback won’t fix it this year. You need a harder renovation cut, taking the whole mat down to about 2 to 3 inches right after bloom, which sacrifices some fullness this season to force fresh growth from the base next year.
Division is the other honest fix, and that’s tied to the mistakes people make most often.
The Mistakes That Cost You Next Year’s Flowers
Most lost blooms trace back to one of a short list of habits, not bad luck.
- Pruning before bloom finishes: this removes unopened buds and cuts your flower display short for no benefit.
- Shearing hard in fall: a heavy fall cutback removes the foliage that protects the crown over winter and can reduce next spring’s bloom. A light tidy of dead leaves is fine. A hard cut is not.
- Never cutting back at all: skipping the annual shear year after year is what produces the sprawling, woody, thin-blooming mats people eventually think are just “old and done.”
- Cutting into bare wood below the green: stems cut too low, into leafless wood, are much slower to resprout than stems cut just above visible green.
- Ignoring an overdue division: a mat left uncut and undivided for five-plus years often needs more than shearing. Digging, dividing, and replanting healthy outer sections every three to four years keeps the planting vigorous long term.
Get the timing and the amount right, and this becomes one of the easiest maintenance jobs in the whole bed.
Creeping Phlox at a Glance
- When to prune: right after flowering ends, typically mid to late spring, never while still in bloom.
- How much to cut: one-third of total height for a tidy mat, up to one-half for a woody or sprawling one.
- Where to cut: just above visible new green growth near the base, not into bare woody stem.
- Tools: sharp hand shears for small clumps, hedge shears for large mats.
- Prep step: water the bed the day before if soil is dry, so the plant recovers faster.
- Fall care: light tidy of dead leaves only, no hard cutback before winter.
- Renovation cut: for old, hollow-centered mats, cut to 2 to 3 inches after bloom, or divide every 3 to 4 years.
One clean shear right after bloom is nearly all this plant asks for.
Get that timing right and everything else about creeping phlox takes care of itself.