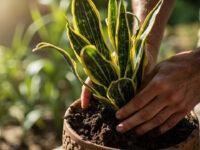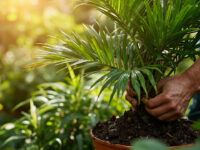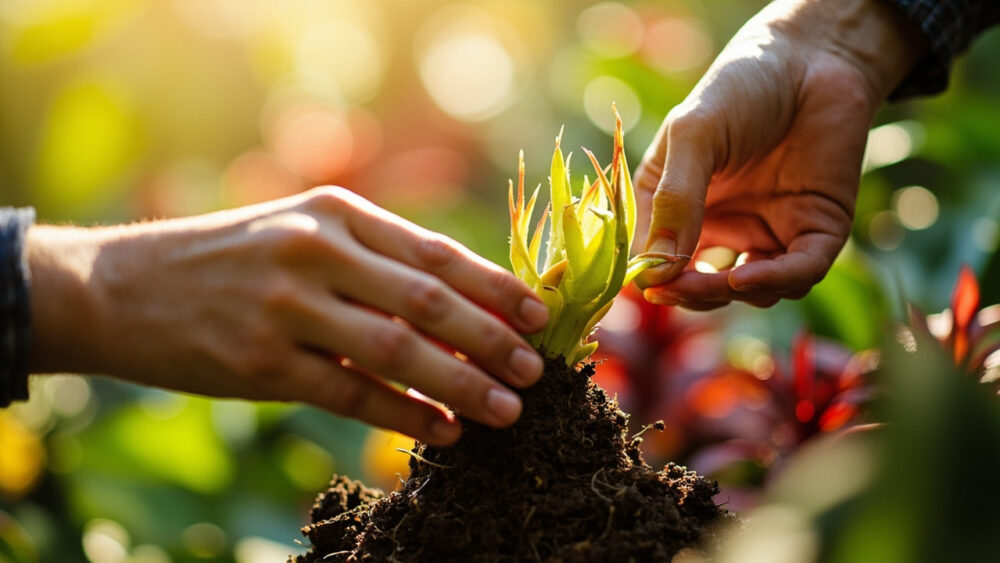
The method that actually works is dividing the pups, the baby offsets your bromeliad grows around its base once it flowers, and potting them up on their own once they’re about a third the size of the parent plant. That’s how to propagate bromeliad successfully, full stop. Seed propagation exists, but it’s slow and unreliable enough that almost nobody does it at home, so pups are the real answer.
Here’s the part most people get backwards: the mother plant that grew your pups is dying, and that’s not a problem to fix, it’s the whole point. Cutting a pup too early is the single mistake that wastes a season, and most people do it because the plant looks fine and they get impatient.
There’s also a timing question nobody warns you about, which is whether to leave the pup attached until it roots or cut it free right away. Stick around, because the honest answer depends on the type of bromeliad you’ve got, and I’ll tell you which is which. The full save-able rundown, timing, pup size, potting mix, the works, is waiting in the Bromeliad at a Glance card at the bottom, so keep scrolling even after you think you’ve got the gist.
Why Pups Are the Only Method Worth Your Time
Bromeliads are monocarpic, meaning each rosette flowers once in its life and then spends its remaining months dying slowly while pouring energy into offsets at its base. Those offsets, called pups, are genetically identical clones ready to become full plants. This is nature doing the propagation for you.
Seed propagation works botanically but takes two to three years to get a plant the size a pup gives you in six months, and most home-grown bromeliad seed doesn’t germinate reliably anyway. Division of pups is faster, near guaranteed, and asks almost nothing technical of you.
The parent plant’s decline is not a symptom of anything you did wrong.
Step by Step: Separating and Rooting the Pup
Judging when a pup is ready
A pup is ready to remove when it’s reached roughly one third to one half the size of the mother plant and has started forming its own small rosette of leaves. Look for the beginning of its own tiny root nubs or a slightly woody base where it joins the parent.
Pull too soon and the pup has no root system to support itself, so it sits and sulks or rots outright. This is the mistake that costs people a season, and it’s almost always impatience, not bad luck.
Cutting the pup free
Use a clean, sharp knife or pruners. Cut as close to the mother plant’s base as you can, taking any roots the pup has already grown along with it.
For tank-type bromeliads (the ones that form a central water-holding cup, like Guzmania and Vriesea), you can leave the pup attached until it’s larger and more self-sufficient, since it’s drawing moisture and nutrients through that connection the whole time. For thin-leaved, grayish, air-plant relatives like Tillandsia-adjacent types and some Dyckia, cut earlier and root separately, since they don’t lean on the parent as heavily and prolonged attachment just delays things.
Rooting medium and conditions
Pot the cut pup into a loose, fast-draining mix, half standard potting soil and half orchid bark or perlite works well. Bromeliads hate sitting in soggy mix.
Set the pup just deep enough to stand upright on its own, water lightly to settle the mix, then place it somewhere bright but out of direct hot sun, at 70 to 80°F. Some growers skip soil entirely and simply wire the pup to a piece of bark or driftwood, since many bromeliads are naturally epiphytic and root just fine with no soil contact at all.
Getting the cut and the mix right is half the job, but knowing what a stalled pup looks like versus a rooting one is the other half.
Week by Week: What Actually Happens
In the first one to two weeks, expect nothing visible, and resist the urge to tug on the pup to check for roots. Disturbing a barely-forming root system sets you back to zero.
By week three to four, a healthy pup holds its color and center leaves stay tight and upright rather than splaying loose. That’s your sign roots are establishing even though you can’t see them.
Around week six to ten, new center growth, a fresh little leaf pushing up from the middle, is the real confirmation of rooting, and it’s the sign most people misread. A pup can sit green and stable for over a month with zero new growth and still be fine, so don’t panic and don’t repot early just because nothing seems to be happening.
Once you see that new center leaf, the waiting is basically over.
Potting Up and Moving Outdoors or to a Permanent Spot
Once new growth confirms rooting, usually two to three months after cutting, it’s time to size up. Move the pup into a pot roughly 1 to 2 inches wider than its current one, never a huge jump, since bromeliads actually prefer being slightly snug in their pot.
Use the same fast-draining mix you rooted it in. Bromeliads have modest root systems that mainly anchor the plant rather than feed it heavily, so oversized pots just hold excess moisture around roots that can’t use it.
If you’re moving pups outdoors, wait until nighttime temperatures stay reliably above 50°F, since most common houseplant bromeliads (Guzmania, Vriesea, Aechmea, Neoregelia) are tropical and won’t tolerate frost or even a cold snap in the 30s. Bright, filtered light suits most of them best, direct noon sun scorches the leaves on many varieties.
A well-rooted pup in the right pot will start showing vigorous new leaves within a month, so slow growth after that point is worth troubleshooting, not ignoring.
Why Most Attempts Actually Fail
The number one failure is cutting the pup too small, before it’s built any root base of its own, out of impatience with how long the mother plant lingers. The fix is simply waiting for that one-third-size benchmark and the first hint of its own roots.
The second most common failure is rot from an overly wet, dense potting mix, especially when growers use straight potting soil instead of something free-draining. Bromeliad pups need airflow around their base more than they need constant moisture.
Third, people assume the parent plant is salvageable and keep watering and fertilizing it heavily post-bloom, when really its job is finished. You can leave the parent in place until the pups are big enough to separate, then let it go. Trying to revive a spent bromeliad is effort spent on a plant that’s already done what it was going to do.
Avoid those three things and pup propagation succeeds close to every time you try it.
Bromeliad at a Glance
- When to divide: once a pup reaches about one third to one half the size of the mother plant and shows its own root nubs, usually a few months after the parent flowers.
- How to cut: use a clean, sharp blade, cut close to the base, keep any roots already formed on the pup.
- Rooting mix: half potting soil, half orchid bark or perlite, loose and fast draining, never dense or soggy.
- Conditions: bright, indirect light, 70 to 80°F, water lightly to settle the mix after potting.
- Timeline: no visible change for two to four weeks, new center leaf growth around six to ten weeks confirms rooting.
- Potting up: move to a pot only 1 to 2 inches wider once new growth appears, using the same fast-draining mix.
- Outdoor move: only after nighttime temperatures stay reliably above 50°F, in bright but filtered light.
Patience with the pup’s size, and none with a soggy potting mix, is the whole secret.
Everything else about bromeliad propagation takes care of itself.