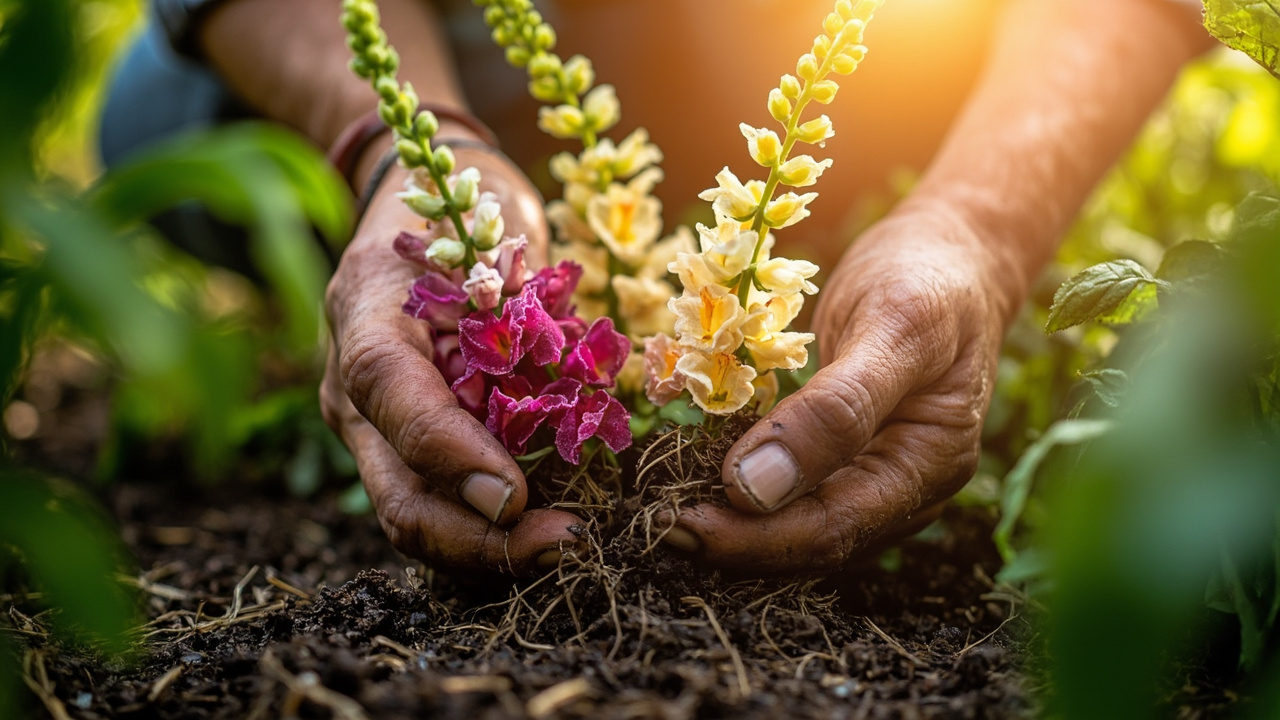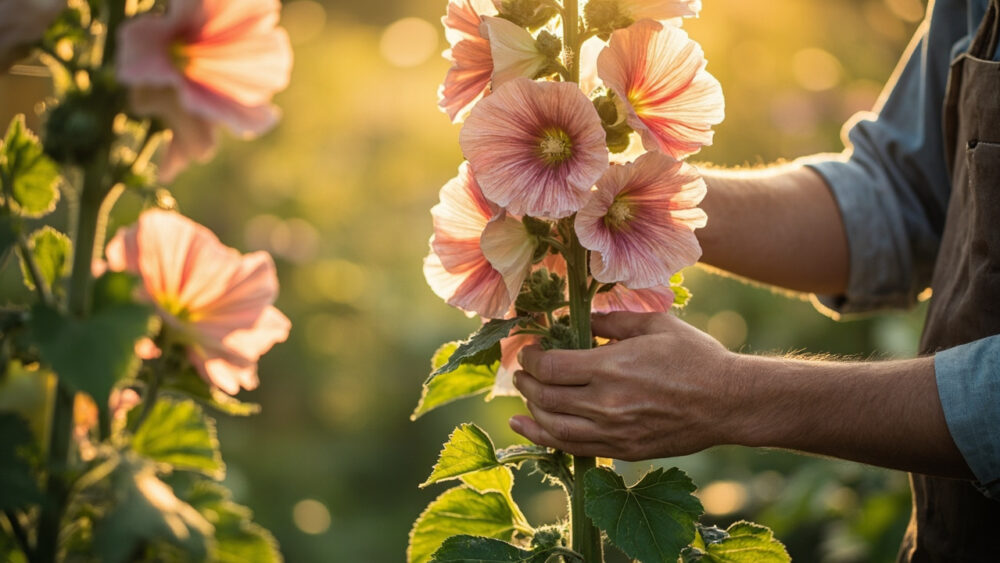
Caring for hollyhocks comes down to four things: full sun, well-drained soil that isn’t too rich, room to grow tall without getting battered by wind, and staying ahead of rust before it takes the lower leaves. Get those right and the plant does the rest, hollyhocks are tough, old-fashioned perennials (often grown as biennials) that want to be left alone more than they want to be fussed over. Most of the actual failures come from overwatering, cramming them into a border with no airflow, or panicking at the first spotted leaf.
There’s a specific mistake that wrecks more hollyhock stands than any pest does, and it has nothing to do with watering. There’s also a sign on the stalk that gardeners misread every single year and either overreact to or ignore completely, and the honest truth about whether you can stop rust once you see it, which is not what most advice implies. Every one of those gets answered below.
Stick around for the Hollyhocks at a Glance card at the bottom. It’s the save-to-your-phone version of everything here, timing, spacing, watering, and the rust question, in one place.
Light, Placement, and Temperature
Hollyhocks need full sun, six or more hours a day. In partial shade they get leggy, flop over, and bloom thin. They’re hardy roughly in USDA zones 3 through 8 and treat heat fine as long as roots stay cool and moist under mulch.
Placement matters more than people expect. These plants get 5 to 8 feet tall on a single stalk, so they need a spot with a windbreak, a fence line, a wall, or the back of a border, or they need staking. Planting them out in the open with nothing to lean on is the placement mistake that snaps stalks in the first good summer storm.
Give each plant 18 to 24 inches of space from its neighbors so air moves through the foliage.
Watering: How Much, How Often, and How to Tell
Water hollyhocks deeply once a week, about an inch of water, more often during stretches of heat above 85°F. Check the soil two inches down before watering again, if it’s still damp, wait. These plants have a deep taproot once established, which makes them fairly drought-tolerant but not drought-proof in year one.
Here’s the part everyone gets wrong: the lower leaves turning yellow and spotted gets blamed on underwatering, so the instinct is to water more. That’s backwards. Wet foliage sitting damp overnight is exactly what invites the rust fungus that hollyhocks are famous for. More water on already-spotted leaves speeds up the problem, it doesn’t fix it.
Water the soil, not the leaves, and water in the morning so foliage dries by evening.
That yellowing lower leaf you’re eyeing right now might not be a watering issue at all.
Soil, Mix, and Feeding
Hollyhocks want well-drained soil with average fertility, they actually bloom looser and taller in soil that’s too rich, then flop. A neutral pH, roughly 6.0 to 7.5, suits them fine. Heavy clay that holds water around the taproot is the one soil type they genuinely struggle in, work in compost and grit before planting if that’s what you’ve got.
Skip heavy feeding. A light topdress of compost in spring, or a balanced slow-release fertilizer applied once as new growth starts, is plenty. Too much nitrogen produces soft, leafy growth that’s more attractive to aphids and more likely to flop in wind.
Feed light, feed once, and let the taproot do the heavy lifting after that.
Pruning, Deadheading, and Seasonal Cleanup
Deadhead spent blooms as they fade to keep the stalk flowering longer up its length, hollyhocks bloom from the bottom of the spike up. After the first killing frost, cut the flowering stalk down to a few inches above the ground.
Here’s the sign people misread: many hollyhocks are biennials, meaning they grow foliage the first year and don’t bloom until the second. Gardeners see a leafy plant with no flowers in year one and assume it’s dead, weak, or the wrong variety. It’s neither, it’s just on schedule. Some newer perennial-type cultivars bloom the first year, but the classic pass-along hollyhock takes its time.
The fall cleanup step that actually matters most is removing and discarding, not composting, any fallen leaves with rust spots, since the fungus overwinters in that leaf litter.
Clean fall sanitation is the single task that decides how bad next year’s rust will be.
The Problems Most Likely to Strike
Rust is the big one. It shows up as orange-brown pustules on the undersides of lower leaves, working upward as the season goes on. Here’s the honest answer: you cannot cure rust once it’s established in a leaf, you can only manage it going forward. Strip the infected leaves, improve airflow, water at the soil line, and clean up debris in fall. A fungicide labeled for rust on ornamentals can slow new infection if applied early and by label directions, but it won’t reverse existing damage.
Japanese beetles and hollyhock weevils chew visible holes in leaves and buds in early to midsummer, handpick beetles into soapy water in the morning when they’re sluggish. Spider mites show up as fine stippling in hot, dry spells, a strong water spray on the undersides most days knocks populations back.
Hollyhocks are considered mildly toxic to pets if eaten in quantity, causing mild stomach upset. If you suspect a pet has eaten a significant amount, call your veterinarian rather than waiting to see what happens.
None of these problems are fatal to the plant if you catch them early, but rust rewards the gardener who acts in July, not September.
How to Tell a Hollyhock Is Actually Thriving
A thriving hollyhock has a thick, sturdy stalk that doesn’t need staking except in the most exposed spots, and lower leaves that stay mostly clean well into midsummer. Flowers open in steady succession up the spike rather than all at once and done.
New basal leaves at the base of the plant, fresh and rust-free, are the best sign the plant is happy and will likely self-sow or return next year. A healthy stand will often reseed itself, look for small rosettes of leaves near the base of last year’s plants come spring.
If your plant is doing all of that, you’ve already got the routine down, everything past this point is just the reference card.
Hollyhocks at a Glance
- When to plant: sow seed or set transplants after your last frost date, once soil has warmed, or start seed in late summer for bloom the following year.
- Spacing and depth: space plants 18 to 24 inches apart, sow seed about a quarter inch deep, seeds need light contact with soil to germinate.
- Light: full sun, at least six hours a day, for sturdy stalks and full bloom.
- Watering: about an inch weekly, water the soil not the foliage, check two inches down before rewatering.
- Soil and feeding: average, well-drained soil, neutral pH, one light feeding in spring, avoid rich soil and heavy nitrogen.
- Bloom timing: many classic types are biennial, foliage the first year, bloom the second, some newer varieties bloom the first year.
- Biggest threat: rust fungus on lower leaves, manage with airflow, soil-level watering, and fall leaf cleanup rather than trying to cure it after the fact.
If you remember one thing, remember this: water the roots, not the leaves, and clean up fallen foliage every fall without exception.
Do that, give them sun and a spot out of the wind, and hollyhocks will outlast most of what you put next to them.